HARD DISK CAPACITY SETTINGS (HDD SET)
 Changing the alarm capacity
After the hard disk has been initialized and when no
If “SPACE SET” is displayed on the screen, you can then change the alarm capacity. If images have been recorded in the
1Use the CURSOR (jor l) button to select “SETTINGS” and then press the SET button.
The SETTINGS screen will be displayed.
2Use the CURSOR (jor l) button to select “HDD SET” and then press the SET button.
The HDD SET screen will be displayed.
3Use the CURSOR (jor l) button to select “SPACE SET” and then press the SET button.
The SPACE SET screen will be displayed.
4Use the CURSOR button to reset the capacity of the alarm recording area. Example:
1 Set the PRE ALARM item to 30 minutes.
2Set the POST ALARM item to 40 minutes. The “SUSPICION SHOTS” and “ALARM TIME” settings will be made automatically.
Note: If some images have already been recorded in the suspicion recording area, the setting time for the alarm recording capacity will change.
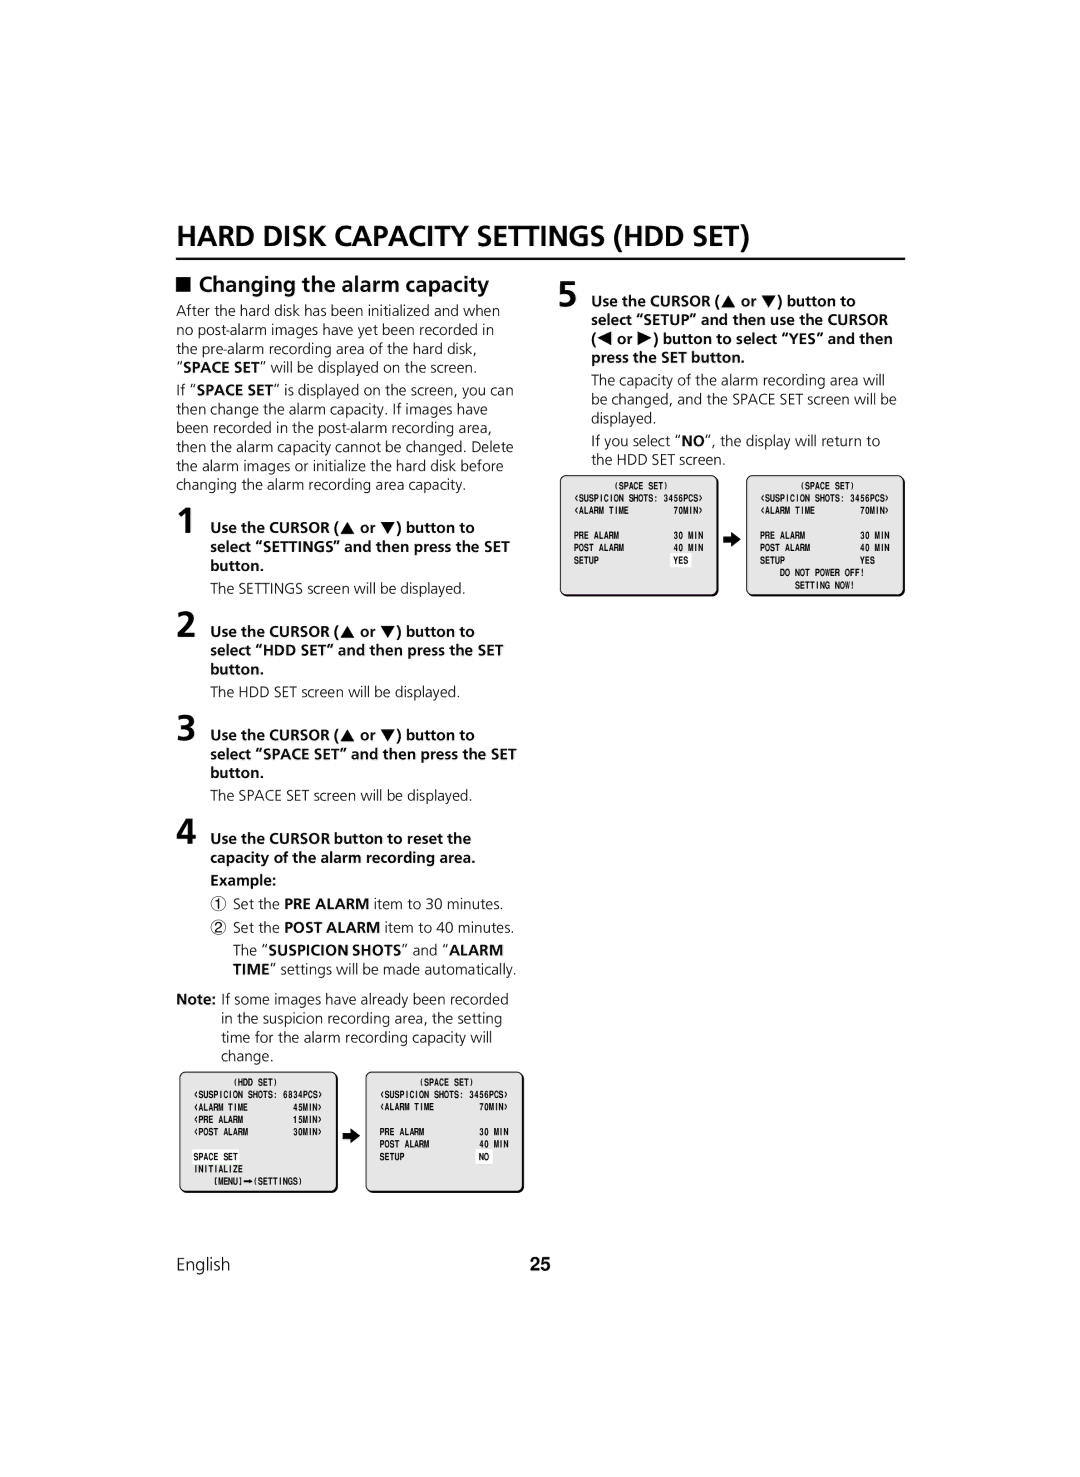
5Use the CURSOR (jor l) button to select “SETUP” and then use the CURSOR (dor c) button to select “YES” and then press the SET button.
The capacity of the alarm recording area will be changed, and the SPACE SET screen will be displayed.
If you select “NO”, the display will return to the HDD SET screen.
(SPACE SET) |
| (SPACE SET) |
|
<SUSPICION SHOTS: 3456PCS> | <SUSPICION SHOTS: 3456PCS> | ||
<ALARM TIME | 70MIN> | <ALARM TIME | 70MIN> |
PRE ALARM | 30 | MIN | PRE ALARM | 30 | MIN |
POST ALARM | 40 | MIN | POST ALARM | 40 | MIN |
SETUP | YES |
| SETUP | YES |
|
DO NOT POWER OFF!
SETTING NOW!
(HDD SET)
<SUSPICION SHOTS: 6834PCS>
<ALARM TIME | 45MIN> |
<PRE ALARM | 15MIN> |
<POST ALARM | 30MIN> |
SPACE SET
INITIALIZE
[MENU] ![]() (SETTINGS)
(SETTINGS)
(SPACE SET)
<SUSPICION SHOTS: 3456PCS>
<ALARM TIME | 70MIN> |
PRE ALARM | 30 | MIN |
POST ALARM | 40 | MIN |
SETUP | NO |
|
English | 25 |