SETTING THE RECORDING METHOD
Before using this camera, make sure that you set the current date and time. Recording will not be possible if they have not been set. (See page 22)
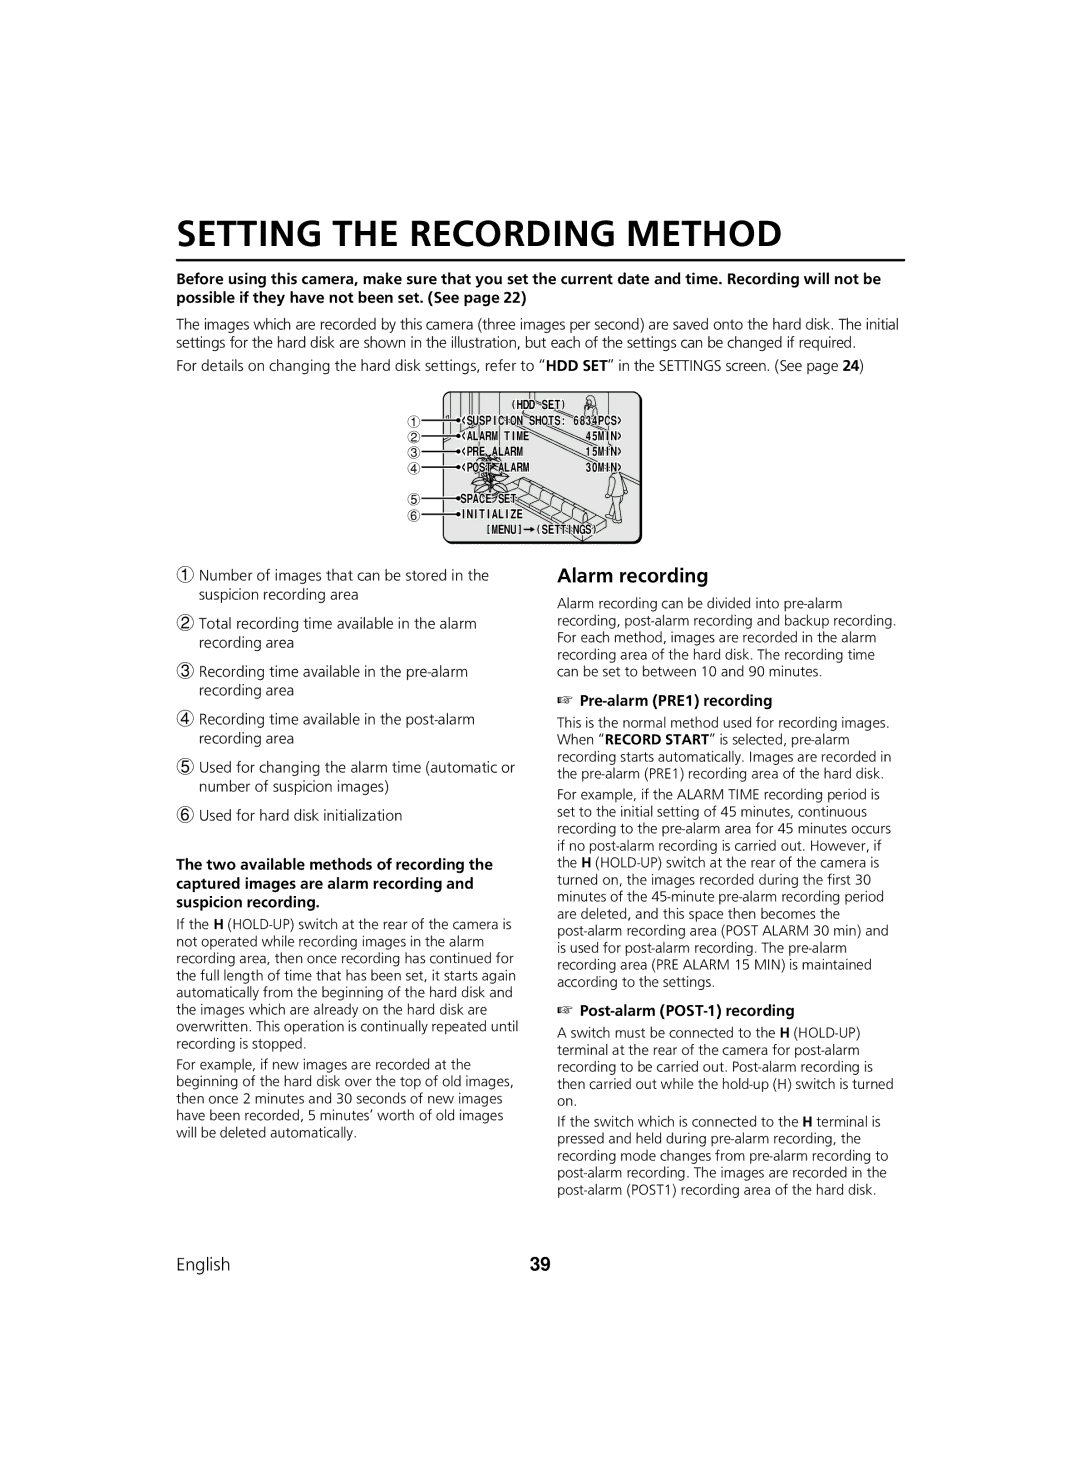
The images which are recorded by this camera (three images per second) are saved onto the hard disk. The initial settings for the hard disk are shown in the illustration, but each of the settings can be changed if required.
For details on changing the hard disk settings, refer to “HDD SET” in the SETTINGS screen. (See page 24)
| (HDD SET) |
|
1 | <SUSPICION SHOTS: 6834PCS> | |
2 | <ALARM TIME | 45MIN> |
3 | <PRE ALARM | 15MIN> |
4 | <POST ALARM | 30MIN> |
5![]() SPACE SET
SPACE SET
6![]() INITIALIZE
INITIALIZE
[MENU] ![]() (SETTINGS)
(SETTINGS)
1Number of images that can be stored in the suspicion recording area
2Total recording time available in the alarm recording area
3Recording time available in the
4Recording time available in the
5Used for changing the alarm time (automatic or number of suspicion images)
6Used for hard disk initialization
The two available methods of recording the captured images are alarm recording and suspicion recording.
If the H
For example, if new images are recorded at the beginning of the hard disk over the top of old images, then once 2 minutes and 30 seconds of new images have been recorded, 5 minutes' worth of old images will be deleted automatically.
Alarm recording
Alarm recording can be divided into
☞Pre-alarm (PRE1) recording
This is the normal method used for recording images. When “RECORD START” is selected,
For example, if the ALARM TIME recording period is set to the initial setting of 45 minutes, continuous recording to the
☞Post-alarm (POST-1) recording
A switch must be connected to the H
If the switch which is connected to the H terminal is pressed and held during
English | 39 |