SYSTEM SETTINGS (SYSTEM SET)
Several different system settings can be made as indicated below. When these settings are made, the screen display appears as shown in the accompanying illustrations.
1Setting the backlight compensation
2Setting the front caution indicator to stay off during recording
3Changing the frame rate for suspicion recording
4Setting the overwriting conditions and warning displays or suspicion recordings
5Changing the flickerless setting
3
| SUSPICION | |
|
| FUNCTION |
REMAIN | SHOTS:10000 | 2001/02/14 15:25:50 1/1 |
4![]() SUSPICION
SUSPICION
FUNCTION
REMAIN SHOTS:LOOP
Press the MENU button to return to the SETTING screen.
1Use the CURSOR (l) button to select “SETTINGS” and then press the SET button. The SETTINGS screen will be displayed.
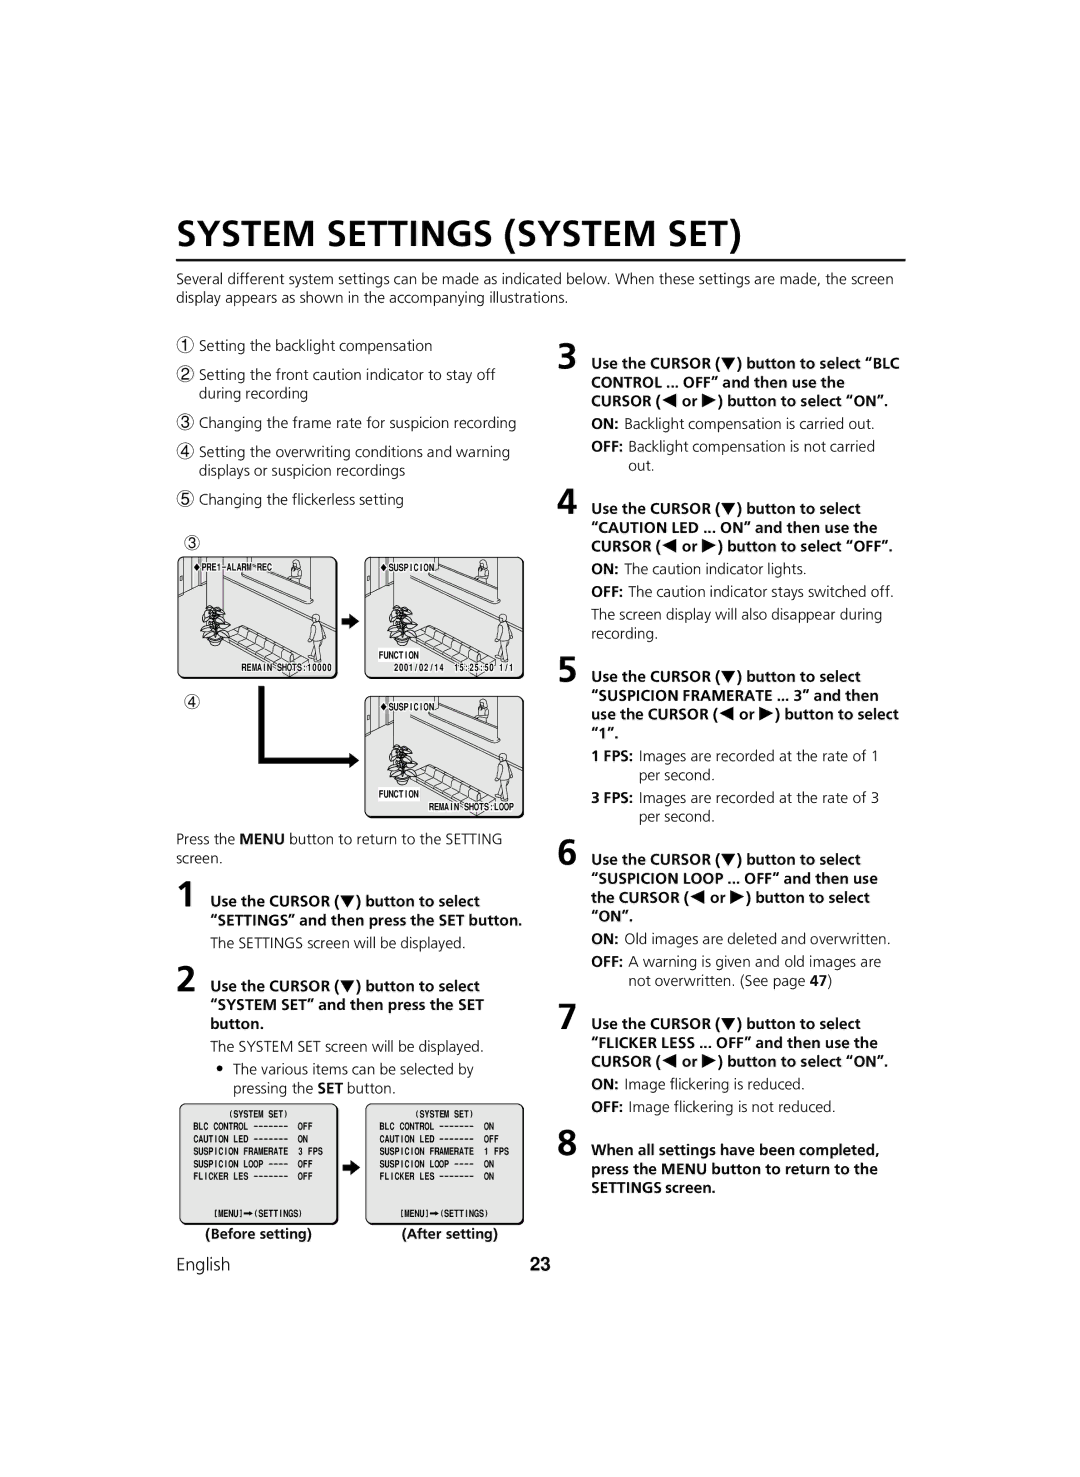
2Use the CURSOR (l) button to select “SYSTEM SET” and then press the SET button.
The SYSTEM SET screen will be displayed.
•The various items can be selected by pressing the SET button.
(SYSTEM SET) |
|
| (SYSTEM SET) |
|
BLC CONTROL | OFF |
| BLC CONTROL | ON |
CAUTION LED | ON |
| CAUTION LED | OFF |
SUSPICION FRAMERATE | 3 FPS |
| SUSPICION FRAMERATE | 1 FPS |
SUSPICION LOOP | OFF |
| SUSPICION LOOP | ON |
| ||||
OFF |
| ON |
3
4
5
6
7
8
Use the CURSOR (l) button to select “BLC
CONTROL ... OFF” and then use the CURSOR (dor c) button to select “ON”.
ON: Backlight compensation is carried out.
OFF: Backlight compensation is not carried out.
Use the CURSOR (l) button to select “CAUTION LED ... ON” and then use the CURSOR (dor c) button to select “OFF”.
ON: The caution indicator lights.
OFF: The caution indicator stays switched off. The screen display will also disappear during recording.
Use the CURSOR (l) button to select “SUSPICION FRAMERATE ... 3” and then use the CURSOR (dor c) button to select “1”.
1 FPS: Images are recorded at the rate of 1 per second.
3 FPS: Images are recorded at the rate of 3 per second.
Use the CURSOR (l) button to select “SUSPICION LOOP ... OFF” and then use the CURSOR (dor c) button to select “ON”.
ON: Old images are deleted and overwritten.
OFF: A warning is given and old images are not overwritten. (See page 47)
Use the CURSOR (l) button to select “FLICKER LESS ... OFF” and then use the CURSOR (dor c) button to select “ON”.
ON: Image flickering is reduced.
OFF: Image flickering is not reduced.
When all settings have been completed, press the MENU button to return to the SETTINGS screen.
[MENU] (SETTINGS) | [MENU] (SETTINGS) |
(Before setting) | (After setting) |
English | 23 |