RECORDING
Recording Programmes during Reception
1.Turn the TV on and select input from the DVD recorder. (For details on operation methods, refer to your TV’s manual.)
2.Press o button. (It takes time to enter the condition the power supplied.)
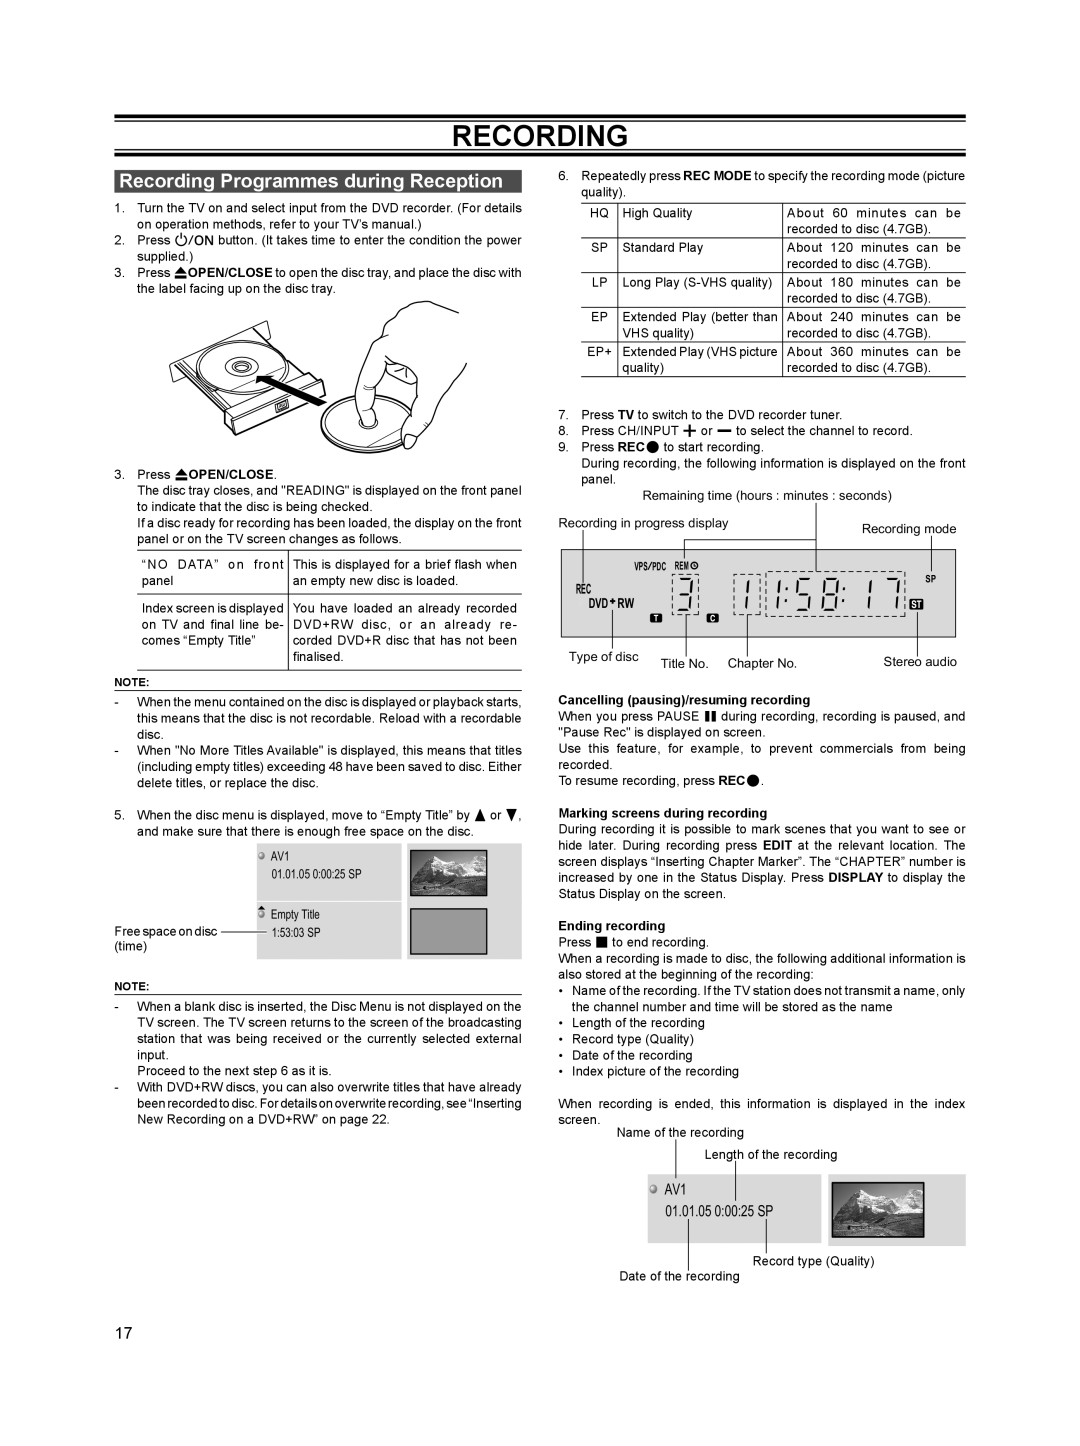
3.Press rOPEN/CLOSE to open the disc tray, and place the disc with the label facing up on the disc tray.
3.Press rOPEN/CLOSE.
The disc tray closes, and "READING" is displayed on the front panel to indicate that the disc is being checked.
If a disc ready for recording has been loaded, the display on the front panel or on the TV screen changes as follows.
“NO DATA” on front | This is displayed for a brief flash when |
panel | an empty new disc is loaded. |
|
|
Index screen is displayed | You have loaded an already recorded |
on TV and final line be- | DVD+RW disc, or an already re- |
comes “Empty Title” | corded DVD+R disc that has not been |
| finalised. |
|
|
NOTE:
-When the menu contained on the disc is displayed or playback starts, this means that the disc is not recordable. Reload with a recordable disc.
-When "No More Titles Available" is displayed, this means that titles (including empty titles) exceeding 48 have been saved to disc. Either delete titles, or replace the disc.
5.When the disc menu is displayed, move to “Empty Title” by 8or 2, and make sure that there is enough free space on the disc.
![]() AV1
AV1
01.01.05 0:00:25 SP
![]() Empty Title
Empty Title
Free space on disc ![]() 1:53:03 SP (time)
1:53:03 SP (time)
NOTE:
-When a blank disc is inserted, the Disc Menu is not displayed on the TV screen. The TV screen returns to the screen of the broadcasting station that was being received or the currently selected external input.
Proceed to the next step 6 as it is.
-With DVD+RW discs, you can also overwrite titles that have already been recorded to disc. For details on overwrite recording, see “Inserting New Recording on a DVD+RW” on page 22.
6.Repeatedly press REC MODE to specify the recording mode (picture quality).
HQ | High Quality | About 60 minutes can be | |||
|
| recorded to disc (4.7GB). |
| ||
SP | Standard Play | About 120 | minutes | can | be |
|
| recorded to disc (4.7GB). |
| ||
LP | Long Play | About 180 | minutes | can | be |
|
| recorded to disc (4.7GB). |
| ||
EP | Extended Play (better than | About 240 | minutes | can | be |
| VHS quality) | recorded to disc (4.7GB). |
| ||
EP+ | Extended Play (VHS picture | About 360 | minutes | can | be |
| quality) | recorded to disc (4.7GB). |
| ||
7.Press TV to switch to the DVD recorder tuner.
8.Press CH/INPUT + or - to select the channel to record.
9.Press RECq to start recording.
During recording, the following information is displayed on the front panel.
Remaining time (hours : minutes : seconds)
Recording in progress display | Recording mode |
|
VPS![]() PDC REM
PDC REM![]()
SP
REC
 DVD
DVD RW
RW
Type of disc | Title No. | Chapter No. | Stereo audio |
|
Cancelling (pausing)/resuming recording
When you press PAUSE s during recording, recording is paused, and "Pause Rec" is displayed on screen.
Use this feature, for example, to prevent commercials from being recorded.
To resume recording, press RECq.
Marking screens during recording
During recording it is possible to mark scenes that you want to see or hide later. During recording press EDIT at the relevant location. The screen displays “Inserting Chapter Marker”. The “CHAPTER” number is increased by one in the Status Display. Press DISPLAY to display the Status Display on the screen.
Ending recording
Press e to end recording.
When a recording is made to disc, the following additional information is also stored at the beginning of the recording:
•Name of the recording. If the TV station does not transmit a name, only the channel number and time will be stored as the name
•Length of the recording
•Record type (Quality)
•Date of the recording
•Index picture of the recording
When recording is ended, this information is displayed in the index screen.
Name of the recording
Length of the recording
 AV1
AV1
01.01.05 0:00:25 SP
Record type (Quality)
Date of the recording
17