CHANGING THE ON-SCREEN DISPLAY
Selecting the On-screen Display
You can select to display or not the date, time, the number of alarm triggers and tape speed.
1Turn the power on to all devices used.
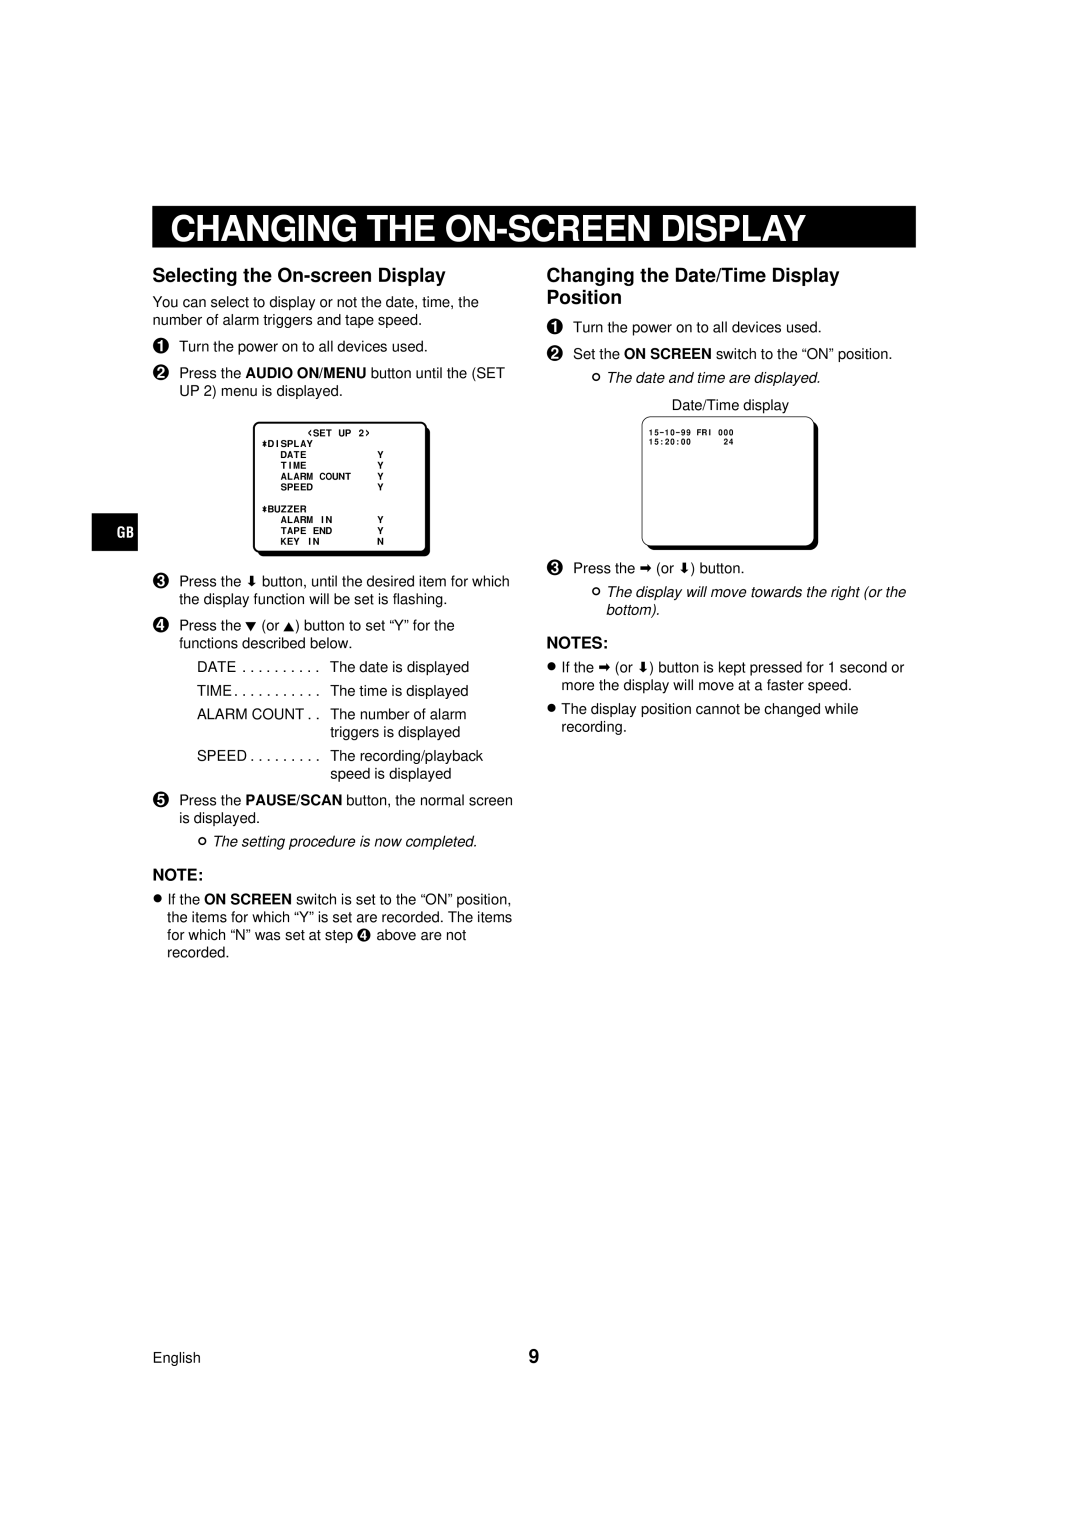
2Press the AUDIO ON/MENU button until the (SET UP 2) menu is displayed.
| <SET UP 2> |
|
| öDISPLAY |
|
| DATE | Y |
| TIME | Y |
| ALARM COUNT | Y |
| SPEED | Y |
| öBUZZER |
|
GB | ALARM IN | Y |
TAPE END | Y | |
| KEY IN | N |
|
|
|
3Press the ] button, until the desired item for which the display function will be set is flashing.
4Press the l (or j) button to set “Y” for the functions described below.
DATE . . . . . . . . . . The date is displayed
TIME . . . . . . . . . . . The time is displayed
ALARM COUNT . . The number of alarm triggers is displayed
SPEED . . . . . . . . . The recording/playback speed is displayed
5Press the PAUSE/SCAN button, the normal screen is displayed.
°The setting procedure is now completed.
NOTE:
•If the ON SCREEN switch is set to the “ON” position, the items for which “Y” is set are recorded. The items for which “N” was set at step 4 above are not recorded.
Changing the Date/Time Display Position
1Turn the power on to all devices used.
2Set the ON SCREEN switch to the “ON” position.
°The date and time are displayed.
Date/Time display
15:20:00 24
3Press the « (or ]) button.
°The display will move towards the right (or the bottom).
NOTES:
•If the « (or ]) button is kept pressed for 1 second or more the display will move at a faster speed.
•The display position cannot be changed while recording.
English | 9 |