PROGRAMME TIMER RECORDING
There are two programme timer recording methods, daily recording or recording on certain days of the week.
Example 1: To record on every Saturday from 9:00 AM to 5:00 PM (17:00), in
1Make sure that the set date and time are correct.
2Load a cassette tape with
3Press the AUDIO ON/MENU button until the (TIMER SET) menu is displayed.
°“SUN” (Sunday) will be flashing.
GB |
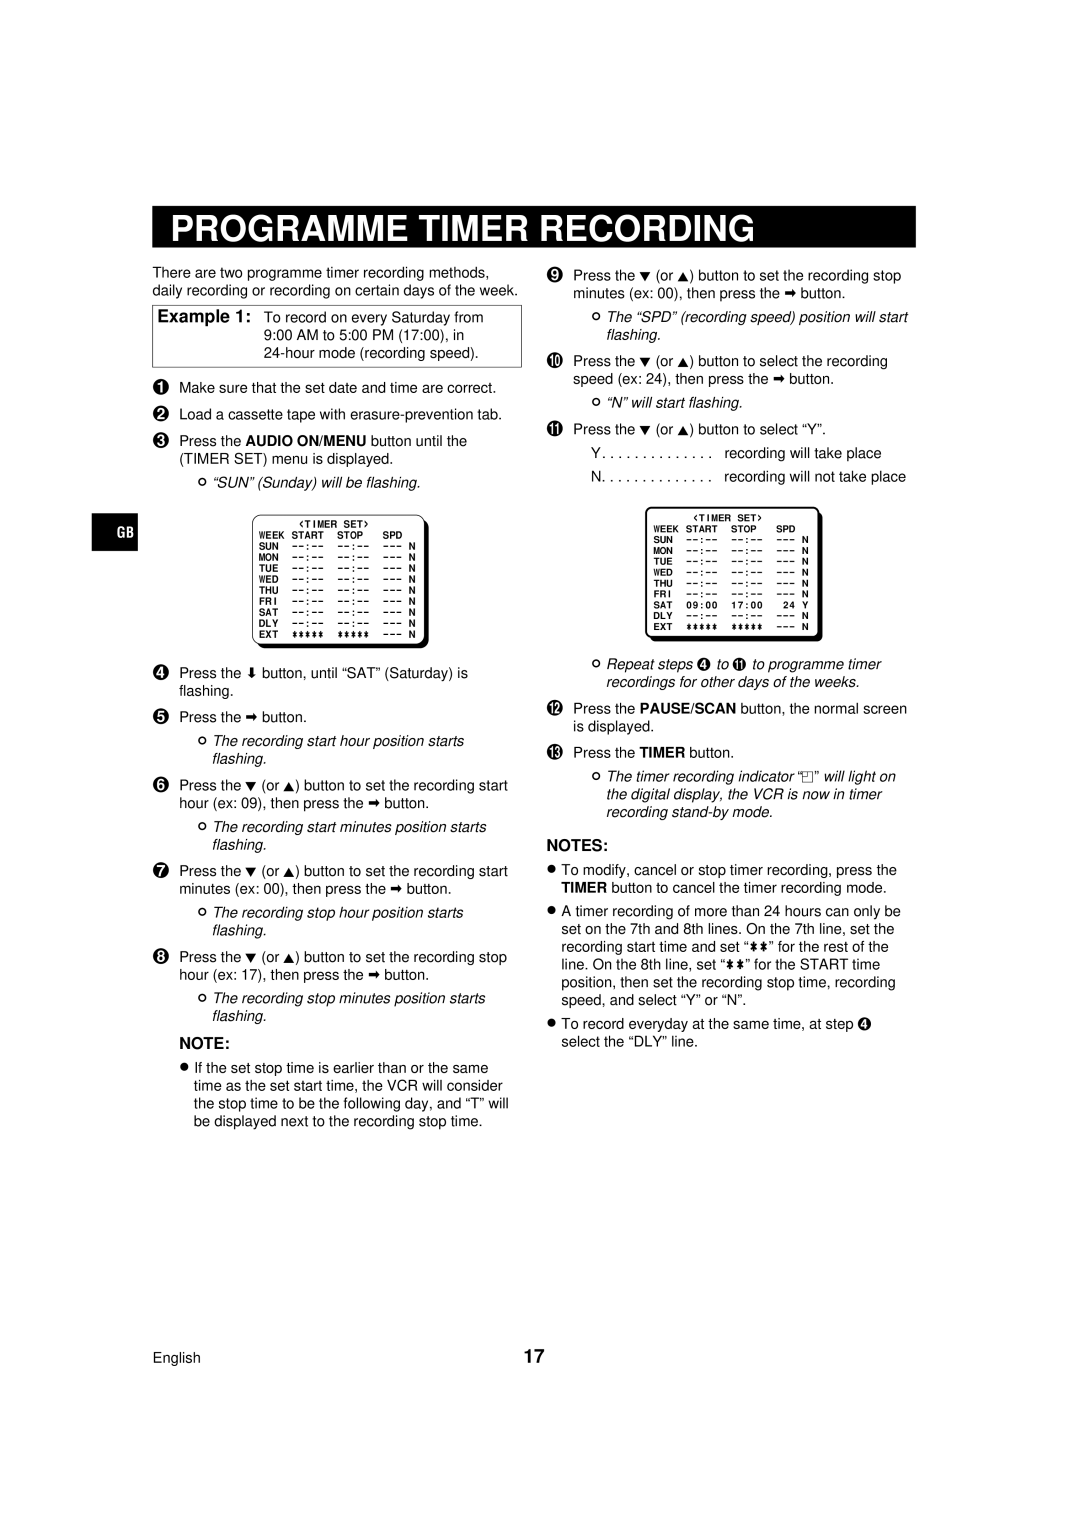
| <TIMER SET> |
| |
WEEK START | STOP | SPD | ||
| SUN | |||
| MON | |||
| TUE | |||
| WED | |||
| THU | |||
| FRI | |||
| SAT | |||
| DLY | |||
| EXT | ¤¤¤¤¤ | ¤¤¤¤¤ | |
9Press the l (or j) button to set the recording stop minutes (ex: 00), then press the « button.
°The “SPD” (recording speed) position will start flashing.
FPress the l (or j) button to select the recording speed (ex: 24), then press the « button.
°“N” will start flashing.
GPress the l (or j) button to select “Y”.
Y. . . . . . . . . . . . . . recording will take place
N. . . . . . . . . . . . . . recording will not take place
| <TIMER SET> |
| |
WEEK | START | STOP | SPD |
SUN | |||
MON | |||
TUE | |||
WED | |||
THU | |||
FRI | |||
SAT | 09:00 | 17:00 | 24 Y |
DLY | |||
EXT | ööööö | ööööö | |
4Press the ] button, until “SAT” (Saturday) is flashing.
5Press the « button.
°The recording start hour position starts flashing.
6Press the l (or j) button to set the recording start hour (ex: 09), then press the « button.
°The recording start minutes position starts flashing.
7Press the l (or j) button to set the recording start minutes (ex: 00), then press the « button.
°The recording stop hour position starts flashing.
8Press the l (or j) button to set the recording stop hour (ex: 17), then press the « button.
°The recording stop minutes position starts flashing.
NOTE:
•If the set stop time is earlier than or the same time as the set start time, the VCR will consider the stop time to be the following day, and “T” will be displayed next to the recording stop time.
°Repeat steps 4 to G to programme timer recordings for other days of the weeks.
HPress the PAUSE/SCAN button, the normal screen is displayed.
IPress the TIMER button.
°The timer recording indicator “n” will light on the digital display, the VCR is now in timer recording
NOTES:
•To modify, cancel or stop timer recording, press the TIMER button to cancel the timer recording mode.
•A timer recording of more than 24 hours can only be set on the 7th and 8th lines. On the 7th line, set the recording start time and set “öö” for the rest of the line. On the 8th line, set “öö” for the START time position, then set the recording stop time, recording speed, and select “Y” or “N”.
•To record everyday at the same time, at step 4 select the “DLY” line.
English | 17 |