Section 3: Configuration and Operation
3.7 DATA DUMP DIAGNOSTIC LABEL
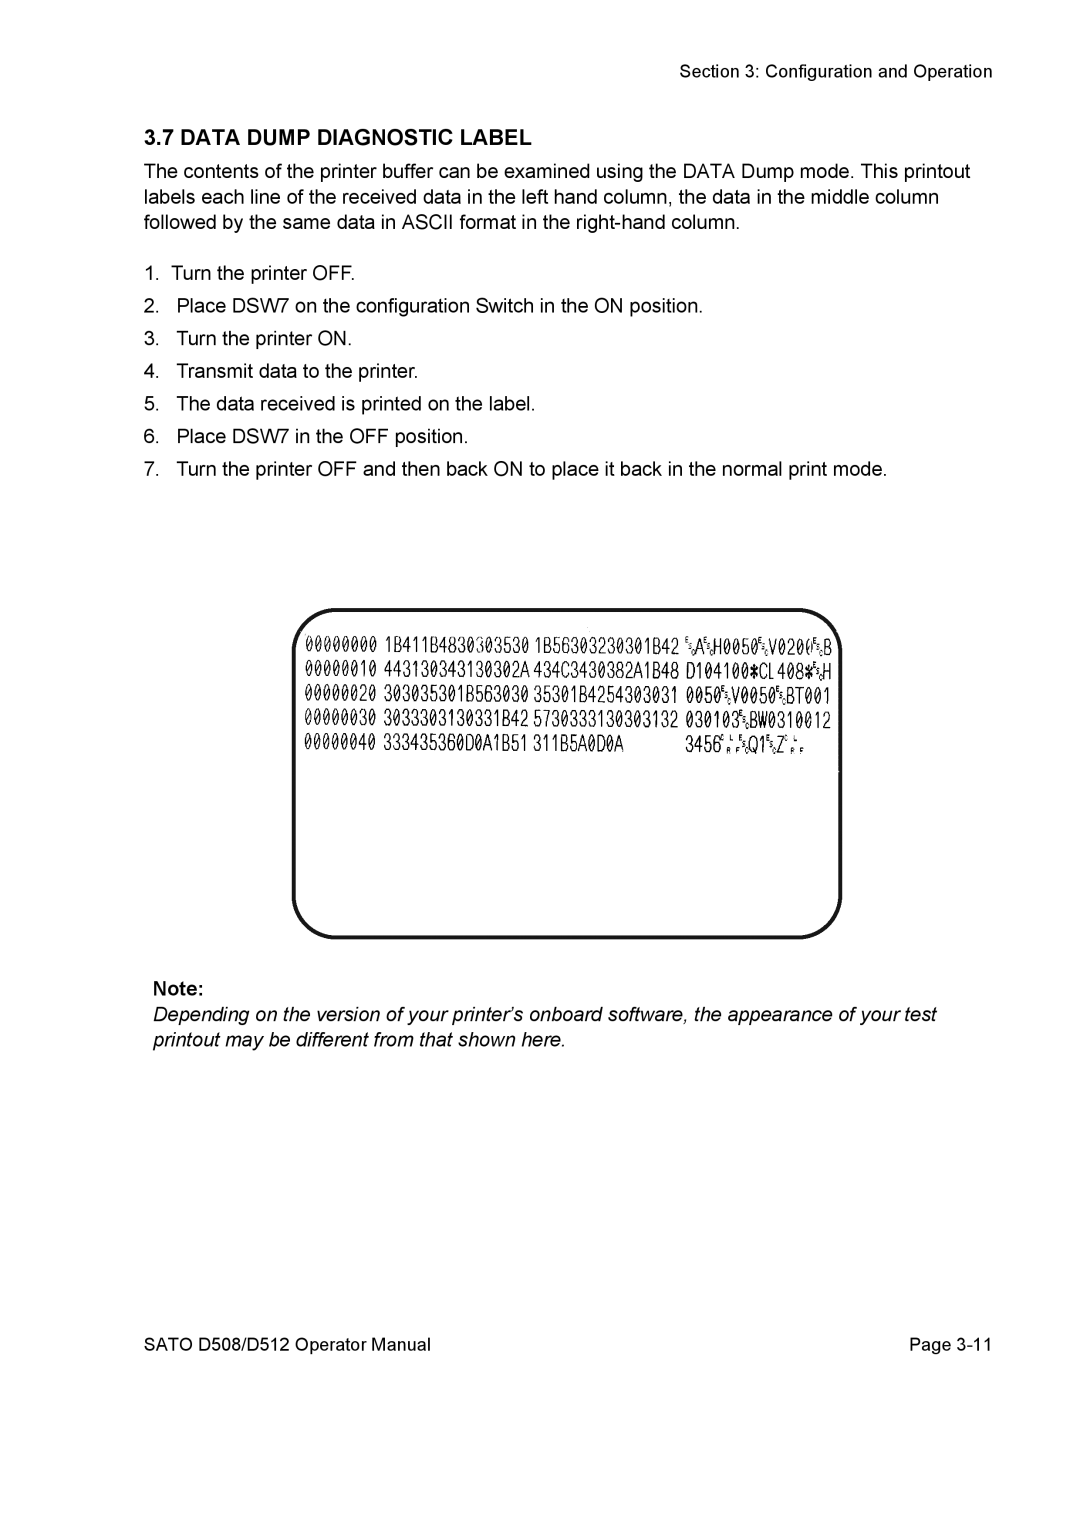
The contents of the printer buffer can be examined using the DATA Dump mode. This printout labels each line of the received data in the left hand column, the data in the middle column followed by the same data in ASCII format in the
1.Turn the printer OFF.
2.Place DSW7 on the configuration Switch in the ON position.
3.Turn the printer ON.
4.Transmit data to the printer.
5.The data received is printed on the label.
6.Place DSW7 in the OFF position.
7.Turn the printer OFF and then back ON to place it back in the normal print mode.
Note:
Depending on the version of your printer’s onboard software, the appearance of your test printout may be different from that shown here.
SATO D508/D512 Operator Manual | Page |