SECTION 2: INSTALLATION
6.Route the label material through the Paper Sensor Assembly and over the Platen. Note that the Sensor is part of the left Label Roll Guide so that the Paper Sensor is always positioned in the same location relative to the left edge of the label.
7.Close the Top Cover.
8.Press the LINE button so that the printer is in the OFF LINE mode and then press the FEED button. The label should advance to the next index (label gap) position.
Fanfold media
1.Place the fanfold media behind the printer with the printing surface up.
2.Open the Top Cover by pressing on the cover release latch located on the
3.Carefully pull up the
4.With the Top Cover in the upright position, press the Paper Guide Release while adjust- ing the Paper Guides until they allow a media to fit between them. A millimeter scale is molded into the case to provide a guide when making the adjustment. The Paper Guides are
5.Route the label material through the Sensor Assembly and over the Platen.
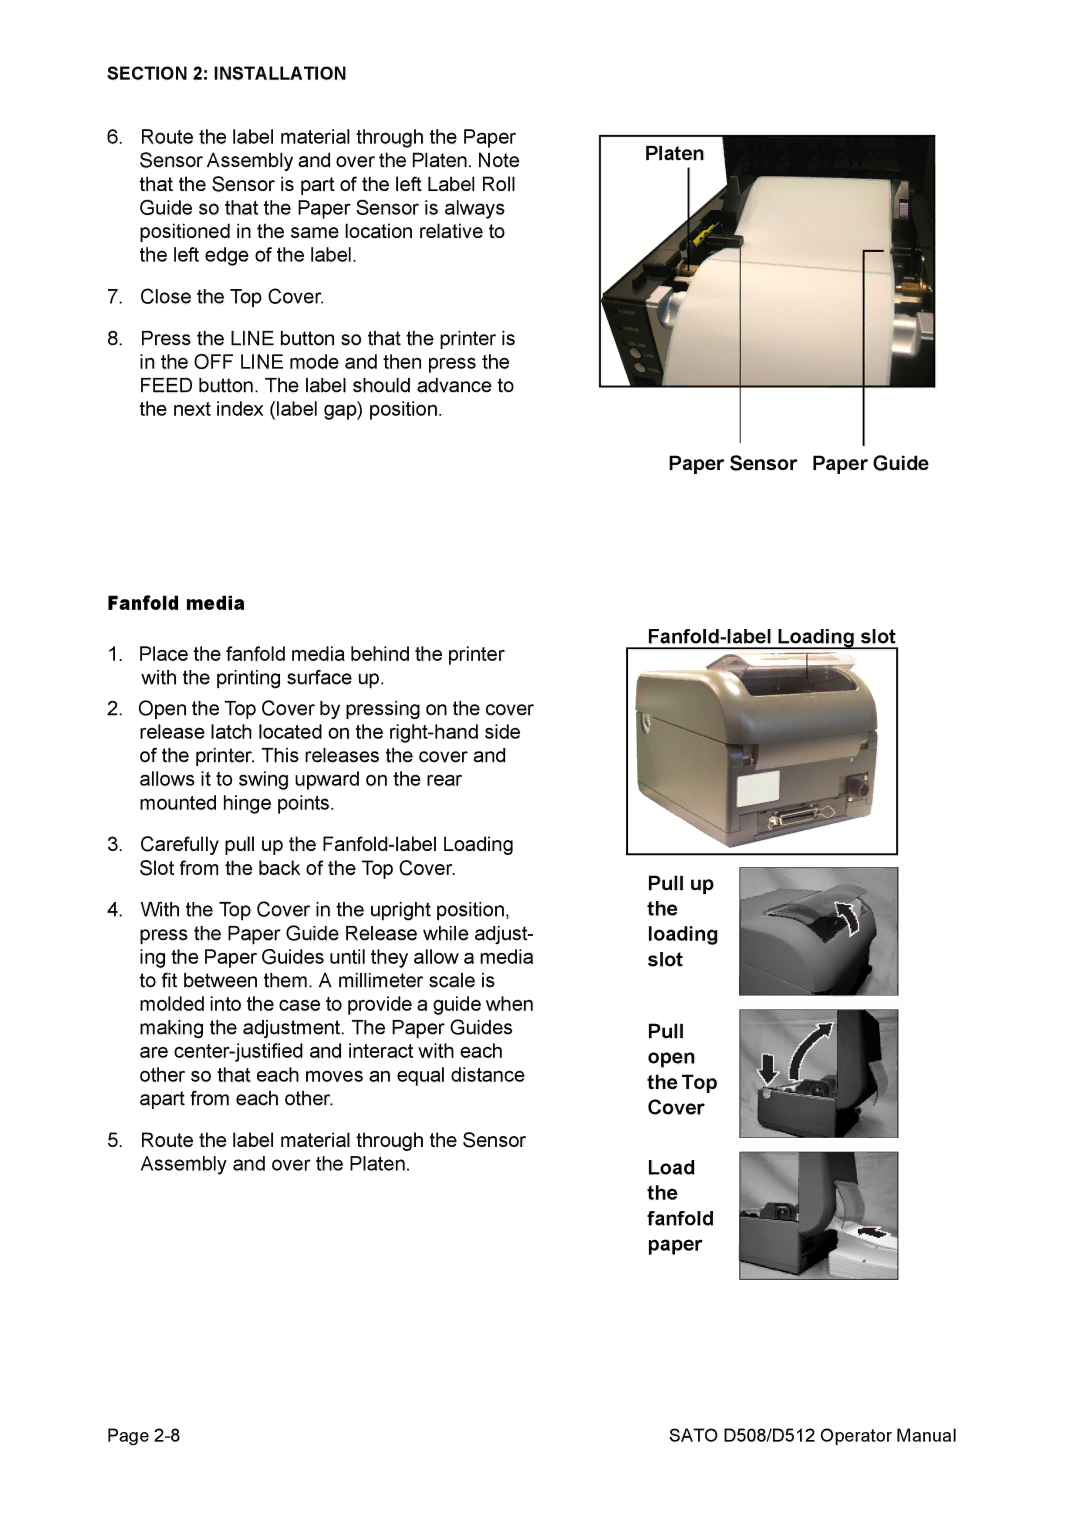
Platen
Paper Sensor Paper Guide
Pull up the loading slot
Pull open the Top Cover
Load the fanfold paper
Page | SATO D508/D512 Operator Manual |