SECTION 4: CLEANING AND MAINTENANCE
Print Speed
The other method of controlling print quality is by controlling the speed at which the label is printed. It is especially critical when printing "ladder" bar codes (bar codes printed with the bars parallel to the print line). When printing a "ladder" bar code, it is important to allow the head to cool sufficiently before stepping to the next position. If it does not have sufficient time to cool, the bar will be "smeared" on the trailing edge.
This adjustment is made only on an individual label basis using the <ESC> CS command. For more details on this command, see the Programming Reference.
4.3 CLEANING THE PRINT HEAD, PLATEN AND ROLLERS
Cleaning the Print Head
1.Before starting, get ready an approved cleaning kit from your SATO dealer or the kit supplied with the printer. Make sure the printer is OFF, and remove the power cable.
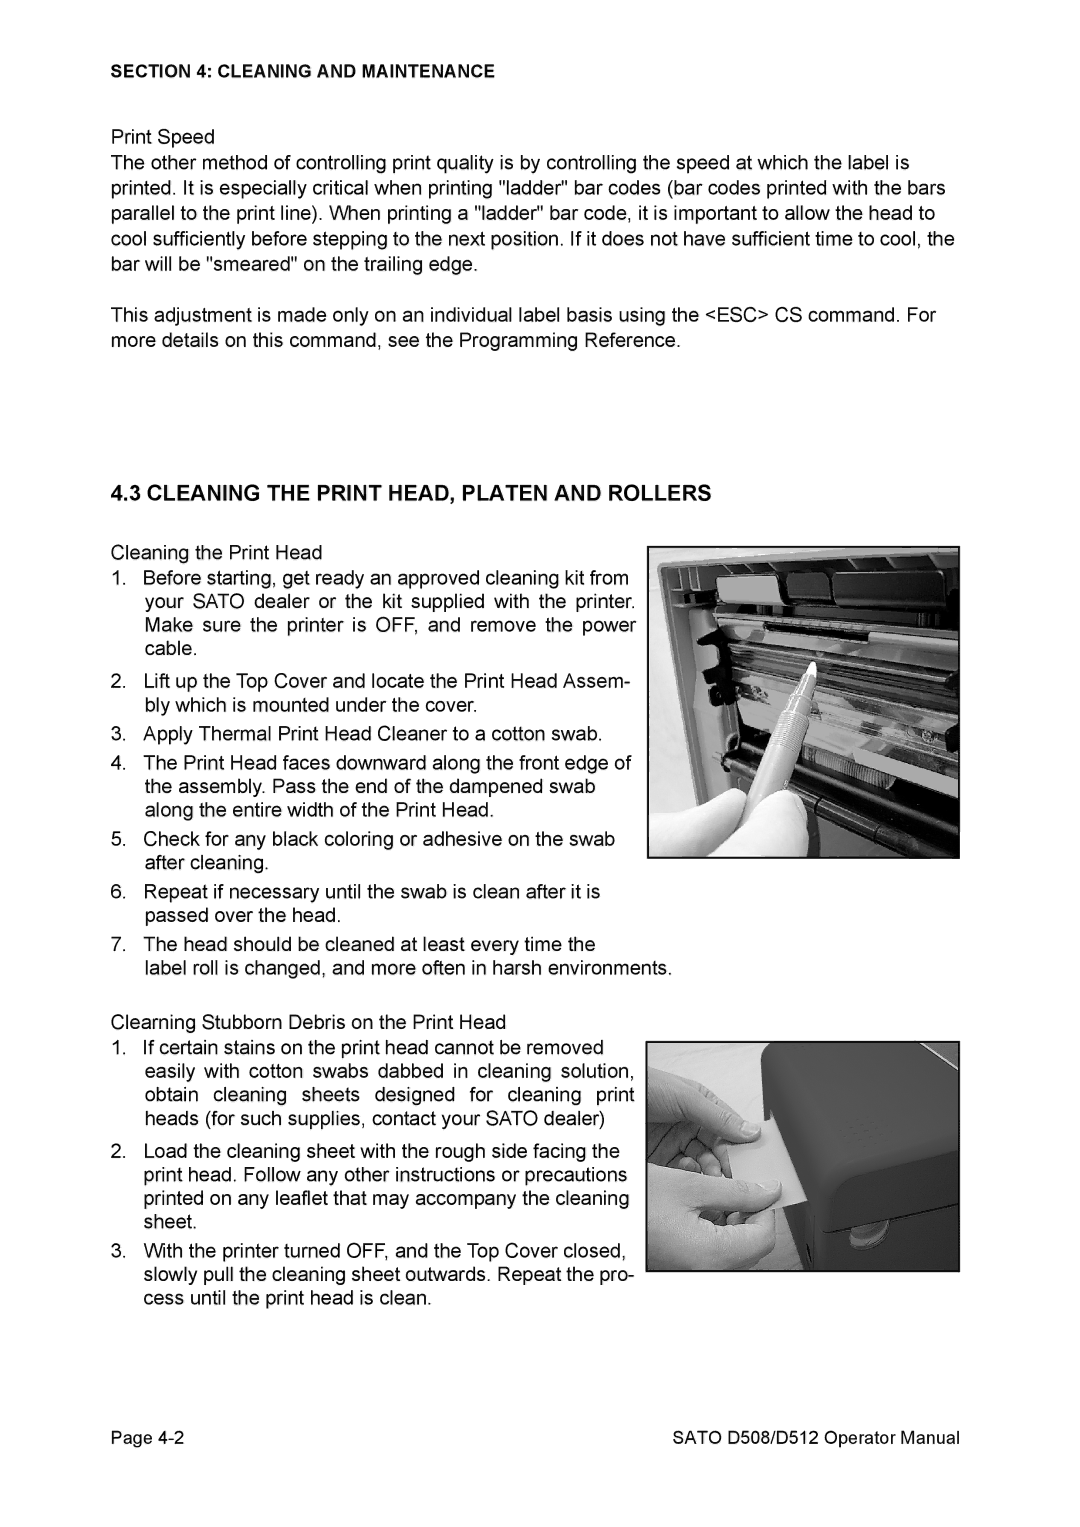
2.Lift up the Top Cover and locate the Print Head Assem- bly which is mounted under the cover.
3.Apply Thermal Print Head Cleaner to a cotton swab.
4.The Print Head faces downward along the front edge of the assembly. Pass the end of the dampened swab along the entire width of the Print Head.
5.Check for any black coloring or adhesive on the swab after cleaning.
6.Repeat if necessary until the swab is clean after it is passed over the head.
7.The head should be cleaned at least every time the
label roll is changed, and more often in harsh environments.
Clearning Stubborn Debris on the Print Head
1.If certain stains on the print head cannot be removed easily with cotton swabs dabbed in cleaning solution, obtain cleaning sheets designed for cleaning print heads (for such supplies, contact your SATO dealer)
2.Load the cleaning sheet with the rough side facing the print head. Follow any other instructions or precautions printed on any leaflet that may accompany the cleaning sheet.
3.With the printer turned OFF, and the Top Cover closed, slowly pull the cleaning sheet outwards. Repeat the pro- cess until the print head is clean.
Page | SATO D508/D512 Operator Manual |
