MENU OPTIONS
Record menu
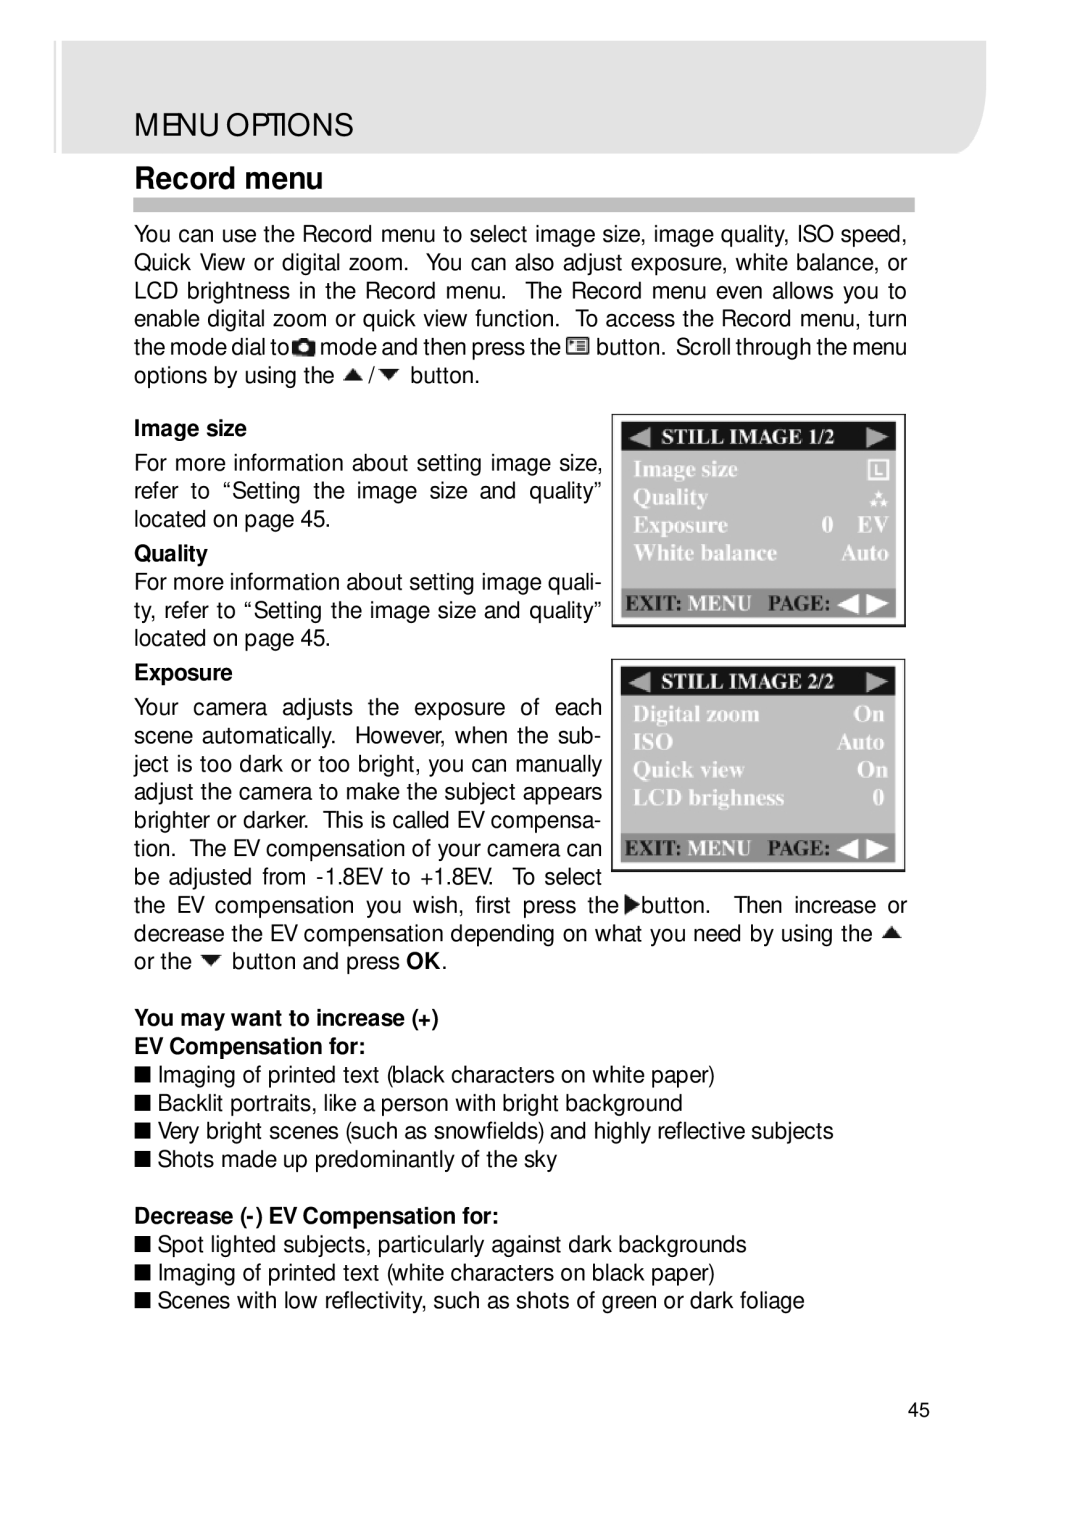
You can use the Record menu to select image size, image quality, ISO speed, Quick View or digital zoom. You can also adjust exposure, white balance, or LCD brightness in the Record menu. The Record menu even allows you to enable digital zoom or quick view function. To access the Record menu, turn the mode dial to![]() mode and then press the
mode and then press the ![]() button. Scroll through the menu options by using the
button. Scroll through the menu options by using the ![]() /
/![]() button.
button.
Image size
For more information about setting image size, refer to “Setting the image size and quality” located on page 45.
Quality
For more information about setting image quali- ty, refer to “Setting the image size and quality” located on page 45.
Exposure
Your camera adjusts the exposure of each scene automatically. However, when the sub- ject is too dark or too bright, you can manually adjust the camera to make the subject appears brighter or darker. This is called EV compensa- tion. The EV compensation of your camera can be adjusted from
the EV compensation you wish, first press the ![]() button. Then increase or decrease the EV compensation depending on what you need by using the
button. Then increase or decrease the EV compensation depending on what you need by using the ![]() or the
or the ![]() button and press OK.
button and press OK.
You may want to increase (+)
EV Compensation for:
■Imaging of printed text (black characters on white paper)
■Backlit portraits, like a person with bright background
■Very bright scenes (such as snowfields) and highly reflective subjects
■Shots made up predominantly of the sky
Decrease (-) EV Compensation for:
■Spot lighted subjects, particularly against dark backgrounds
■Imaging of printed text (white characters on black paper)
■Scenes with low reflectivity, such as shots of green or dark foliage
45