MOTOR
Frequently vacuum or blow out any sawdust from the motor
If the power cord is worn, cut, or damaged in any way, have it replaced immediately
LUBRICATION
Ali of the BALL BEARINGS are packed with grease at the factory, They require no further lubrication,
Lubricate arm pivot bearings occasionally with light weight machine grade oil, or 20 weight motor oil
MultFpurpose household lubricants may also be used,
RECOMMENDED | ACCESSORIES |
|
Item |
|
|
Leg Set |
| |
Blades | See | Cata{og |
Casters |
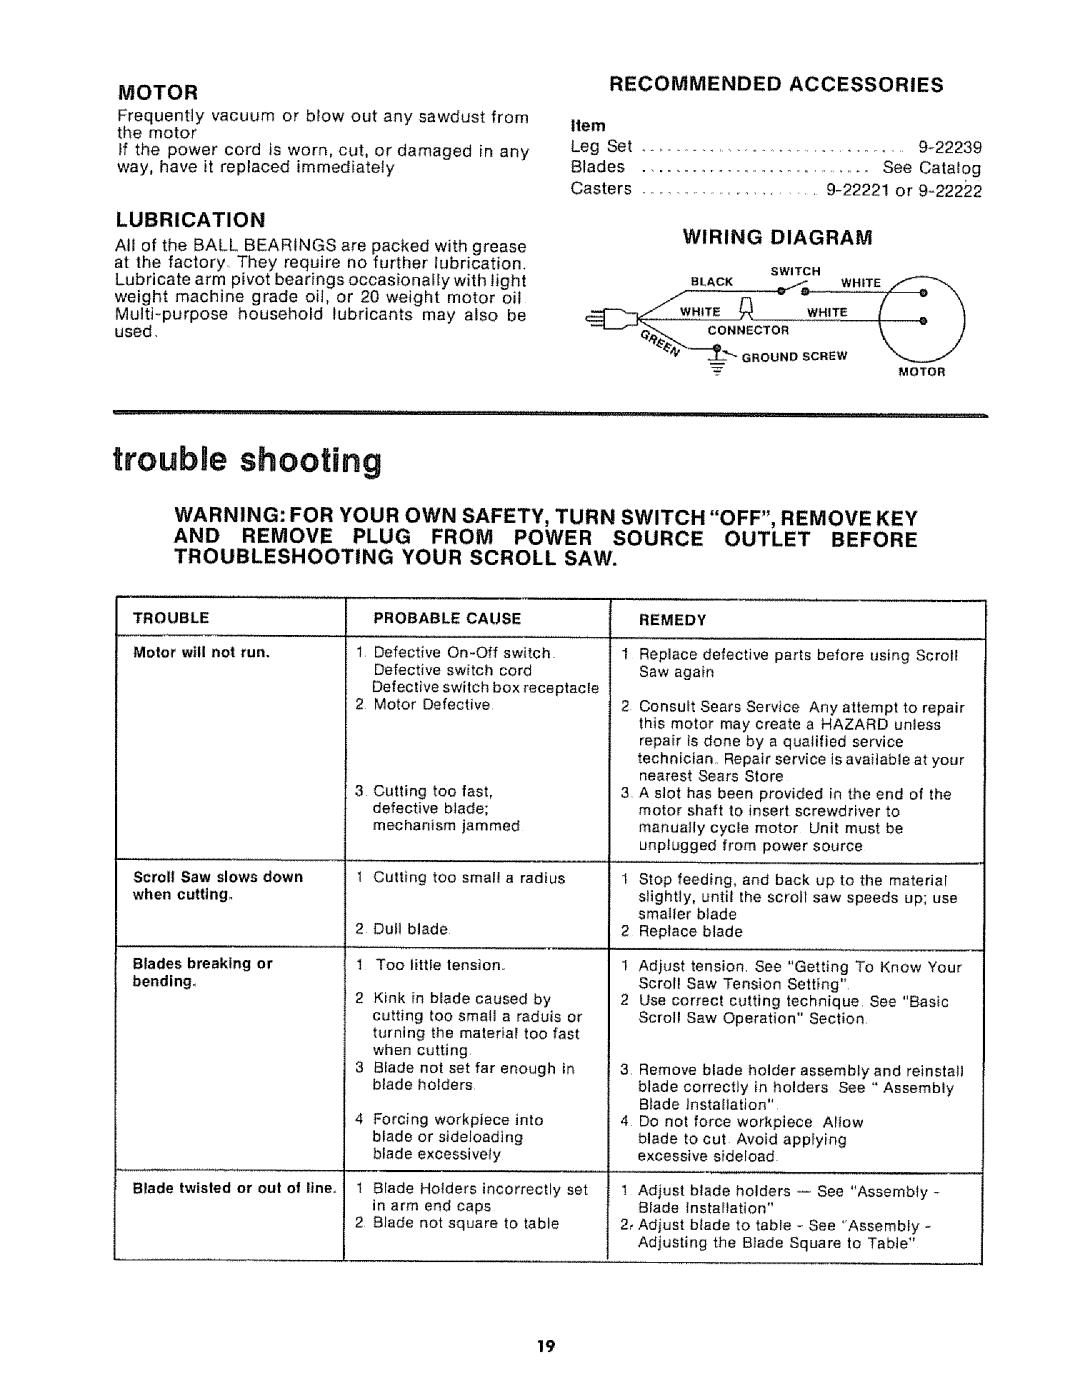
| WIRING | DIAGRAM |
|
|
| |
|
| SWITCH |
|
| , | |
| BLACK | _ | ||||
| WHITE |
|
|
| ||
=t___.. | CON.ECTOR | t | O | ) | ||
,v | GROUND | SCREW |
|
| ||
| _'- |
|
|
| MOTOR |
|
trouble shooting
WARNING: FOR YOUR OWN SAFETY, TURN SWITCH "OFF", REMOVE KEY
AND REMOVE PLUG FROM POWER SOURCE OUTLET BEFORE
TROUBLESHOOTING YOUR SCROLL SAW.
TROUBLE |
| PROBABLE CAUSE |
| REMEDY |
|
| ||
Motor will not run. | 1 | Defective | 1 | Replace defective parts | before using | Scroll | ||
|
| Defective | switch | cord |
| Saw again |
|
|
|
| Defective | switch | box receptacle |
|
|
|
|
| 2 | Motor Defective |
| 2 | Consult Sears Service | Any attempt to | repair | |
|
|
|
|
|
| this motor may create a HAZARD unless | ||
|
|
|
|
|
| repair is done by a qualified service |
| |
|
|
| 3 | Cutting |
| too fast, |
|
|
| |||
|
|
|
| defective | blade; |
|
|
| ||||
|
|
|
| mechanism | jammed |
|
| |||||
Scroll | Saw slows down | 1 | Cutting |
| too small | a | radius |
| ||||
when cutting° |
|
|
|
|
|
|
|
|
|
|
| |
|
|
| 2 | Dull | blade |
|
|
|
|
| ||
Blades | breaking | or | 1 | Too | little | tension,, |
|
| ||||
bending, |
|
|
|
|
|
|
|
|
|
|
| |
|
|
| 2 | Kink | in | blade | caused | by |
| |||
|
|
|
| cutting too small a raduis or | ||||||||
|
|
|
| turning the material too fast | ||||||||
|
|
|
| when | cutting |
|
|
|
| |||
|
|
| 3 | Blade | not | set | far | enough | in | |||
|
|
|
| blade |
| holders |
|
|
|
| ||
|
|
| 4 | Forcing | workpiece | into |
| |||||
|
|
|
| blade |
| or sideloading |
|
| ||||
|
|
|
| blade |
| excessively |
|
|
| |||
Blade | twisted or | out of line. | ! | Blade | Holders | incorrectly | set | |||||
|
|
|
| in arm |
| end caps |
|
|
| |||
|
|
| 2 | Blade | not | square | to | table |
| |||
technician, Repair service is available at your nearest Sears Store
3 A slot has been provided in the end of the motor shaft to insert screwdriver to
manually cycle motor Unit must be unplugged from power source
1 Stop feeding, and back up to the material slightly, until the scroll saw speeds up; use smaller blade
2 Replace blade
1 Adjust tension, See "Getting To Know Your Scroll Saw Tension Setting"
2 Use correct cutting technique See "Basic Scroll Saw Operation" Section
3 Remove blade holder assembly and reinstall
blade correctly in holders See " Assembly Blade Installation"
4 Do not force workpiece AIfow
blade to cut Avoid applying excessive sideload
1 Adjust blade holders
2, Adjust blade to table - See "Assembly - Adjusting the Blade Square to Table"
19