Schedule Mode
Schedule mode is selected by pressing SCHEDULE once or twice. Each time you press this key, the display switches between Schedule mode and Calendar mode.
A schedule listing consists of 3 entries: date, time, and detail. The maximum number of characters for each detail is 512. In the date entry, 4 digits can be entered for the year and 2 digits each for the month, day, hour, and minute.
1. Storing Schedule Listings
There are 3 ways to entering the desired date:
(1)Entering the desired date in Calendar mode
(2)Entering the desired date with NEXT (or PREV )
(3)Entering the desired date directly
After the date has been entered, actual entry of time and detail is the same for all 3 ways.
(1) Entering the desired date in Calendar mode
<Example> Enter the following data.
“Lunch with Tom” from 11:30 AM to 1:00 PM on February 24, 2001.
1.Press 2nd ![]()
![]() SCHEDULE in Calendar mode to display the calendar for the current date (February 8, 2001).
SCHEDULE in Calendar mode to display the calendar for the current date (February 8, 2001).
2.Press ![]()
![]()
![]() ,
, ![]()
![]()
![]() ,
, ![]()
![]()
![]() , or
, or ![]()
![]()
![]() to move the cursor to February 24, 2001.
to move the cursor to February 24, 2001.
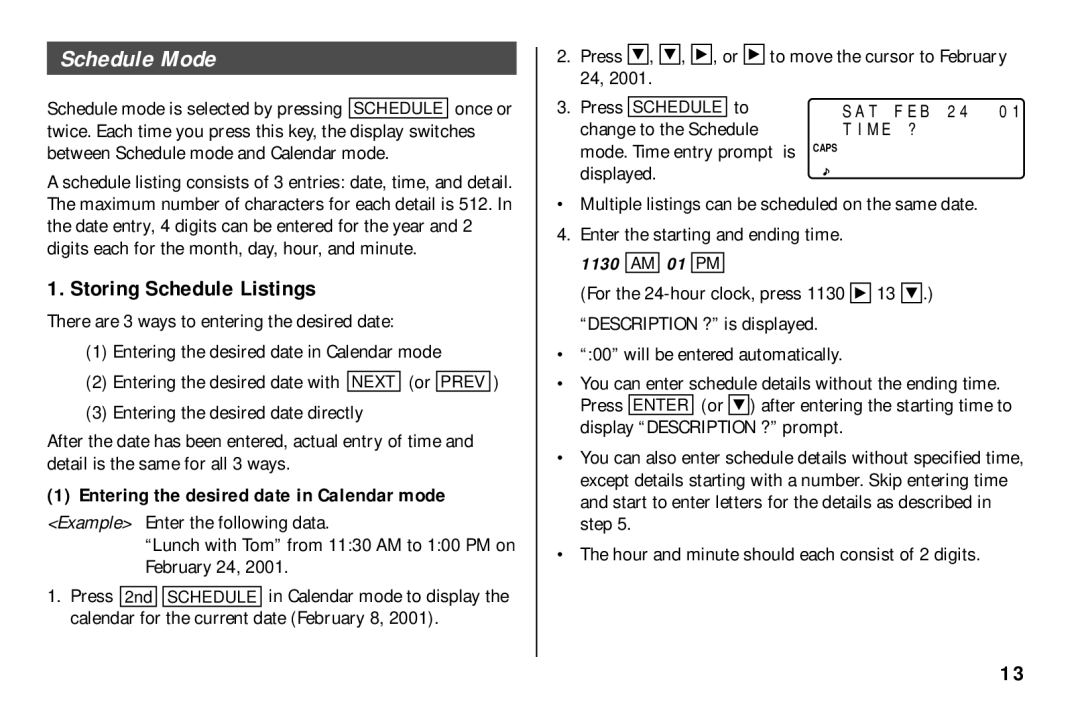
3. Press | SCHEDULE | to | SAT FEB 24 '01 |
change to the Schedule | TIME ? | ||
mode. Time entry prompt is | CAPS | ||
displayed. |
| ||
•Multiple listings can be scheduled on the same date.
4. Enter the starting and ending time.
1130 AM 01 PM
(For the ![]()
![]()
![]() 13
13 ![]()
![]()
![]() .) “DESCRIPTION ?” is displayed.
.) “DESCRIPTION ?” is displayed.
•“:00” will be entered automatically.
•You can enter schedule details without the ending time.
Press ENTER (or ![]()
![]()
![]() ) after entering the starting time to display “DESCRIPTION ?” prompt.
) after entering the starting time to display “DESCRIPTION ?” prompt.
•You can also enter schedule details without specified time, except details starting with a number. Skip entering time and start to enter letters for the details as described in step 5.
•The hour and minute should each consist of 2 digits.
13