<Example> Delete all listings in the TEL/MAIL1 file.
1.Press 2nd ![]()
![]() MENU
MENU ![]()
![]() NEXT
NEXT ![]()
![]() 1 .
1 .
2.Press 1 to select TEL/MAIL1.
“DELETE ? Y/N” is displayed.
•After performing the step 1, press the followings keys in other modes:
TEL/MAIL2: 2
WWW (URL): 3
Schedule: NEXT ![]()
![]() 1
1 ![]()
![]() 1
1
Anniversary: NEXT ![]()
![]() 1
1 ![]()
![]() 2
2
Memo: NEXT 2
•When the Secret function is on, “SECRET ON MODE” is displayed and the file cannot be deleted. In this case, turn the Secret function off (page 20) and repeat the above procedure.
•Even after you have designated the file name, the message does not change accordingly.
3. Press Y .
•To cancel the deletion operation, press N .
•All listings in the TEL/MAIL1 file (including secret listings) will be deleted.
(2) Deleting the password and secret listings
The password and all secret listings can be deleted at the same time.
1.Press 2nd ![]()
![]() MENU
MENU ![]()
![]() NEXT
NEXT ![]()
![]() 1 .
1 .
2.Press NEXT ![]()
![]() 3 .
3 .
“ALL SECRET DATA DELETE ? Y/N” is displayed.
3.Press Y .
•To cancel the deletion operation, press N .
•“DELETED !” is displayed briefly and the password and all secret listings are deleted.
5. Changing the File Names
See page 9, “Designating the File Names” for operation.
6. Setting Up the Backlight
See page 2 for operation.
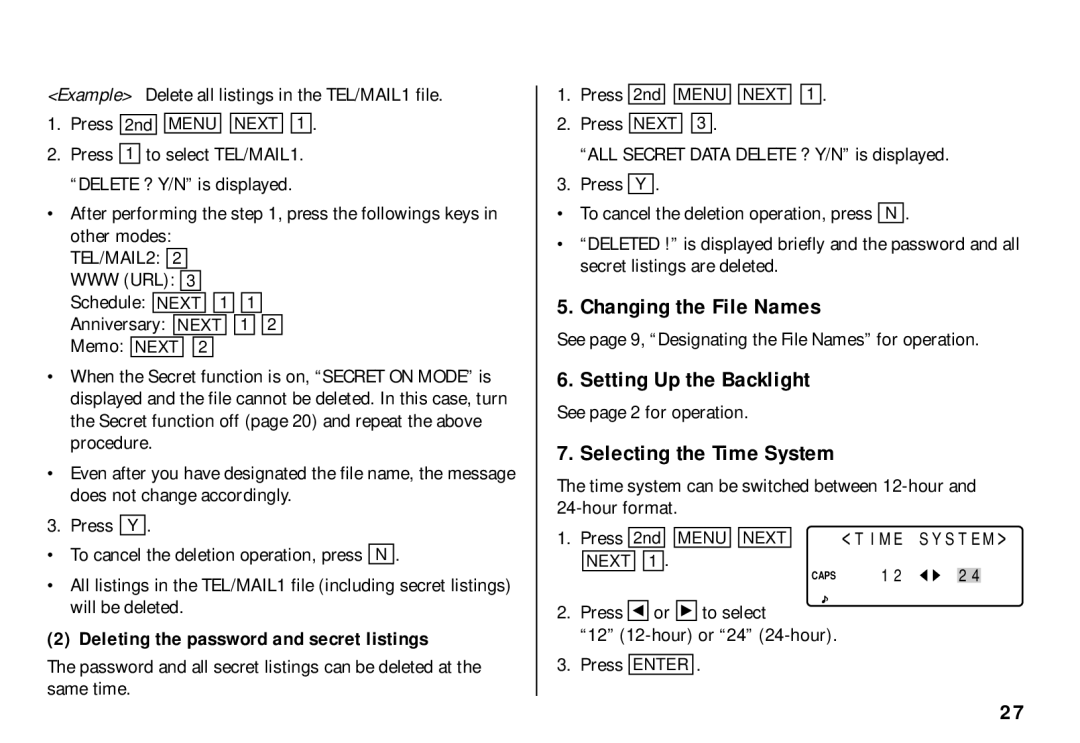
7. Selecting the Time System
The time system can be switched between
1. Press | 2nd |
| MENU |
| NEXT |
| <TIME | SYSTEM> | ||||
|
|
|
| . |
|
|
|
|
|
|
|
|
| NEXT |
| 1 |
|
|
|
| 12 |
|
|
| |
|
|
|
|
|
|
|
| CAPS |
| 24 |
| |
2.Press ![]()
![]()
![]() or
or ![]()
![]()
![]() to select
to select
“12”
3.Press ENTER .
27