HT-DV40H specifications
The Sharp HT-DV40H is an all-in-one home theater system designed to deliver a comprehensive audio-visual experience. This compact yet powerful system integrates multiple technologies and features to enhance your entertainment setup, making it a popular choice among consumers looking for quality performance without the hassle of numerous separate components.One of the key characteristics of the HT-DV40H is its impressive 5.1-channel surround sound capability. This means it comes with five satellite speakers and a subwoofer, providing immersive audio that makes you feel like you're part of the action, whether you're watching movies or listening to music. The subwoofer produces deep bass tones that add richness to soundtracks and sound effects.
The HT-DV40H supports various audio formats, including Dolby Digital and DTS, ensuring compatibility with most modern multimedia content. This versatility allows it to decode high-quality audio streams effectively, delivering crystal-clear sound for dialogues, music, and all other audio elements. Additionally, the system features built-in equalization options, enabling users to adjust sound profiles according to their preferences.
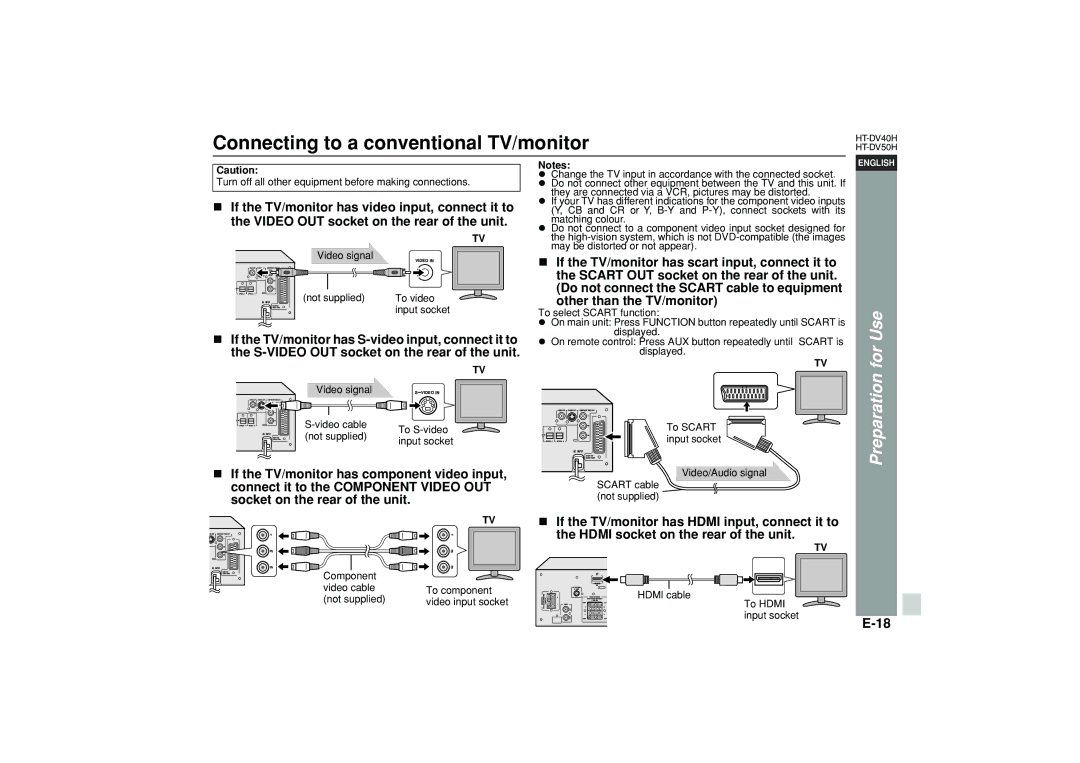
In terms of video playback, the Sharp HT-DV40H offers multiple connectivity options, including HDMI, composite, and component outputs. This allows users to easily connect the system to their television and other devices. The inclusion of an HDMI output simplifies one-cable connection to your display, supporting high-definition video and high-quality audio in a single interface.
Furthermore, the HT-DV40H is equipped with a built-in DVD player, providing convenience with those who prefer physical media. The upscaling feature enhances video resolution, taking standard DVDs and boosting their quality closer to HD, making your viewing experience visually appealing.
Another significant aspect of the HT-DV40H is its user-friendly interface and remote control, allowing easy navigation through menus, audio settings, and playback options. The compact design ensures that this system doesn’t take up excessive space, fitting seamlessly into any room setup.
Overall, the Sharp HT-DV40H is an excellent home theater system that combines advanced audio and video technologies, catering to users seeking an all-in-one solution for their entertainment needs. Its high-quality surround sound, versatile connectivity, and integrated DVD capabilities make it a worthwhile investment for movie lovers and music enthusiasts alike.