Recording to a MiniDisc from a CD (continued)
MD Recording - Recording to a MiniDisc from a CD -
■Recording the first several tracks of a CD
Create your own hit collection. For example, you can record the first several tracks of a CD.
1 Press the
2 Press the CD ■ button.
3 Load a CD and a recordable MiniDisc.
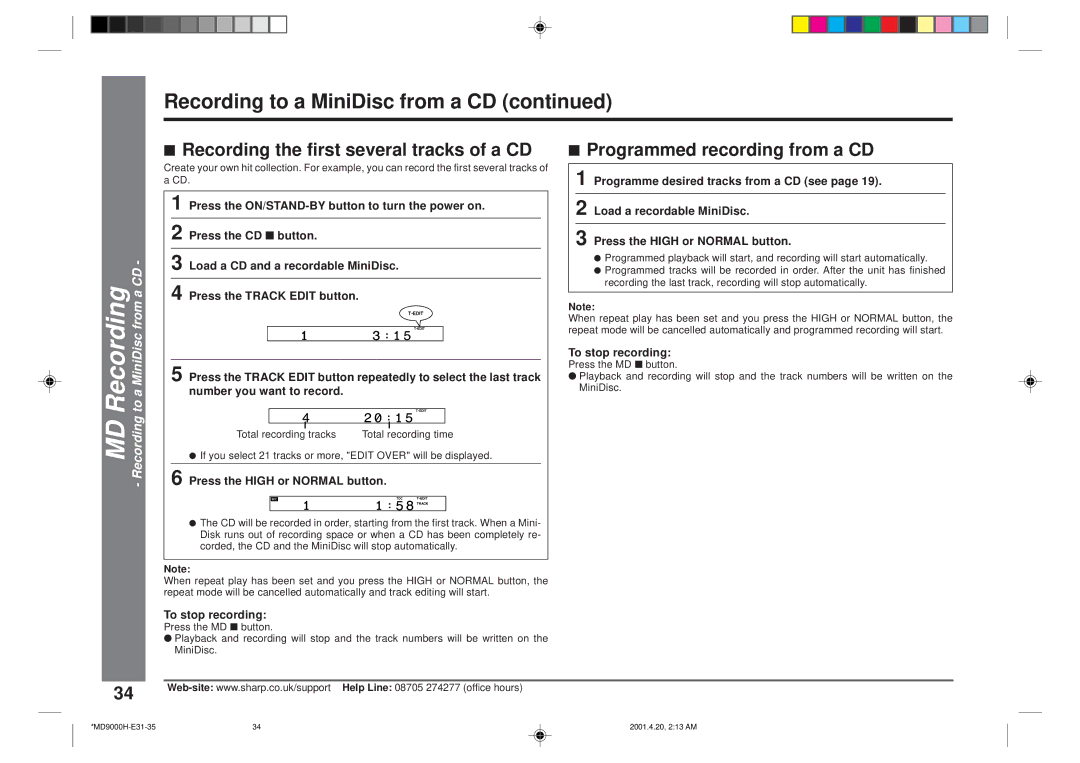
4 Press the TRACK EDIT button.
5 Press the TRACK EDIT button repeatedly to select the last track number you want to record.
Total recording tracks | Total recording time |
●If you select 21 tracks or more, "EDIT OVER" will be displayed.
6 Press the HIGH or NORMAL button.
●The CD will be recorded in order, starting from the first track. When a Mini- Disk runs out of recording space or when a CD has been completely re- corded, the CD and the MiniDisc will stop automatically.
Note:
When repeat play has been set and you press the HIGH or NORMAL button, the repeat mode will be cancelled automatically and track editing will start.
To stop recording:
Press the MD ■ button.
●Playback and recording will stop and the track numbers will be written on the MiniDisc.
■Programmed recording from a CD
1 Programme desired tracks from a CD (see page 19).
2 Load a recordable MiniDisc.
3 Press the HIGH or NORMAL button.
●Programmed playback will start, and recording will start automatically.
●Programmed tracks will be recorded in order. After the unit has finished recording the last track, recording will stop automatically.
Note:
When repeat play has been set and you press the HIGH or NORMAL button, the repeat mode will be cancelled automatically and programmed recording will start.
To stop recording:
Press the MD ■ button.
●Playback and recording will stop and the track numbers will be written on the MiniDisc.
34 | |
|
34 | 2001.4.20, 2:13 AM |