Editing a Recorded MiniDisc (continued)
MD Editing - Editing a Recorded MiniDisc -
■To erase a track
1 Press the MD ■ button and load a MiniDisc (see page 17).
2 Whilst in the stop mode, select the track you want to erase using the 5/3 or 2/4 button. Or start playing the track and then press the MD 06 button.
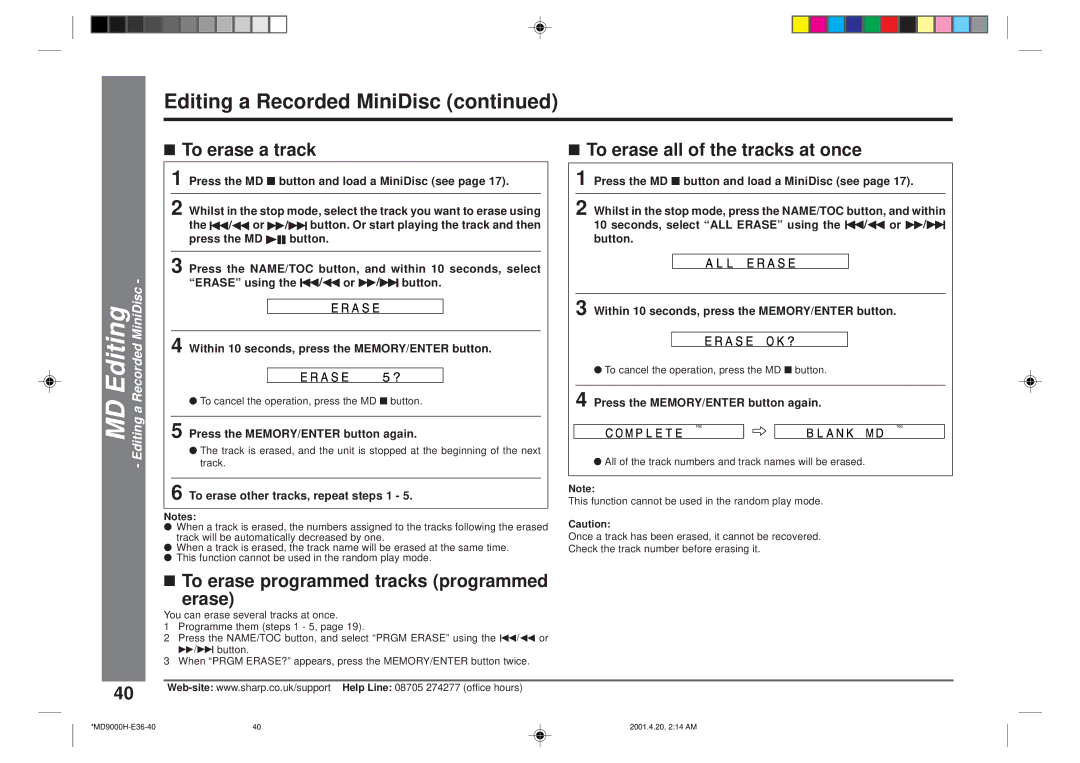
3 Press the NAME/TOC button, and within 10 seconds, select “ERASE” using the 5/3 or 2/4 button.
4 Within 10 seconds, press the MEMORY/ENTER button.
●To cancel the operation, press the MD ■ button.
5 Press the MEMORY/ENTER button again.
●The track is erased, and the unit is stopped at the beginning of the next track.
6 To erase other tracks, repeat steps 1 - 5.
Notes:
●When a track is erased, the numbers assigned to the tracks following the erased track will be automatically decreased by one.
●When a track is erased, the track name will be erased at the same time.
●This function cannot be used in the random play mode.
■To erase all of the tracks at once
1 Press the MD ■ button and load a MiniDisc (see page 17).
2 Whilst in the stop mode, press the NAME/TOC button, and within 10 seconds, select “ALL ERASE” using the 5/3 or 2/4 button.
3 Within 10 seconds, press the MEMORY/ENTER button.
●To cancel the operation, press the MD ■ button.
4 Press the MEMORY/ENTER button again.
●All of the track numbers and track names will be erased.
Note:
This function cannot be used in the random play mode.
Caution:
Once a track has been erased, it cannot be recovered.
Check the track number before erasing it.
40
■To erase programmed tracks (programmed
erase)
You can erase several tracks at once.
1Programme them (steps 1 - 5, page 19).
2Press the NAME/TOC button, and select “PRGM ERASE” using the 5/3 or 2/4 button.
3When “PRGM ERASE?” appears, press the MEMORY/ENTER button twice.
40 | 2001.4.20, 2:14 AM |
