●Check whether the total number of tracks on the newly recorded MiniDisc matches the total number of tracks on the master MiniDisc. If they do not match each other, combine or divide tracks using the edit operation. (Pages
●This function can not be performed from
2 When the recording is complete, remove the newly recorded MiniDisc and load the master MiniDisc into the
●Do not mistake the master MiniDisc for the newly recorded MiniDisc.
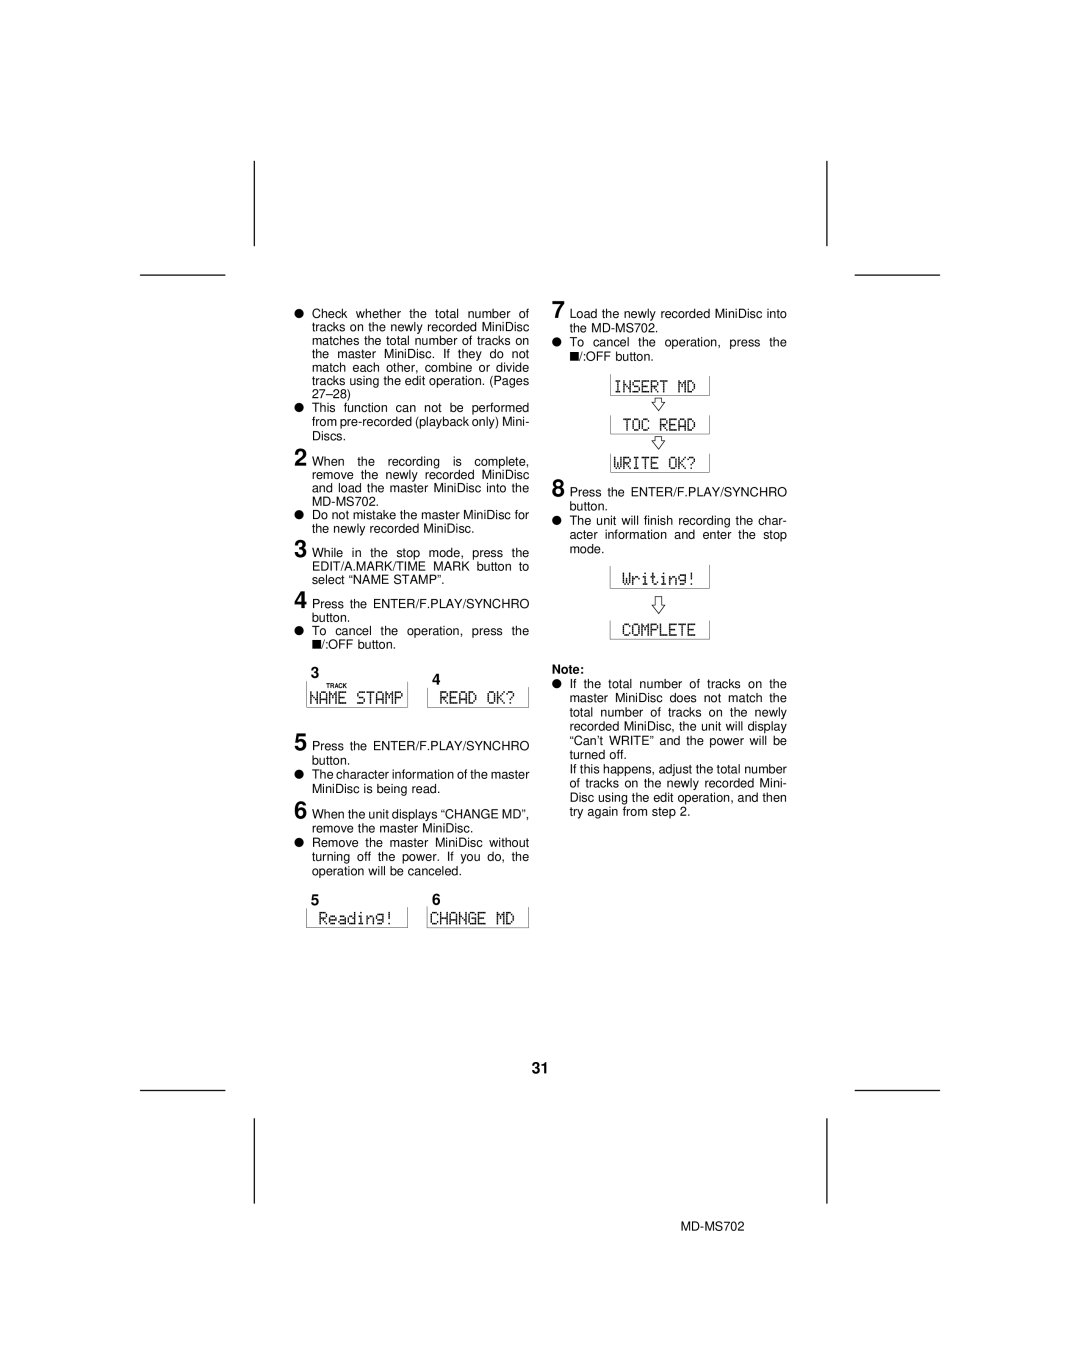
3 While in the stop mode, press the EDIT/A.MARK/TIME MARK button to select “NAME STAMP”.
4 Press the ENTER/F.PLAY/SYNCHRO
button.
●To cancel the operation, press the
■/:OFF button.
7 Load the newly recorded MiniDisc into the
●To cancel the operation, press the ■/:OFF button.
8 Press the ENTER/F.PLAY/SYNCHRO
button.
●The unit will finish recording the char- acter information and enter the stop mode.
34
5 Press the ENTER/F.PLAY/SYNCHRO
button.
●The character information of the master MiniDisc is being read.
6 When the unit displays “CHANGE MD”, remove the master MiniDisc.
●Remove the master MiniDisc without turning off the power. If you do, the operation will be canceled.
Note:
●If the total number of tracks on the master MiniDisc does not match the total number of tracks on the newly recorded MiniDisc, the unit will display “Can't WRITE” and the power will be turned off.
If this happens, adjust the total number of tracks on the newly recorded Mini- Disc using the edit operation, and then try again from step 2.
56
31