8Getting Started
Setting the Display Contrast
If the display is not clear, press ![]() or
or ![]() until the display is satisfactory.
until the display is satisfactory.
Press ![]() to proceed with setting up the Clock as described
to proceed with setting up the Clock as described
below (or ![]() to quit the set up procedure).
to quit the set up procedure).
Setting the City
In order to make sure that the Calendar, Schedule and other
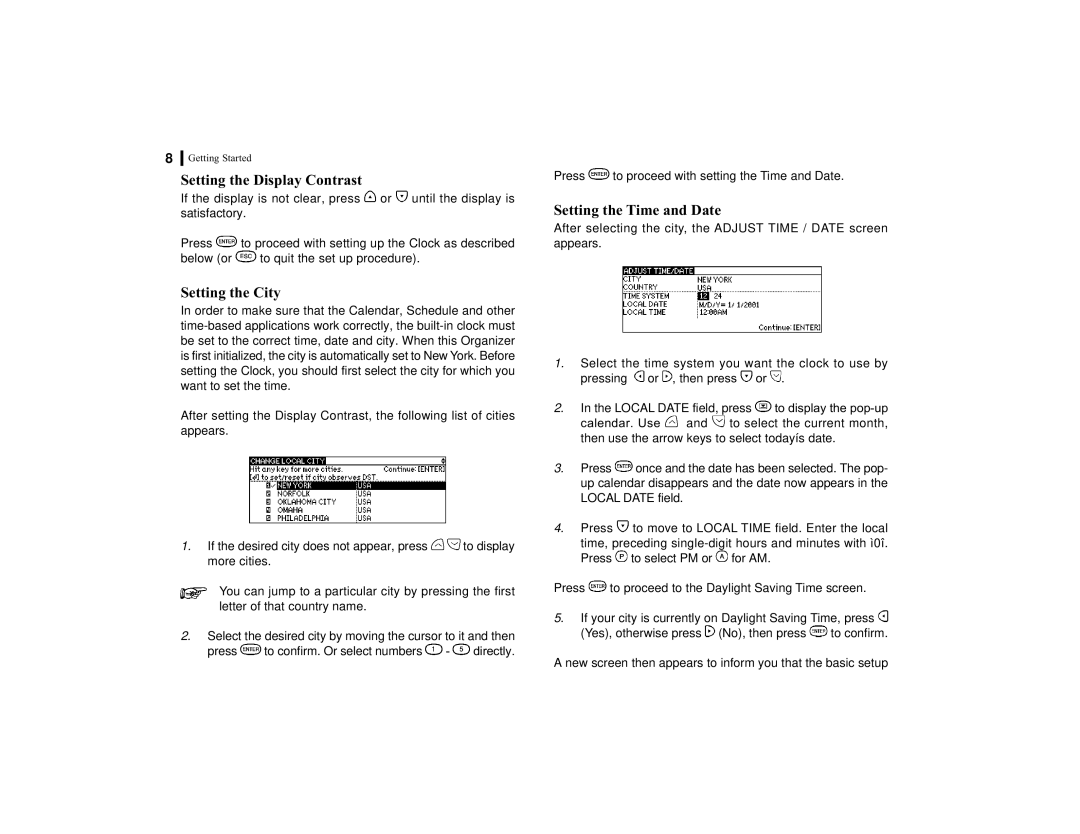
After setting the Display Contrast, the following list of cities appears.
1.If the desired city does not appear, press ![]()
![]() to display more cities.
to display more cities.
You can jump to a particular city by pressing the first letter of that country name.
2.Select the desired city by moving the cursor to it and then
press ![]() to confirm. Or select numbers
to confirm. Or select numbers ![]() -
- ![]() directly.
directly.
Press ![]() to proceed with setting the Time and Date.
to proceed with setting the Time and Date.
Setting the Time and Date
After selecting the city, the ADJUST TIME / DATE screen appears.
1.Select the time system you want the clock to use by pressing ![]() or
or ![]() , then press
, then press ![]() or
or ![]() .
.
2.In the LOCAL DATE field, press ![]() to display the
to display the ![]() and
and ![]() to select the current month, then use the arrow keys to select todayís date.
to select the current month, then use the arrow keys to select todayís date.
3.Press ![]() once and the date has been selected. The pop- up calendar disappears and the date now appears in the LOCAL DATE field.
once and the date has been selected. The pop- up calendar disappears and the date now appears in the LOCAL DATE field.
4.Press ![]() to move to LOCAL TIME field. Enter the local
to move to LOCAL TIME field. Enter the local
time, preceding ![]() to select PM or
to select PM or ![]() for AM.
for AM.
Press ![]() to proceed to the Daylight Saving Time screen.
to proceed to the Daylight Saving Time screen.
5.If your city is currently on Daylight Saving Time, press ![]()
(Yes), otherwise press ![]() (No), then press
(No), then press ![]() to confirm.
to confirm.
A new screen then appears to inform you that the basic setup
