Setting up the Projector Network Environment
3.Setting up a Network Connection for the Projector
Settings for such items as the projector’s IP address and subnet mask are compatible with the existing network.
Set each item on the projector as follows. (See page 50 of the projector’s operation manual for setting.)
DHCP Client : Off
IP Address : 192.168.150.002
Subnet Mask : 255.255.255.000
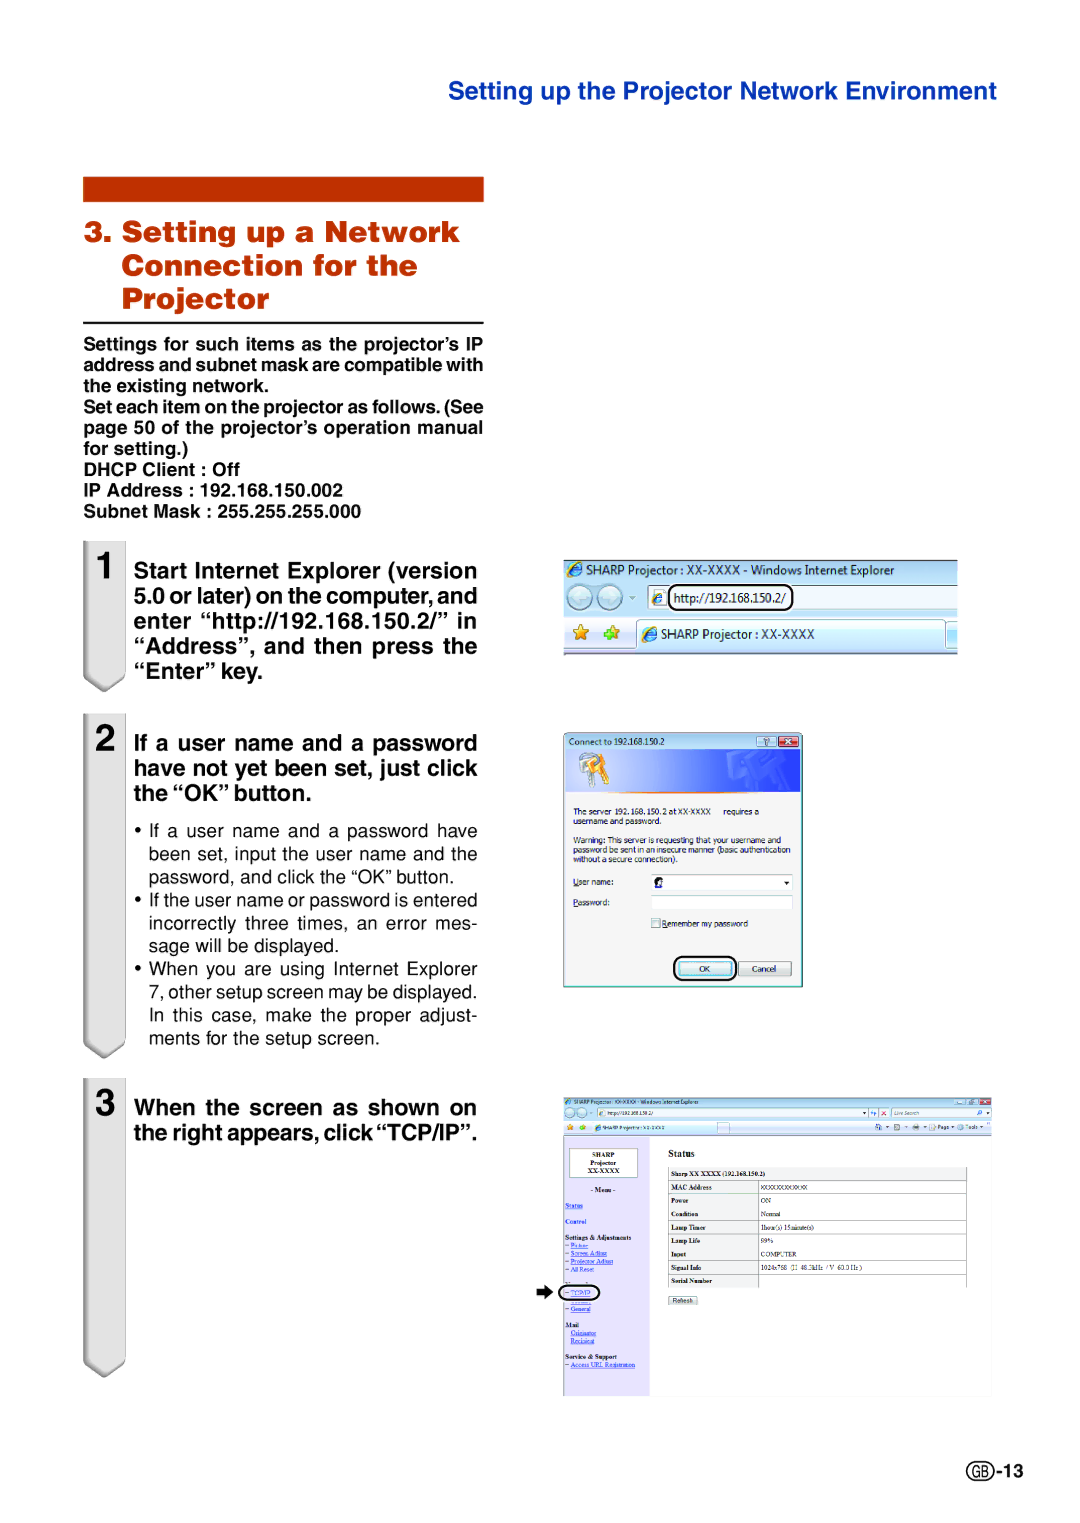
1 Start Internet Explorer (version
5.0or later) on the computer, and enter “http://192.168.150.2/” in “Address”, and then press the “Enter” key.
2 If a user name and a password have not yet been set, just click the “OK” button.
•If a user name and a password have been set, input the user name and the password, and click the “OK” button.
•If the user name or password is entered incorrectly three times, an error mes-
sage will be displayed.
• When you are using Internet Explorer 7, other setup screen may be displayed. In this case, make the proper adjust- ments for the setup screen.
3
When the screen as shown on the right appears, click “TCP/IP”.
![]() -13
-13