Setting up the Projector Using
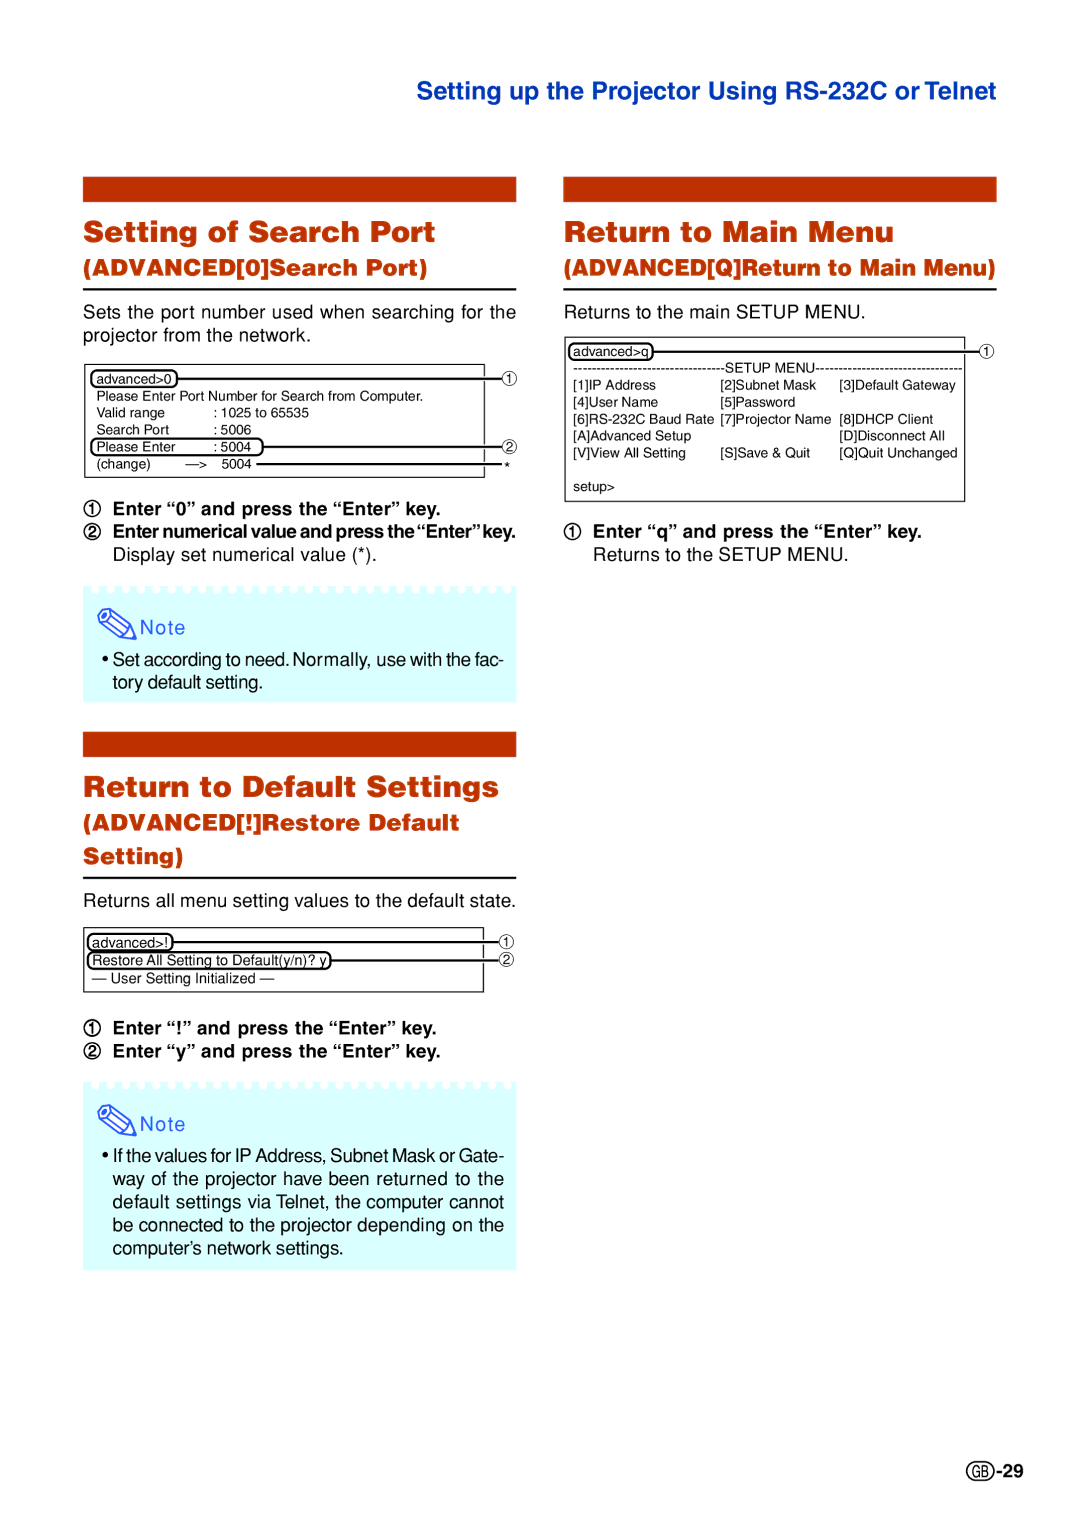
Setting of Search Port
(ADVANCED[0]Search Port)
Sets the port number used when searching for the projector from the network.
advanced>0 |
|
| 1 | |
Please Enter Port Number for Search from Computer. |
|
| ||
Valid range | : 1025 to 65535 |
|
| |
Search Port | : 5006 |
|
|
|
Please Enter | : 5004 |
|
| 2 |
|
| |||
(change) | * | |||
1Enter “0” and press the “Enter” key.
2Enter numerical value and press the“Enter”key. Display set numerical value (*).
Return to Main Menu
(ADVANCED[Q]Return to Main Menu)
Returns to the main SETUP MENU.
advanced>q |
| 1 |
SETUP | ||
[1]IP Address | [2]Subnet Mask | [3]Default Gateway |
[4]User Name | [5]Password |
|
[8]DHCP Client | ||
[A]Advanced Setup |
| [D]Disconnect All |
[V]View All Setting | [S]Save & Quit | [Q]Quit Unchanged |
setup> |
|
|
1Enter “q” and press the “Enter” key. Returns to the SETUP MENU.
![]() Note
Note
•Set according to need. Normally, use with the fac- tory default setting.
Return to Default Settings
(ADVANCED[!]Restore Default
Setting)
Returns all menu setting values to the default state.
advanced>!
Restore All Setting to Default(y/n)? y
— User Setting Initialized —
1
2
1Enter “!” and press the “Enter” key.
2 Enter “y” and press the “Enter” key.
![]() Note
Note
•If the values for IP Address, Subnet Mask or Gate- way of the projector have been returned to the default settings via Telnet, the computer cannot be connected to the projector depending on the computer’s network settings.
![]() -29
-29