Setting up the Projector Network Environment
2.Setting an IP Address for the Computer
The following describes how to make settings in Windows® XP (Professional or Home Edi- tion).
1 Log on the network using the administrator’s account for the computer.
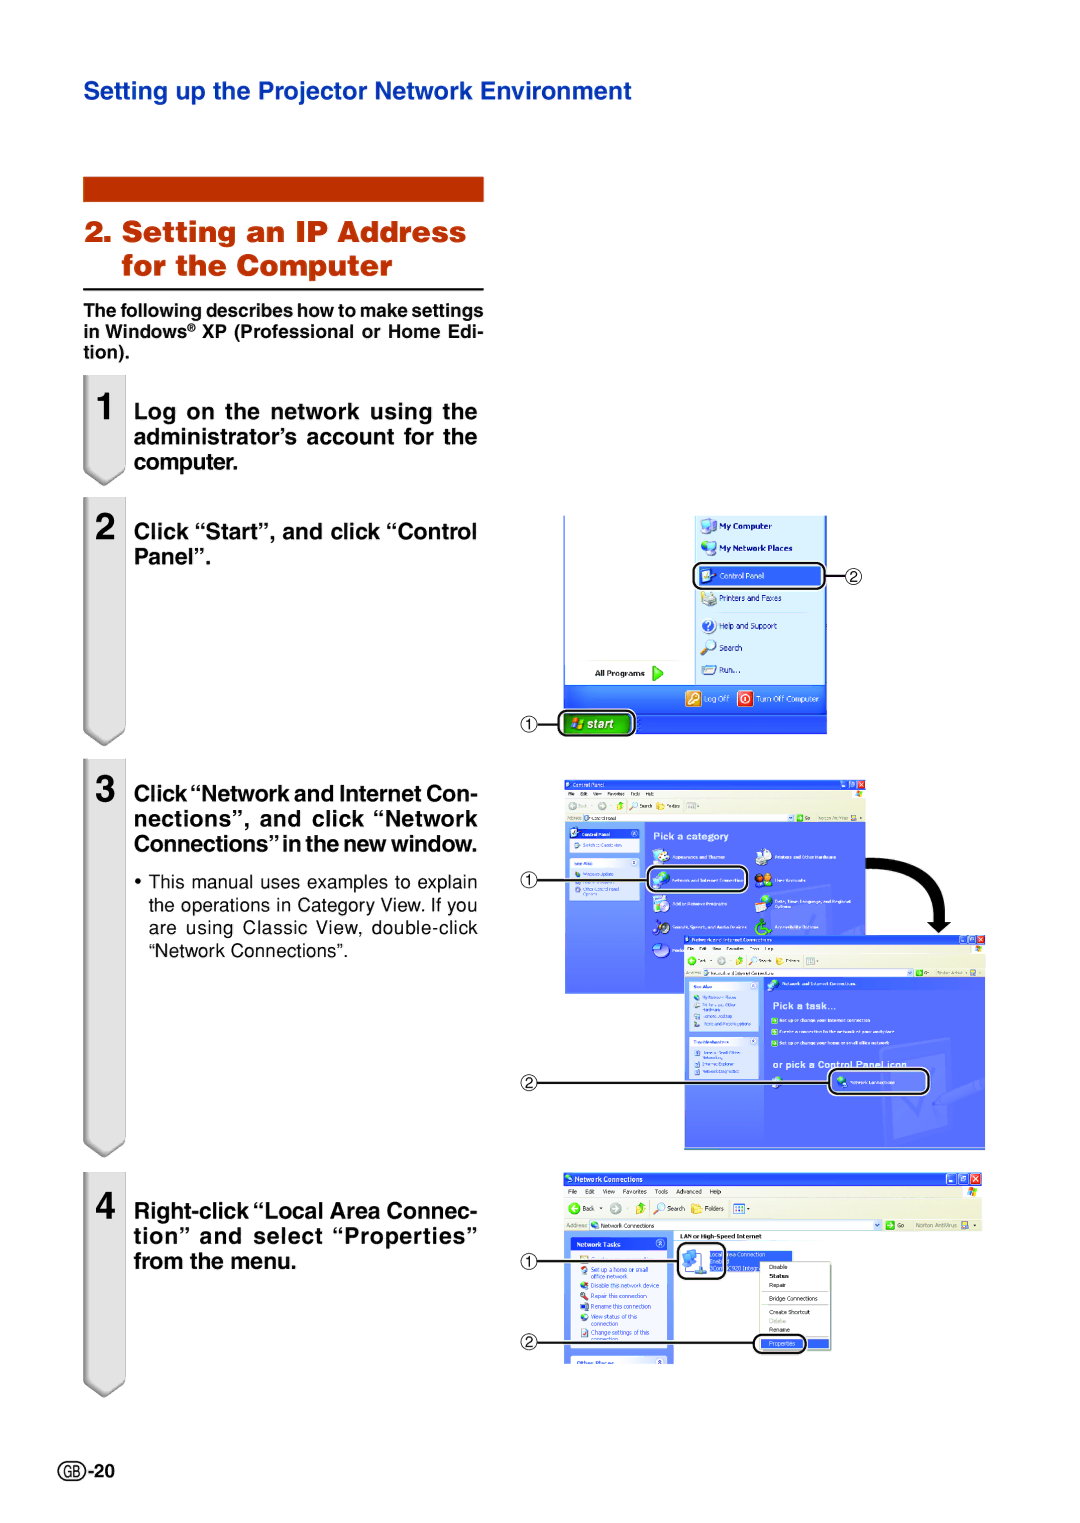
2 Click “Start”, and click “Control Panel”.
2
1![]()
3 Click “Network and Internet Con- nections”, and click “Network Connections”in the new window.
•This manual uses examples to explain the operations in Category View. If you are using Classic View,
1
2
4
| |
tion” and select “Properties” |
|
from the menu. | 1 |
2
![]() -20
-20