Setting up the Screen
Projector |
| Remote control | |||
|
|
|
|
| RGB/ |
| ON/OFF | LAMP |
| INPUT 1 | COMPONENT PICT MODE |
POWER |
|
|
|
| |
|
|
|
|
| |
|
| TEMP. |
| INPUT 2 AUTO SYNC GAMMA | |
|
|
|
|
| |
| KEYSTONE | 1 |
|
| |
|
|
| CLR TEMP | ||
INPUT |
| PICT MODE |
|
|
|
|
|
|
| VIDEO | KEYSTONE FREEZE |
BACK |
| ENTER | MENU |
|
|
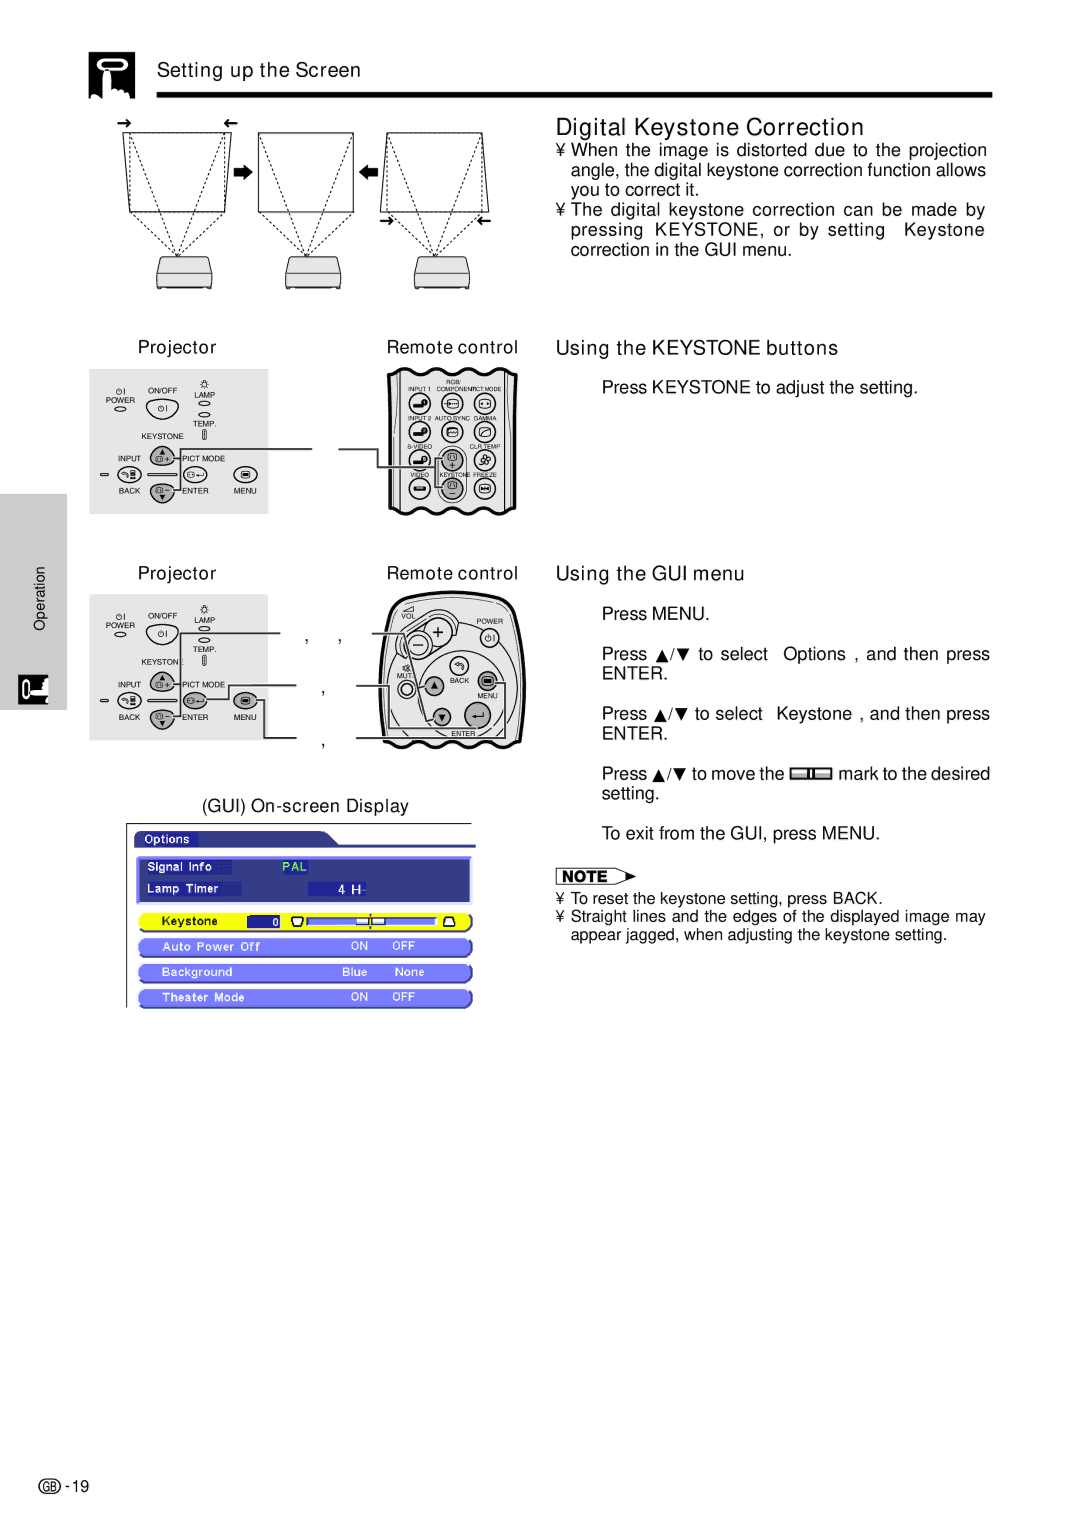
Digital Keystone Correction
•When the image is distorted due to the projection angle, the digital keystone correction function allows you to correct it.
•The digital keystone correction can be made by pressing KEYSTONE, or by setting “Keystone” correction in the GUI menu.
Using the KEYSTONE buttons
1Press KEYSTONE to adjust the setting.
Operation
Projector | Remote control | Using the GUI menu | ||
ON/OFF | LAMP | POWER | 1 | Press MENU. |
| VOL |
|
| |
POWER |
| 2, 3, 4 |
|
|
|
| 2 | Press ∂/ƒ to select “Options”, and then press | |
| TEMP. |
| ||
KEYSTONE |
|
| ||
|
|
|
| |
|
| 2, 3 | MUTE | BACK |
| ENTER. |
|
INPUT | PICT MODE |
|
|
|
|
| |
|
|
|
|
|
| ||
|
|
|
|
| MENU |
|
|
BACK | ENTER | MENU |
|
| 3 | Press ∂/ƒ to select “Keystone”, and then press | |
|
| 1, 5 |
| ENTER |
| ENTER. |
|
|
|
|
|
| 4 | Press ∂/ƒ to move the | mark to the desired |
| (GUI) |
|
| setting. |
| ||
|
|
|
|
| |||
|
|
|
|
| 5 | To exit from the GUI, press MENU. | |
• To reset the keystone setting, press BACK.
• Straight lines and the edges of the displayed image may appear jagged, when adjusting the keystone setting.
![]()
![]() 19
19