Operation
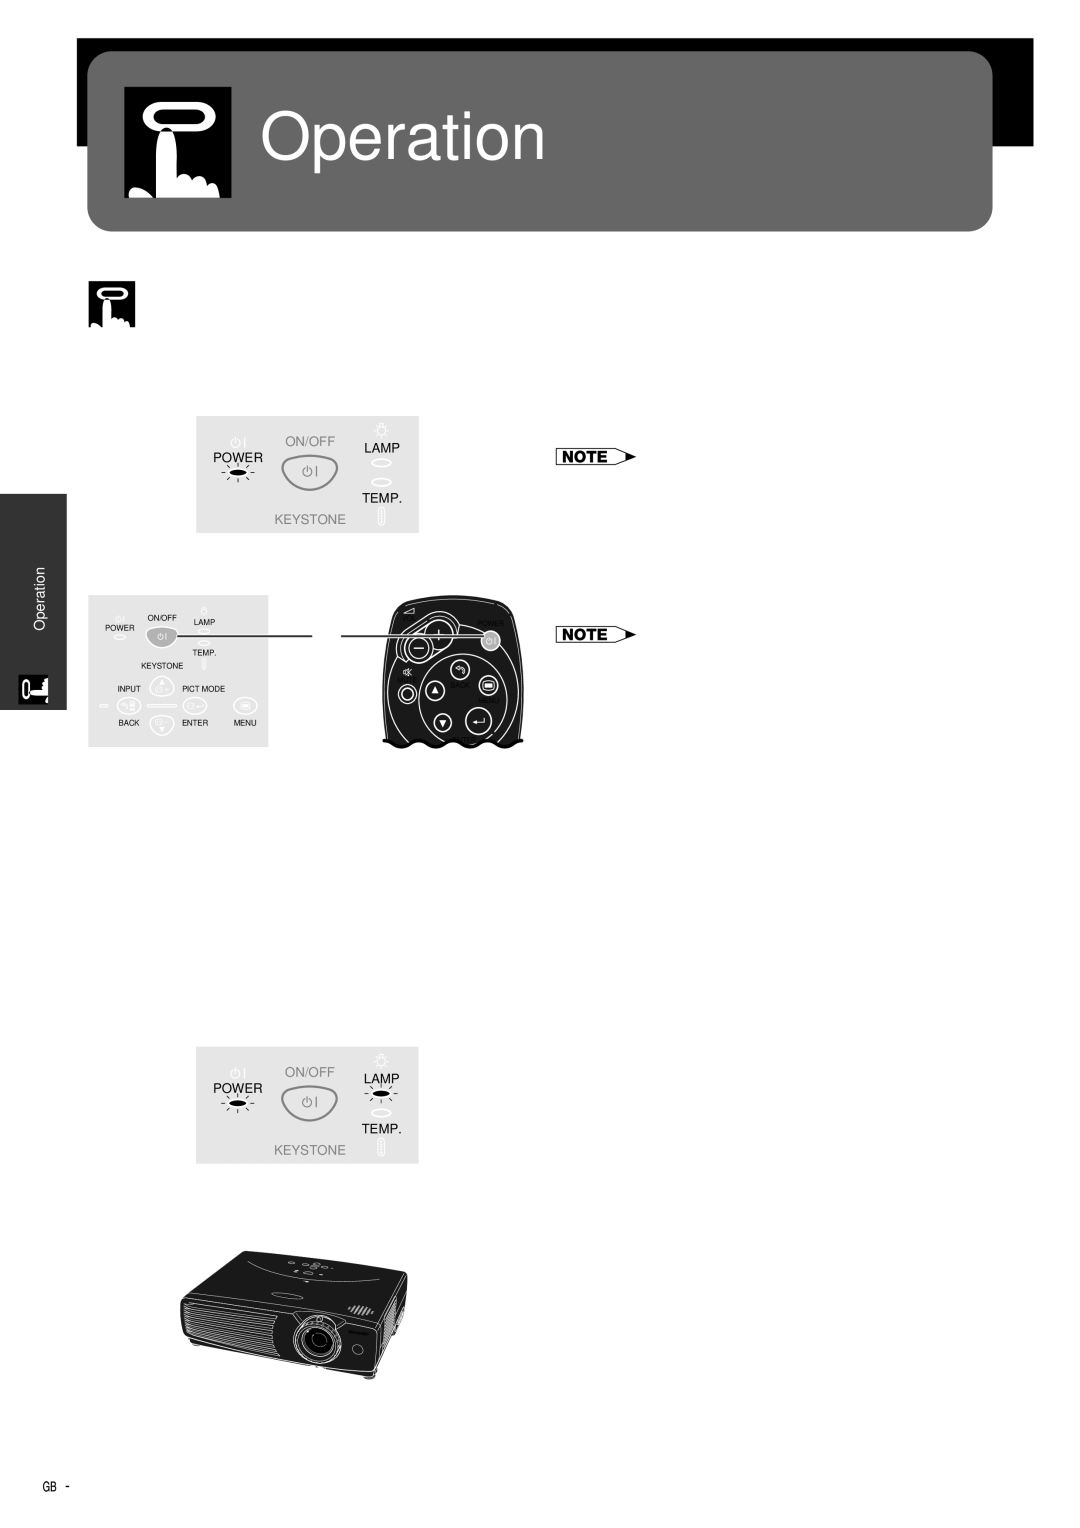
Basic Operations
Maintenance indicators
1 Make the necessary connections before pro- |
ceeding. Connect the power cord to a wall outlet. |
The POWER indicator illuminates red and the |
projector enters standby mode. |
POWER
ON/OFF LAMP
TEMP.
• If the side filter cover is not securely installed, the POWER |
indicator flashes. |
KEYSTONE
Operation
Projector | Remote control | ||
| ON/OFF | LAMP | VOL |
POWER |
| POWER | |
|
| 2 | |
|
|
| |
|
| TEMP. |
|
| KEYSTONE |
| |
|
|
| MUTE |
INPUT |
| PICT MODE | BACK |
|
| ||
|
|
| MENU |
BACK |
| ENTER | MENU |
|
|
| ENTER |
Startup image
2Press ON/OFF on the projector for over one second, or POWER on the remote control.
•The flashing green LAMP REPLACEMENT indicator shows that the lamp is warming up. Wait until the indicator stops flashing before operating the projector.
•If the power is turned off and then immediately turned on again, it may take a short while before the lamp turns on.
•After the projector is unpacked and turned on for the first time, a slight odour may be emitted from the exhaust vent. This odour will soon disappear with use.
•Do not press any buttons before the startup image disappears. Before “Adjusting The Image” appears, only ON/OFF or POWER is available.
Maintenance indicators
When the power is on, the LAMP REPLACEMENT indicator lights indicating the status of the lamp.
POWER
ON/OFF LAMP
TEMP.
Green: Lamp is ready.
Flashing green: Warming up.
Red: Change the lamp.
KEYSTONE
3
4
3Slide the ZOOM knob. The image can be adjusted to the desired size within the zoom range.
4Rotate the FOCUS ring until the image on the screen becomes clear.
![]()
![]() 15
15