HT5000
KEYSTONE 20%
TRIG 1 TRIG 2
Fig. 4 | Fig. 6 |
The Orientation adjustment in the Set up menu allows you to reverse the image vertically and horizontally (Fig. 9), to allow the projector to be used for desktop front, ceiling front, desktop rear and ceiling rear installations (Fig. 5).
For rear projection the screen must be translucent.
For front projection, we recommend the use of a screen with black matt borders to contain the projected image.
Preferably use a unit gain screen; high gain screens are only effective when used with a small group of viewers close to the screen’s axis.
Prevent ambient light shining directly on the screen during projection as this will reduce the contrast of the projected image.
Furniture and other objects with reflecting surfaces, as well as light coloured walls should be avoided, as they are likely to interfere with the screen’s characteristics.
Fig. 5
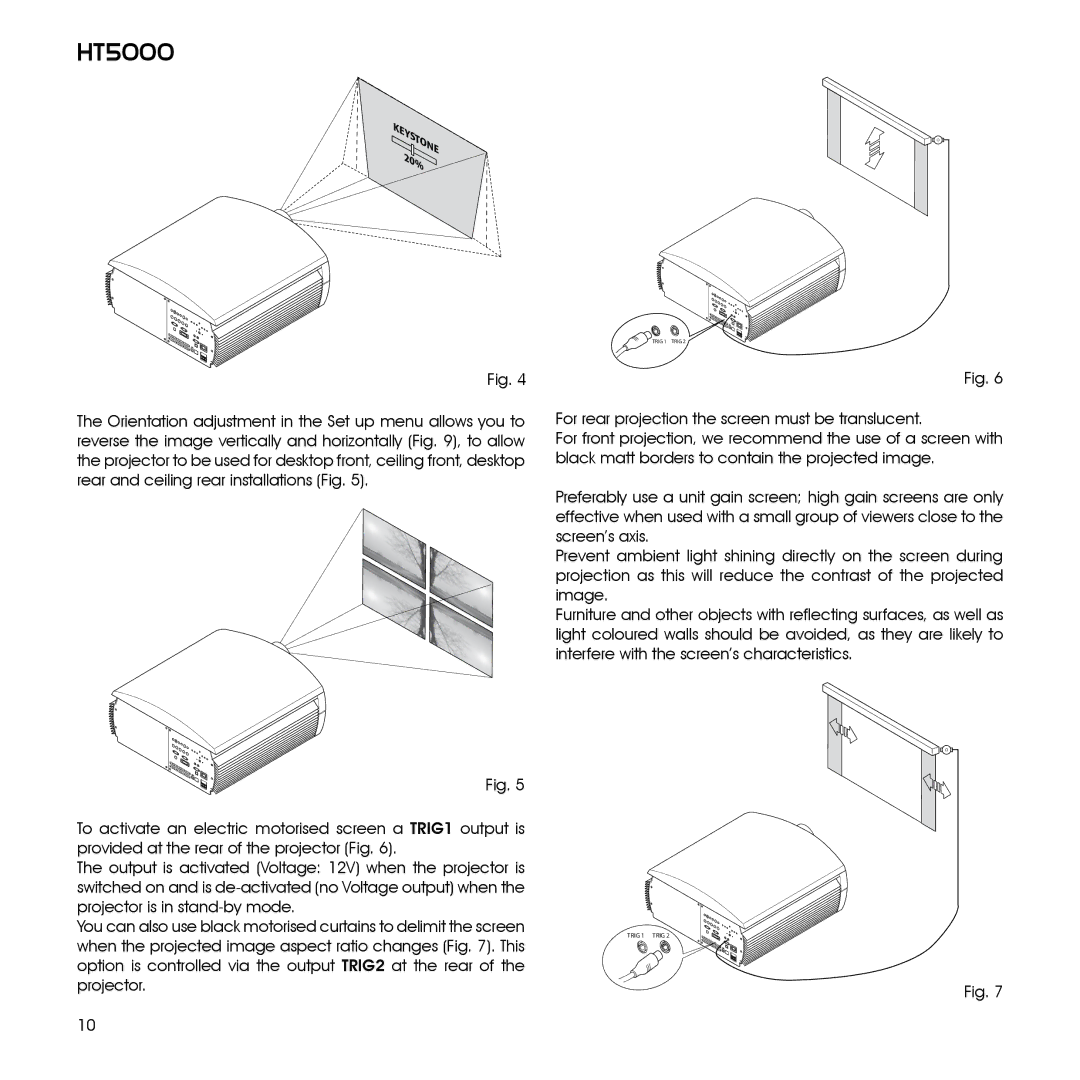
To activate an electric motorised screen a TRIG1 output is provided at the rear of the projector (Fig. 6).
The output is activated (Voltage: 12V) when the projector is switched on and is
You can also use black motorised curtains to delimit the screen when the projected image aspect ratio changes (Fig. 7). This option is controlled via the output TRIG2 at the rear of the projector.
TRIG 1 TRIG 2
Fig. 7
10