The remote control is equipped with two keys (F1 and F2) which are associated with various different functions.
The screen has six options, one for each line, and two columns indicating the keys
◀and ▶ on the remote control; select the function to assign to F1 or F2 with the keys ▼ and ▲.
The function performed by the key is confirmed by the appea- rance of a dot on the corresponding
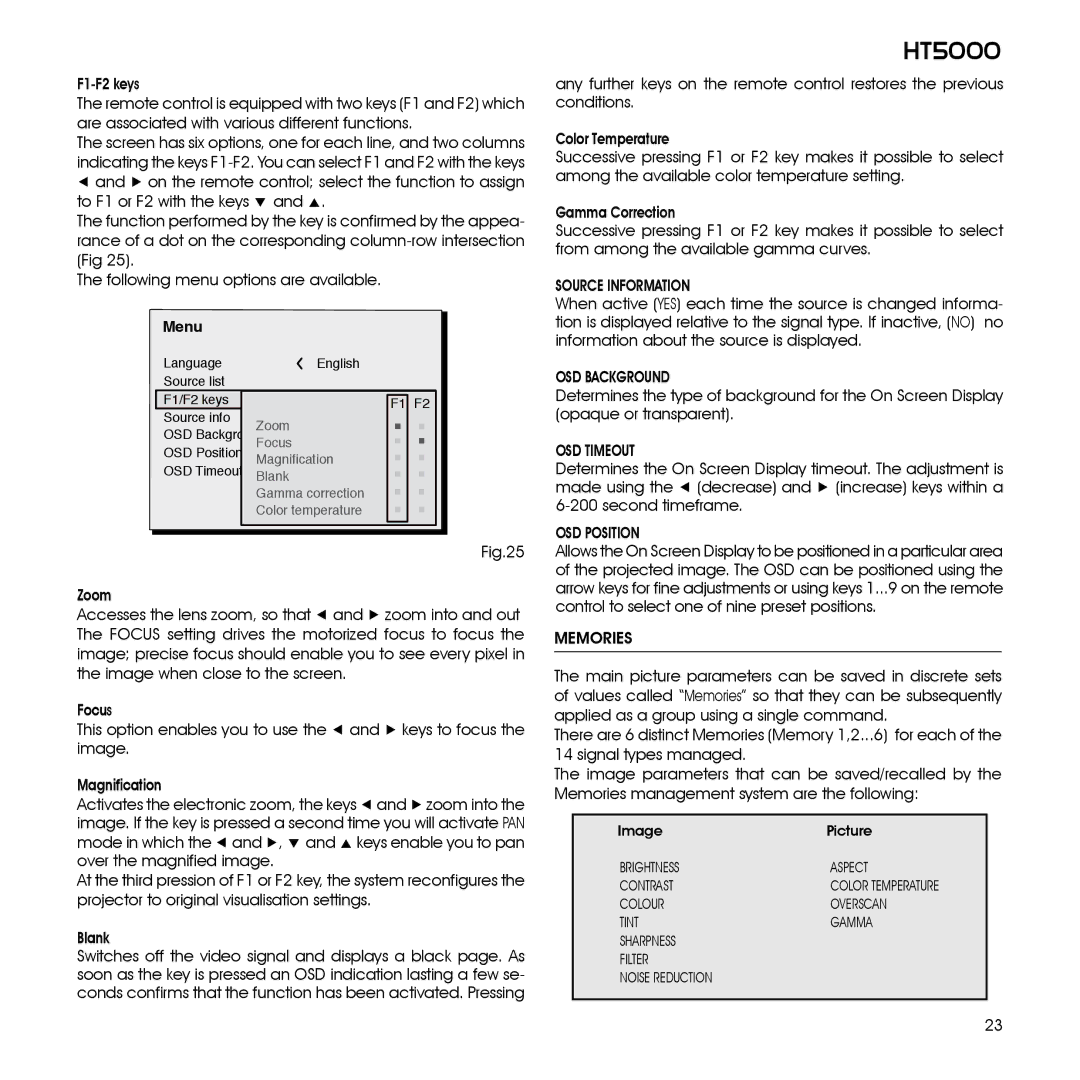
The following menu options are available.
Menu
Language | English | ||||
Source list |
|
|
| ||
F1/F2 keys |
|
|
| F1 | F2 |
Source info |
|
| Zoom |
|
|
OSD Backgroung |
|
| |||
OSD Position | Focus |
|
| ||
Magnification |
|
| |||
OSD Timeout | Blank |
|
| ||
|
|
| Gamma correction |
|
|
|
|
| Color temperature |
|
|
|
|
|
|
|
|
Fig.25
Zoom
Accesses the lens zoom, so that ◀ and ▶ zoom into and out The FOCUS setting drives the motorized focus to focus the image; precise focus should enable you to see every pixel in the image when close to the screen.
Focus
This option enables you to use the ◀ and ▶ keys to focus the image.
Magnification
Activates the electronic zoom, the keys ◀ and ▶ zoom into the image. If the key is pressed a second time you will activate PAN mode in which the ◀ and ▶, ▼ and ▲ keys enable you to pan over the magnified image.
At the third pression of F1 or F2 key, the system reconfigures the projector to original visualisation settings.
Blank
Switches off the video signal and displays a black page. As soon as the key is pressed an OSD indication lasting a few se- conds confirms that the function has been activated. Pressing
HT5000
any further keys on the remote control restores the previous conditions.
Color Temperature
Successive pressing F1 or F2 key makes it possible to select among the available color temperature setting.
Gamma Correction
Successive pressing F1 or F2 key makes it possible to select from among the available gamma curves.
SOURCE INFORMATION
When active (YES) each time the source is changed informa- tion is displayed relative to the signal type. If inactive, (NO) no information about the source is displayed.
OSD Background
Determines the type of background for the On Screen Display (opaque or transparent).
OSD TIMEOUT
Determines the On Screen Display timeout. The adjustment is made using the ◀ (decrease) and ▶ (increase) keys within a
OSD Position
Allows the On Screen Display to be positioned in a particular area of the projected image. The OSD can be positioned using the arrow keys for fine adjustments or using keys 1...9 on the remote control to select one of nine preset positions.
MEMORIES
The main picture parameters can be saved in discrete sets of values called “Memories” so that they can be subsequently applied as a group using a single command.
There are 6 distinct Memories (Memory 1,2...6) for each of the 14 signal types managed.
The image parameters that can be saved/recalled by the Memories management system are the following:
Image | Picture |
BRIGHTNESS | ASPECT |
CONTRAST | COLOR TEMPERATURE |
COLOUR | OVERSCAN |
TINT | GAMMA |
SHARPNESS |
|
FILTER |
|
NOISE REDUCTION |
|
|
|
23