SETUP
The setup menu contains less frequently used adjustments that may be required during installation (e.g. The display of Test Patterns).
Orientation
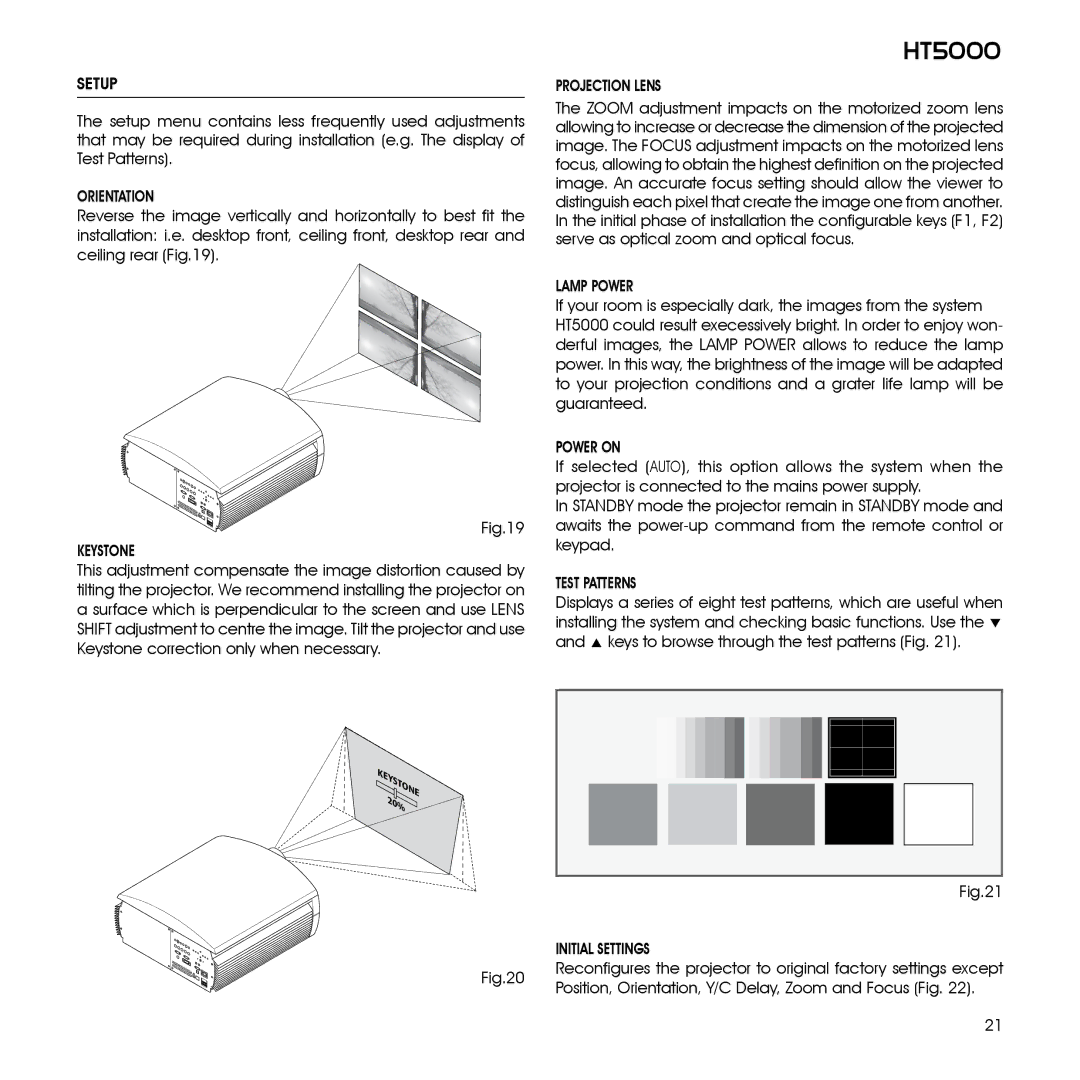
Reverse the image vertically and horizontally to best fit the installation: i.e. desktop front, ceiling front, desktop rear and ceiling rear (Fig.19).
Fig.19
KEYSTONE
This adjustment compensate the image distortion caused by tilting the projector. We recommend installing the projector on a surface which is perpendicular to the screen and use LENS SHIFT adjustment to centre the image. Tilt the projector and use Keystone correction only when necessary.
HT5000
projection lens
The ZOOM adjustment impacts on the motorized zoom lens allowing to increase or decrease the dimension of the projected image. The FOCUS adjustment impacts on the motorized lens focus, allowing to obtain the highest definition on the projected image. An accurate focus setting should allow the viewer to distinguish each pixel that create the image one from another. In the initial phase of installation the configurable keys (F1, F2) serve as optical zoom and optical focus.
LAMP POWER
If your room is especially dark, the images from the system HT5000 could result execessively bright. In order to enjoy won- derful images, the LAMP POWER allows to reduce the lamp power. In this way, the brightness of the image will be adapted to your projection conditions and a grater life lamp will be guaranteed.
POWER ON
If selected (AUTO), this option allows the system when the projector is connected to the mains power supply.
In STANDBY mode the projector remain in STANDBY mode and awaits the
TEST PATTERNS
Displays a series of eight test patterns, which are useful when installing the system and checking basic functions. Use the ▼ and ▲ keys to browse through the test patterns (Fig. 21).
KEYSTONE 20%
| Fig.21 | |
| INITIAL SETTINGS | |
Fig.20 | Reconfigures the projector to original factory settings except | |
Position, Orientation, Y/C Delay, Zoom and Focus (Fig. 22). | ||
|
21
