2 Overview
Remote Control
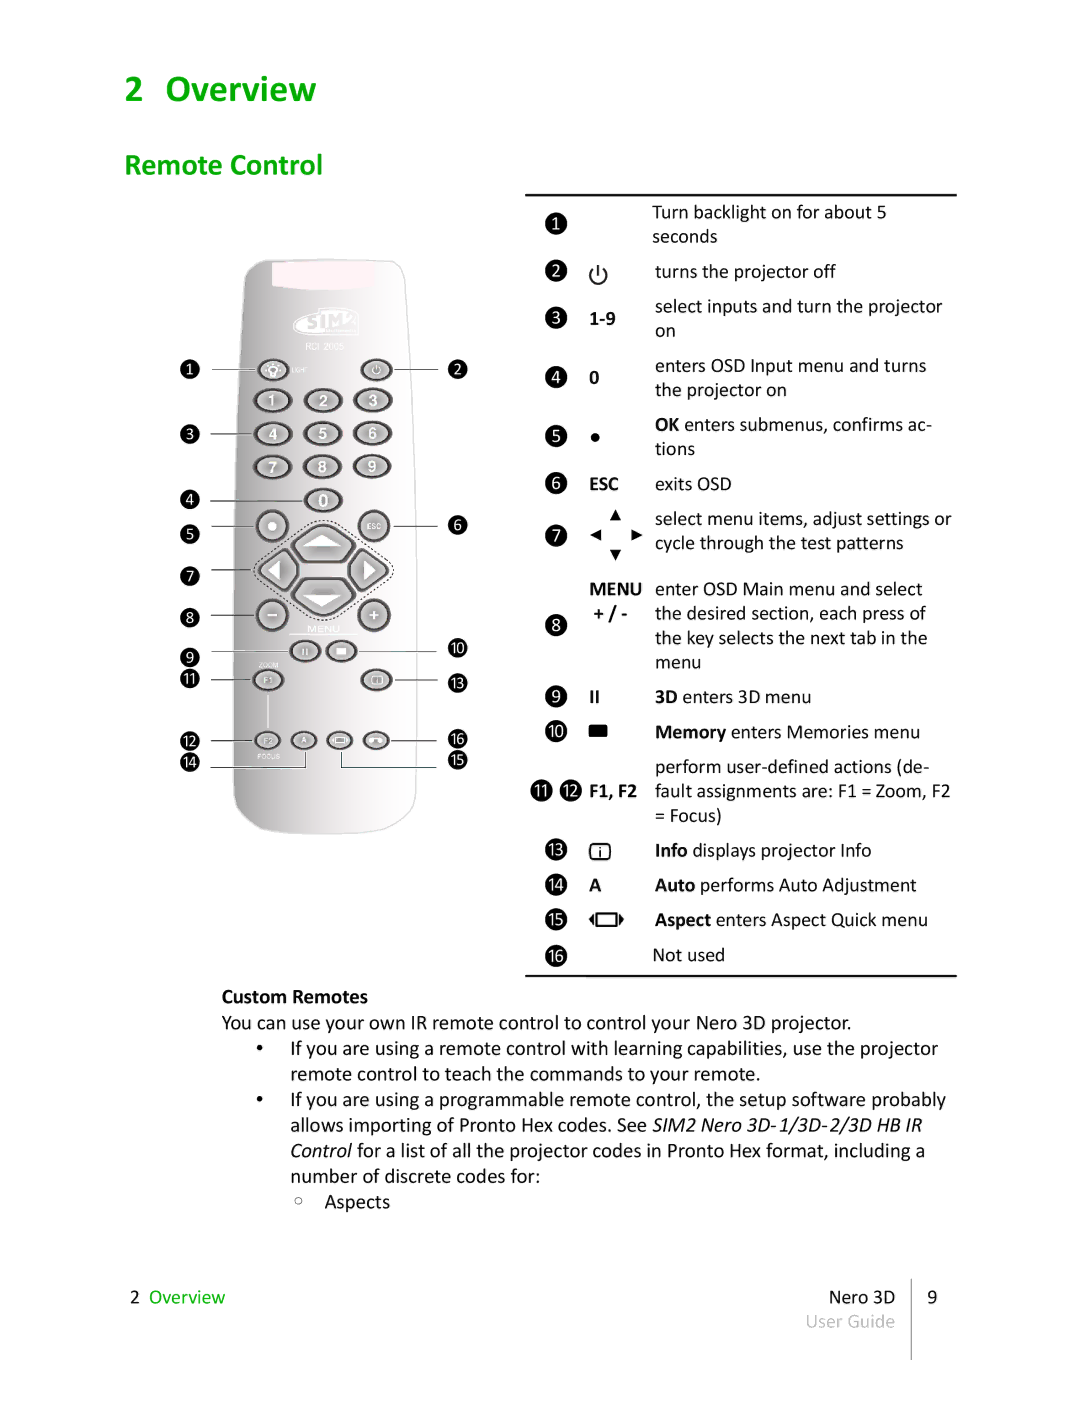
Turn backlight on for about 5
❶ seconds
❷ |
| turns the projector off |
| ||
|
❶
❸
❹
❺
❼
❽
❾
⓫
⓬
⓮
❸
❷❹ 0
❺ ●
❻ ESC
❻❼ ◂ ▴ ▸
▾
MENU
❽ | + / - |
|
❿
⓭❾ II
⓰❿ ![]()
⓯
⓫⓬ F1, F2
select inputs and turn the projector on
enters OSD Input menu and turns the projector on
OK enters submenus, confirms ac- tions
exits OSD
select menu items, adjust settings or cycle through the test patterns
enter OSD Main menu and select the desired section, each press of the key selects the next tab in the menu
3D enters 3D menu
Memory enters Memories menu
perform
⓭ | Info displays projector Info |
⓮A Auto performs Auto Adjustment
⓯ | Aspect enters Aspect Quick menu |
⓰Not used
Custom Remotes
You can use your own IR remote control to control your Nero 3D projector.
•If you are using a remote control with learning capabilities, use the projector remote control to teach the commands to your remote.
•If you are using a programmable remote control, the setup software probably allows importing of Pronto Hex codes. See SIM2 Nero 3D-
◦ Aspects
2 Overview | Nero 3D | 9 |
| User Guide |
|
|
|
|