CHAPTER 3 Installing the Mini Router
Mounting the Device
MOUNTING THE DEVICE
The Mini Broadband Router can be mounted on any horizontal surface, or on a wall. The following sections describe the mounting options.
MOUNTING ON A WALL The Mini Broadband Router should be mounted only to a wall or wood surface that is at least
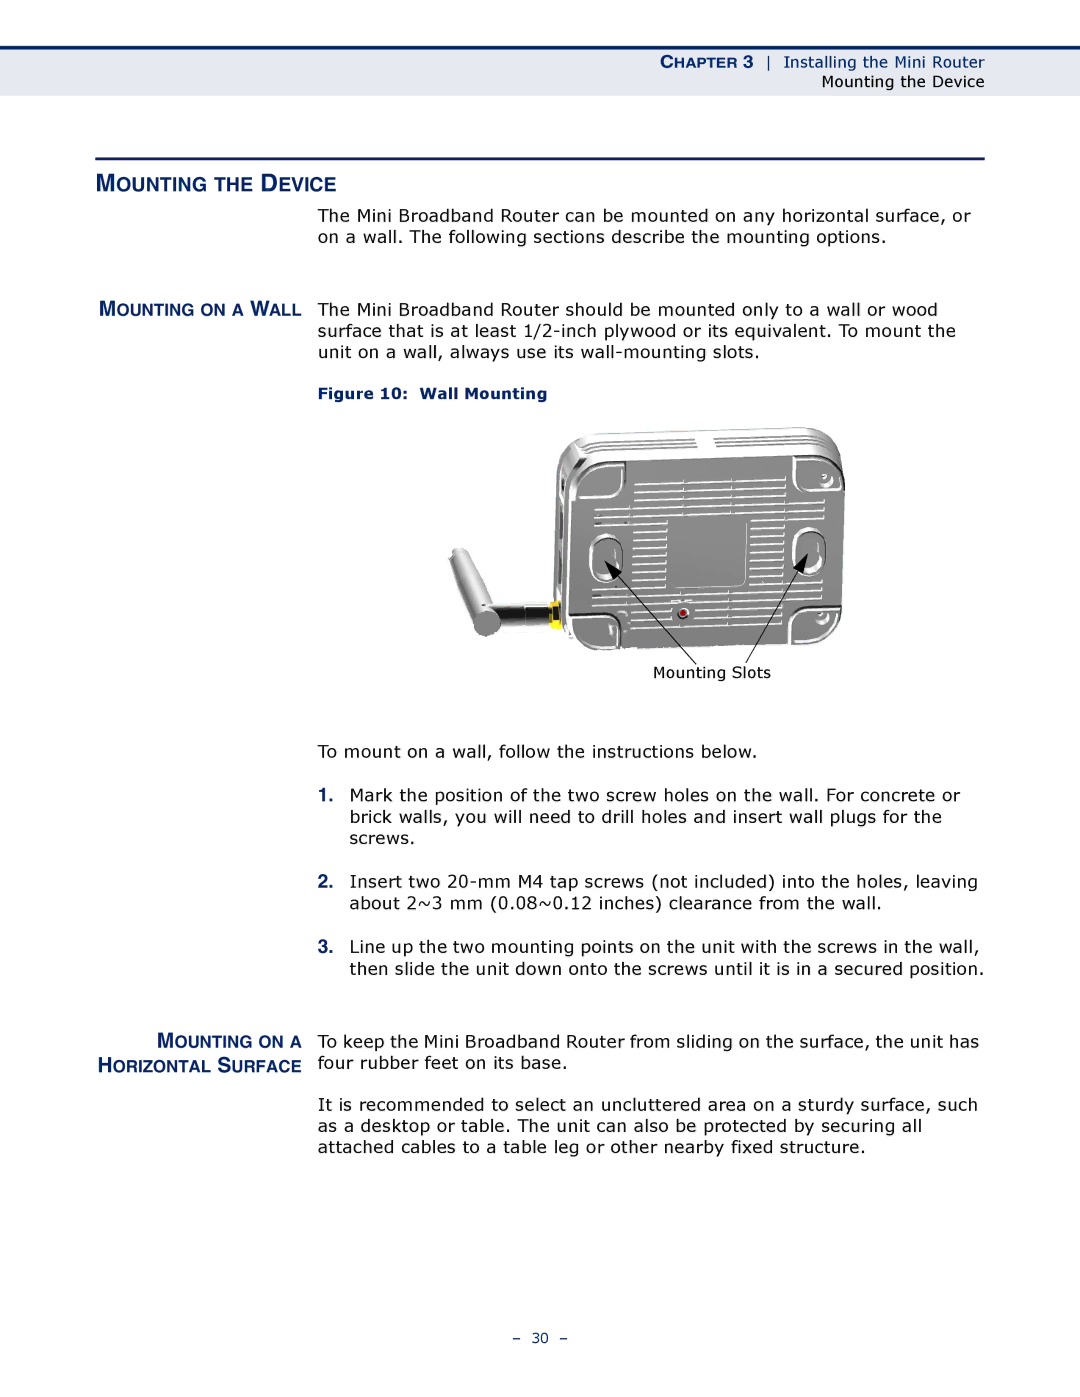
Figure 10: Wall Mounting
Mounting Slots
MOUNTING ON A HORIZONTAL SURFACE
To mount on a wall, follow the instructions below.
1.Mark the position of the two screw holes on the wall. For concrete or brick walls, you will need to drill holes and insert wall plugs for the screws.
2.Insert two
3.Line up the two mounting points on the unit with the screws in the wall, then slide the unit down onto the screws until it is in a secured position.
To keep the Mini Broadband Router from sliding on the surface, the unit has four rubber feet on its base.
It is recommended to select an uncluttered area on a sturdy surface, such as a desktop or table. The unit can also be protected by securing all attached cables to a table leg or other nearby fixed structure.
– 30 –