Set Clock Manually
If Auto Clock Set is not available in your area, follow these steps to set the clock
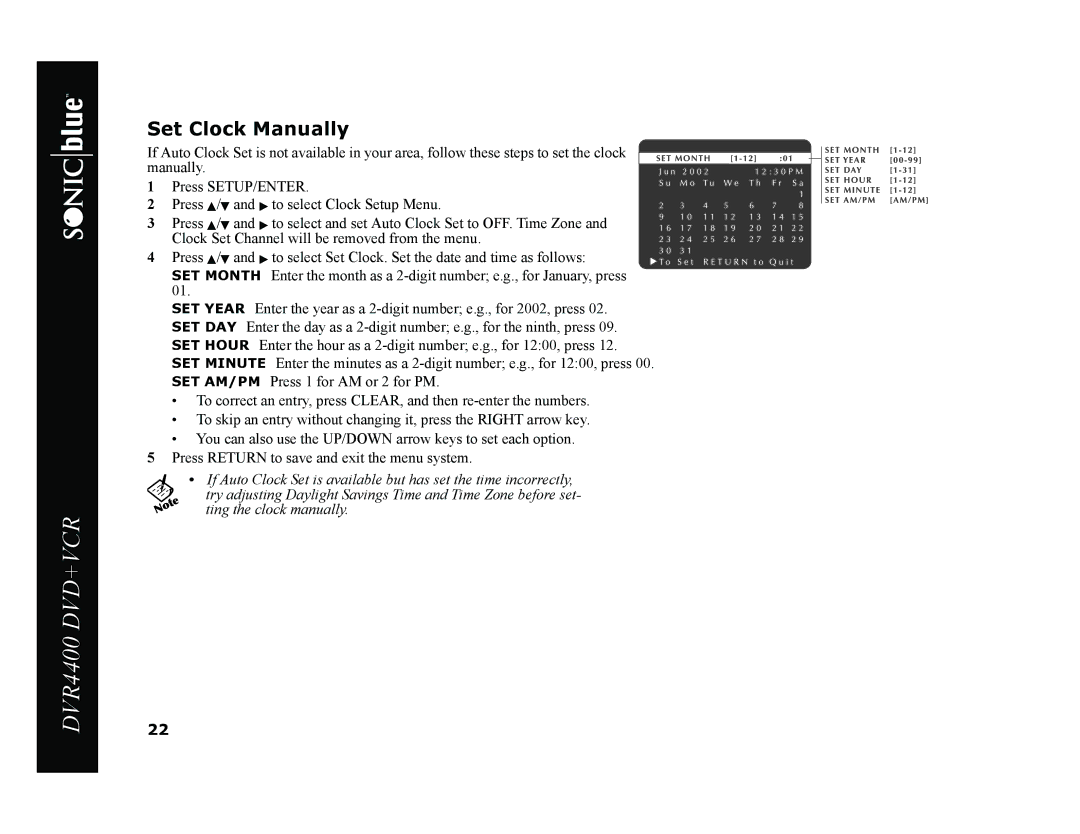
manually. 1 Press SETUP/ENTER. 2 Press Y/B and " to select Clock Setup Menu.
3 Press Y/B and " to select and set Auto Clock Set to OFF. Time Zone and Clock Set Channel will be removed from the menu.
4 Press Y/B and " to select Set Clock. Set the date and time as follows:
SET MONTH Enter the month as a
SET YEAR Enter the year as a
SET MINUTE Enter the minutes as a
•To correct an entry, press CLEAR, and then
•To skip an entry without changing it, press the RIGHT arrow key.
•You can also use the UP/DOWN arrow keys to set each option. 5 Press RETURN to save and exit the menu system.
•If Auto Clock Set is available but has set the time incorrectly,
try adjusting Daylight Savings Time and Time Zone before set- ting the clock manually.
DVR4400 DVD+VCR
22
