Using the Active Connections Monitor
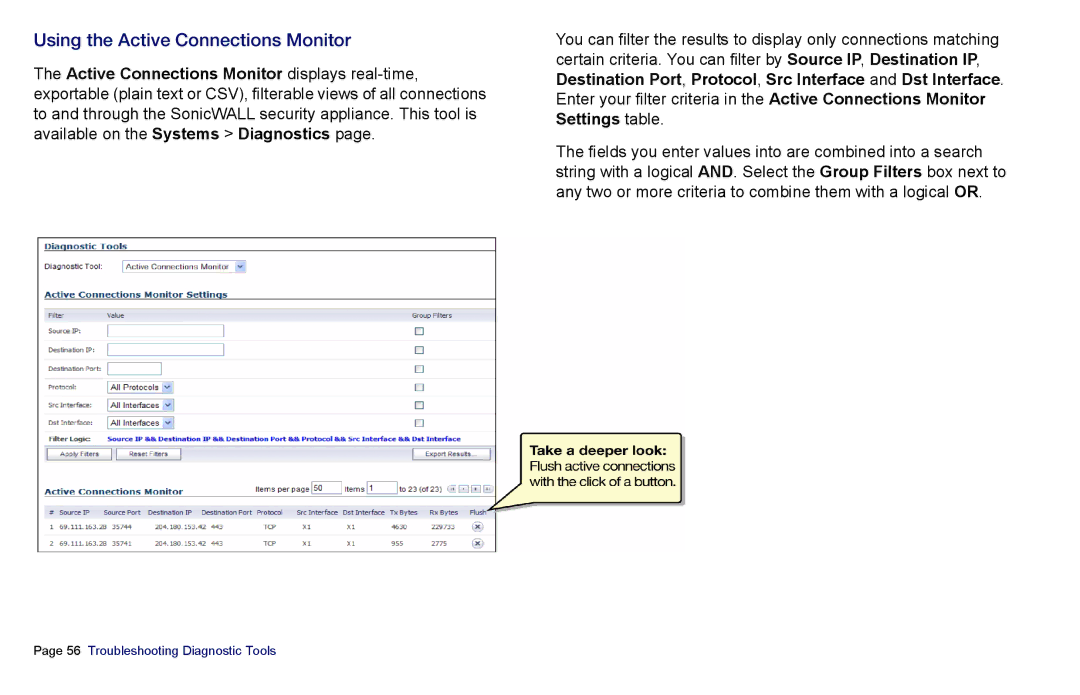
The Active Connections Monitor displays
You can filter the results to display only connections matching certain criteria. You can filter by Source IP, Destination IP, Destination Port, Protocol, Src Interface and Dst Interface. Enter your filter criteria in the Active Connections Monitor Settings table.
The fields you enter values into are combined into a search string with a logical AND. Select the Group Filters box next to any two or more criteria to combine them with a logical OR.
Page 56 Troubleshooting Diagnostic Tools