Precautions
On safety
•Check that the operating voltage of your unit is identical with the voltage of your local power supply.
•Should any liquid or solid object fall into the cabinet, unplug the unit and have it checked by qualified personnel before operating it further.
•Unplug the unit from the wall outlet if it is not to be used for several days.
•To disconnect the cord, pull it out by the plug. Never pull the cord itself.
•The wall outlet should be near the unit and easily accessible.
•The unit is not disconnected to the AC power source (mains) as long as it is connected to the wall outlet, even if the unit itself has been turned off.
•Do not look into the lens while the lamp is on.
•Do not place your hand or objects near the ventilation holes. The air coming out is hot.
On preventing internal heat
Caution The projector is equipped with ventilation holes (intake) and ventilation holes (exhaust). Do not block or place anything near these holes, or internal heat
On repacking Save the original shipping carton and packing material; they will come in handy if you ever have to ship your unit. For maximum protection, repack your unit as it was originally packed at the factory.
Connections and Preparations
This section describes how to install the projector and screen, how to connect the equipment from which you want to project the picture, etc.
Unpacking
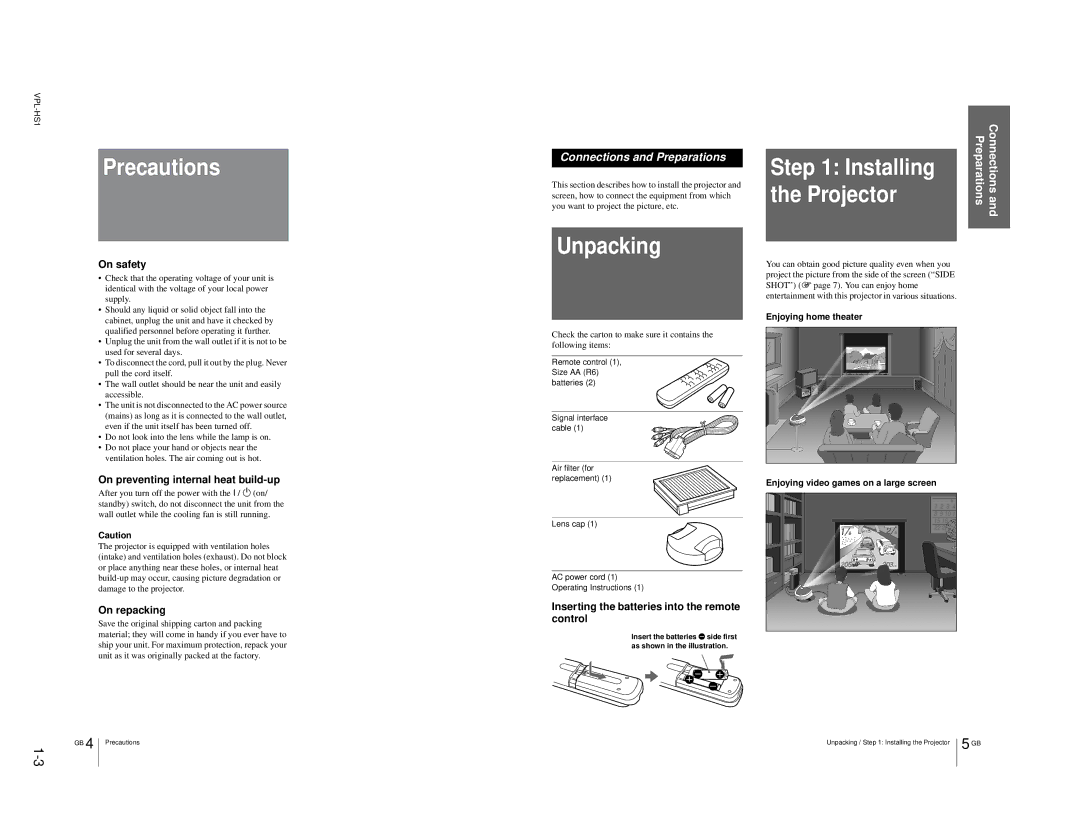
Check the carton to make sure it contains the following items:
Remote control (1), Size AA (R6) batteries (2)
Signal interface cable (1)
Air filter (for replacement) (1)
Lens cap (1)
AC power cord (1)
Operating Instructions (1)
Inserting the batteries into the remote control
Insert the batteries E side first as shown in the illustration.
Step 1: Installing | Preparations | Connectionsand |
|
| |
the Projector |
|
|
You can obtain good picture quality even when you |
|
|
|
| |
project the picture from the side of the screen (“SIDE |
|
|
SHOT”) (1 page 7). You can enjoy home |
|
|
entertainment with this projector in various situations. |
|
|
Enjoying home theater |
|
|
Enjoying video games on a large screen
GB
4 ![]()
Precautions
Unpacking / Step 1: Installing the Projector
5
GB