Others
This section describes how to solve the problems, how to replace a lamp and air filter, etc.
Troubleshooting
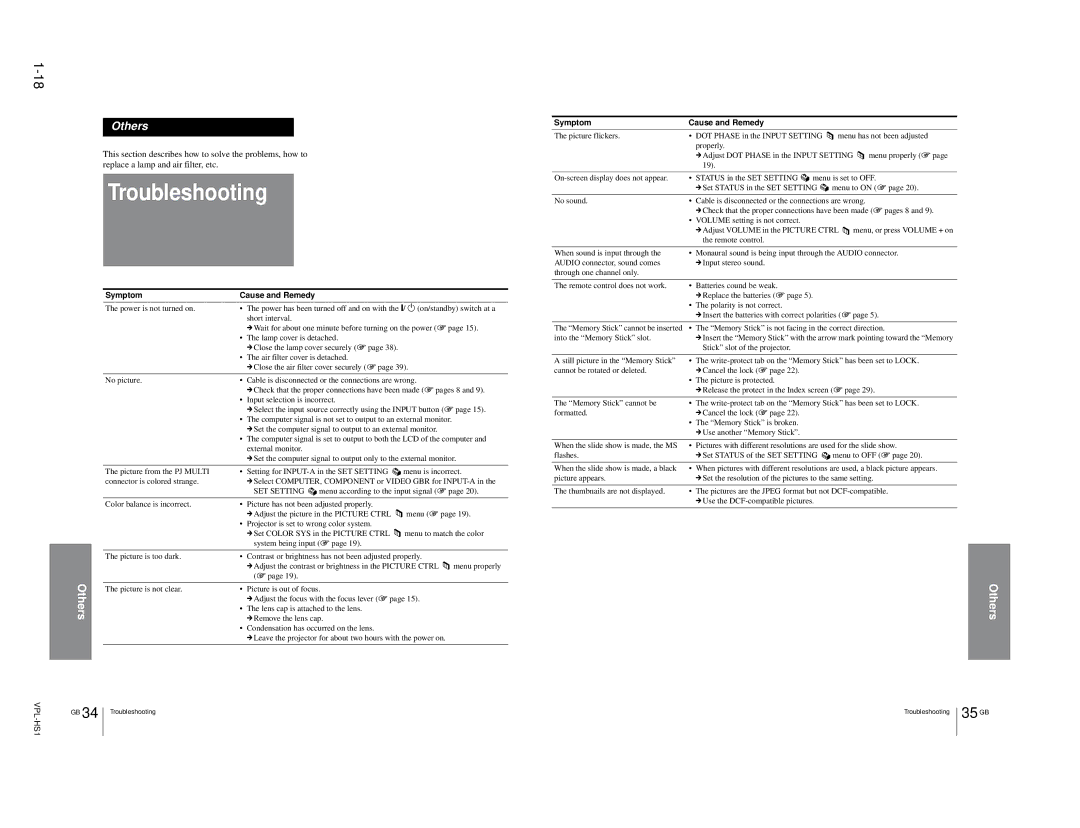
Symptom | Cause and Remedy | |
The power is not turned on. | • | The power has been turned off and on with the @/ 1 (on/standby) switch at a |
|
| short interval. |
cWait for about one minute before turning on the power (1 page 15).
•The lamp cover is detached.
cClose the lamp cover securely (1 page 38).
•The air filter cover is detached.
cClose the air filter cover securely (1 page 39).
No picture. | • | Cable is disconnected or the connections are wrong. | |||||||||
|
| cCheck that the proper connections have been made (1 pages 8 and 9). | |||||||||
| • | Input selection is incorrect. |
|
|
|
|
|
| |||
|
| cSelect the input source correctly using the INPUT button (1 page 15). | |||||||||
| • | The computer signal is not set to output to an external monitor. | |||||||||
|
| cSet the computer signal to output to an external monitor. | |||||||||
| • | The computer signal is set to output to both the LCD of the computer and | |||||||||
|
| external monitor. |
|
|
|
|
|
|
|
|
|
|
| cSet the computer signal to output only to the external monitor. | |||||||||
The picture from the PJ MULTI | • | Setting for |
|
| menu is incorrect. | ||||||
connector is colored strange. |
| cSelect COMPUTER, COMPONENT or VIDEO GBR for | |||||||||
|
| SET SETTING | menu according to the input signal (1 page 20). | ||||||||
Color balance is incorrect. | • | Picture has not been adjusted properly. |
|
|
|
|
|
| |||
| • | cAdjust the picture in the PICTURE CTRL |
|
| menu (1 page 19). | ||||||
|
|
| |||||||||
| Projector is set to wrong color system. |
|
|
|
|
|
| ||||
|
| cSet COLOR SYS in the PICTURE CTRL |
|
|
|
| menu to match the color | ||||
|
|
|
|
|
| ||||||
|
| system being input (1 page 19). |
|
|
|
|
|
| |||
The picture is too dark. | • | Contrast or brightness has not been adjusted properly. | |||||||||
|
| cAdjust the contrast or brightness in the PICTURE CTRL |
|
| menu properly | ||||||
|
|
|
| ||||||||
|
| (1 page 19). |
|
|
|
|
|
|
|
|
|
Symptom
The picture flickers.
No sound.
When sound is input through the AUDIO connector, sound comes through one channel only.
The remote control does not work.
The “Memory Stick” cannot be inserted into the “Memory Stick” slot.
A still picture in the “Memory Stick” cannot be rotated or deleted.
The “Memory Stick” cannot be formatted.
When the slide show is made, the MS flashes.
When the slide show is made, a black picture appears.
The thumbnails are not displayed.
Cause and Remedy
•DOT PHASE in the INPUT SETTING ![]() menu has not been adjusted properly.
menu has not been adjusted properly.
cAdjust DOT PHASE in the INPUT SETTING ![]() menu properly (1 page 19).
menu properly (1 page 19).
•STATUS in the SET SETTING ![]() menu is set to OFF.
menu is set to OFF.
cSet STATUS in the SET SETTING ![]() menu to ON (1 page 20).
menu to ON (1 page 20).
•Cable is disconnected or the connections are wrong.
cCheck that the proper connections have been made (1 pages 8 and 9).
•VOLUME setting is not correct.
cAdjust VOLUME in the PICTURE CTRL ![]() menu, or press VOLUME + on the remote control.
menu, or press VOLUME + on the remote control.
•Monaural sound is being input through the AUDIO connector. cInput stereo sound.
•Batteries cound be weak.
cReplace the batteries (1 page 5).
•The polarity is not correct.
cInsert the batteries with correct polarities (1 page 5).
•The “Memory Stick” is not facing in the correct direction.
cInsert the “Memory Stick” with the arrow mark pointing toward the “Memory Stick” slot of the projector.
•The
•The picture is protected.
cRelease the protect in the Index screen (1 page 29).
•The
•The “Memory Stick” is broken. cUse another “Memory Stick”.
•Pictures with different resolutions are used for the slide show.
cSet STATUS of the SET SETTING ![]() menu to OFF (1 page 20).
menu to OFF (1 page 20).
•When pictures with different resolutions are used, a black picture appears. cSet the resolution of the pictures to the same setting.
•The pictures are the JPEG format but not
Others | The picture is not clear. | • | Picture is out of focus. |
|
| cAdjust the focus with the focus lever (1 page 15). | |
| • | The lens cap is attached to the lens. | |
|
| cRemove the lens cap. | |
|
| • | Condensation has occurred on the lens. |
|
|
| cLeave the projector for about two hours with the power on. |
Others
GB
34
Troubleshooting
Troubleshooting
35
GB
