SPECIFICATIONS AND OPERATION
4.Print-Density Adjustment
Adjust the print density in accordance with the sensitivity of the paper being used. The adjustment procedure is as follows.
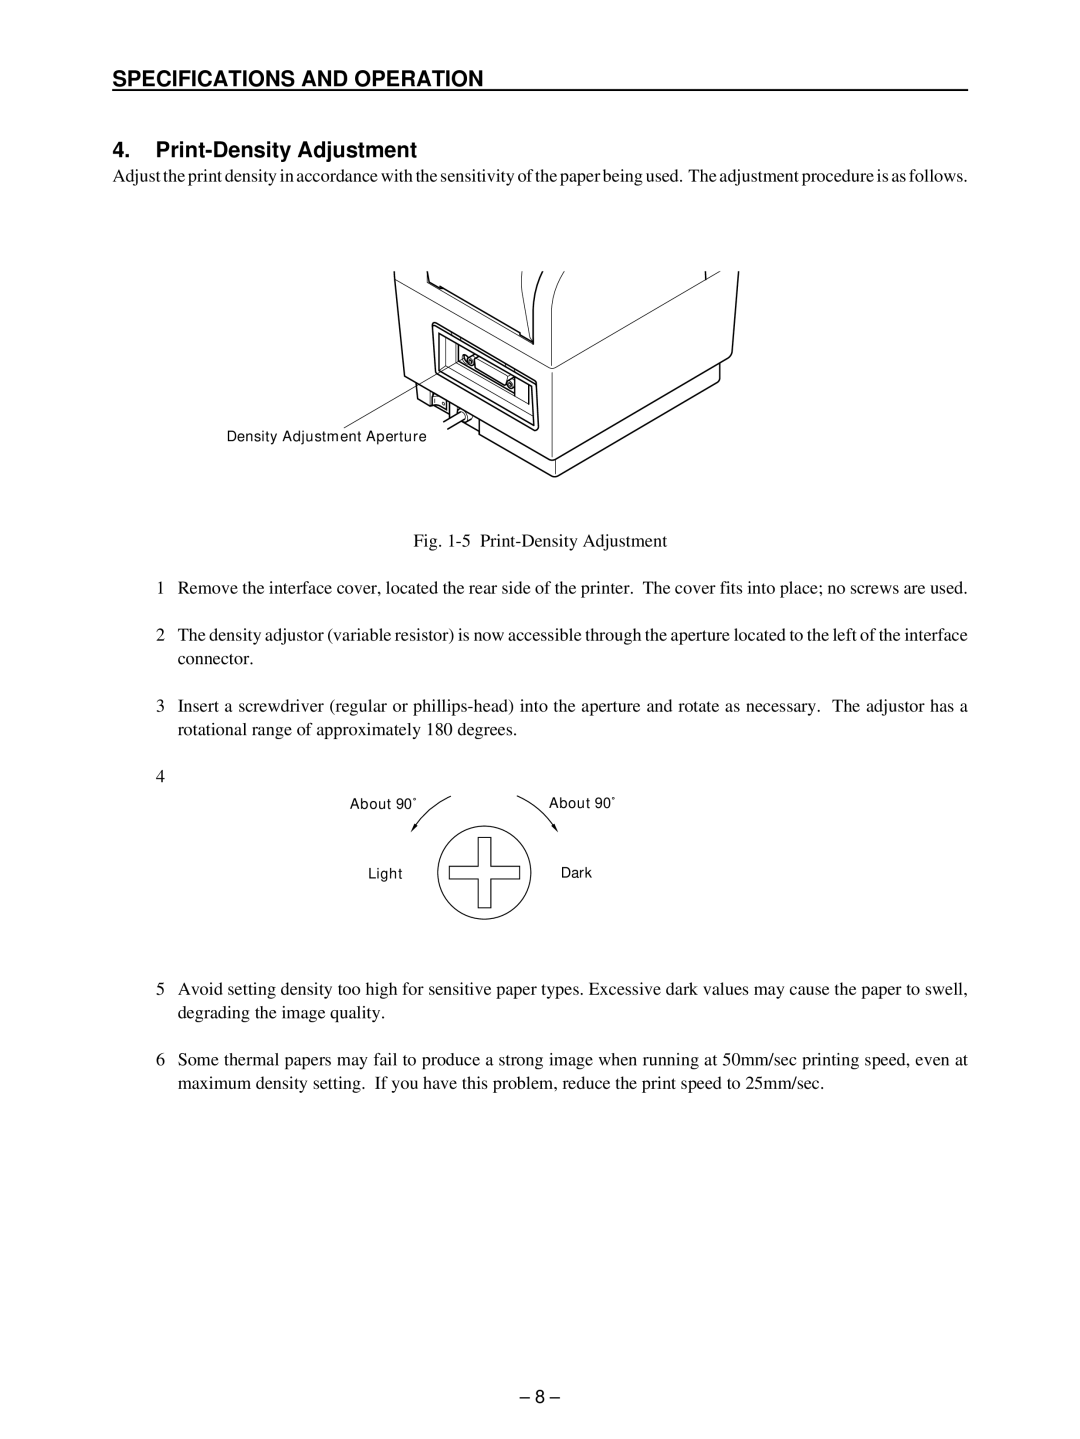
Density Adjustment Aperture
Fig. 1-5 Print-Density Adjustment
1Remove the interface cover, located the rear side of the printer. The cover fits into place; no screws are used.
2The density adjustor (variable resistor) is now accessible through the aperture located to the left of the interface connector.
3Insert a screwdriver (regular or phillips-head) into the aperture and rotate as necessary. The adjustor has a rotational range of approximately 180 degrees.
4
About 90˚ | About 90˚ |
Light
Dark
5Avoid setting density too high for sensitive paper types. Excessive dark values may cause the paper to swell, degrading the image quality.
6Some thermal papers may fail to produce a strong image when running at 50mm/sec printing speed, even at maximum density setting. If you have this problem, reduce the print speed to 25mm/sec.
– 8 –