Remote Setup
CHAPTER 3
You must enter the SETUP mode to program the remote control for the other components in your system, and to customize it for your conve- nience. There is only one way to enter the SETUP mode:
Hold down both the MAIN and ENT buttons for a few seconds until SETUP appears in the display.
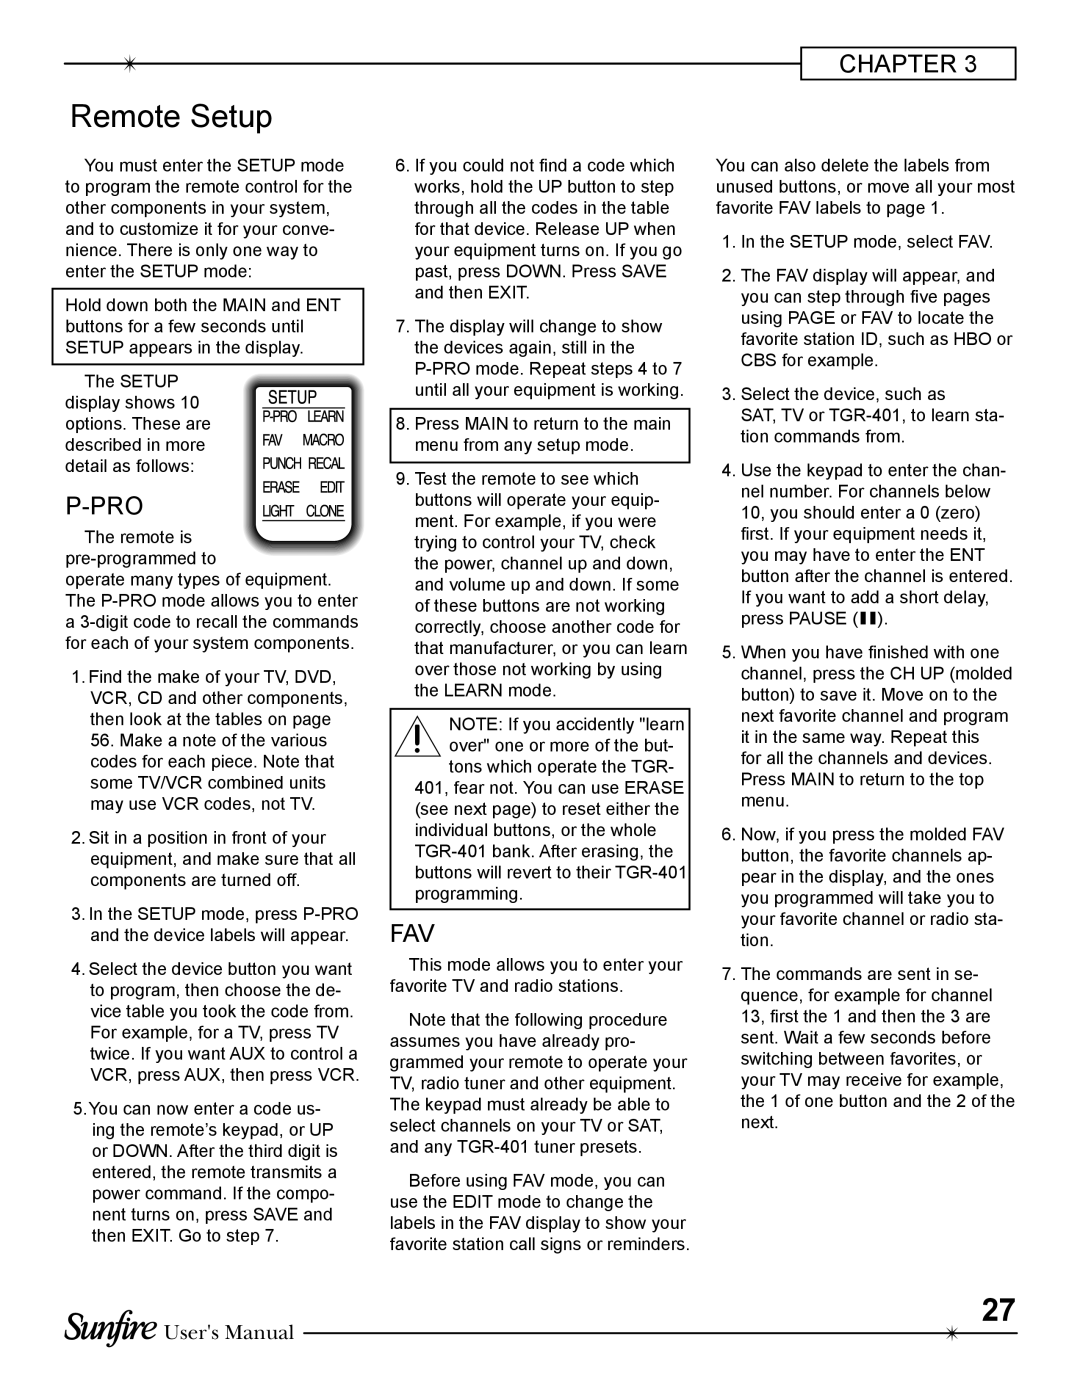
The SETUP display shows 10 options. These are described in more detail as follows:
P-PRO
The remote is
operate many types of equipment. The
1.Find the make of your TV, DVD, VCR, CD and other components, then look at the tables on page 56. Make a note of the various codes for each piece. Note that some TV/VCR combined units may use VCR codes, not TV.
2.Sit in a position in front of your equipment, and make sure that all components are turned off.
3.In the SETUP mode, press
4.Select the device button you want to program, then choose the de- vice table you took the code from. For example, for a TV, press TV twice. If you want AUX to control a VCR, press AUX, then press VCR.
5.You can now enter a code us- ing the remote’s keypad, or UP or DOWN. After the third digit is entered, the remote transmits a power command. If the compo- nent turns on, press SAVE and then EXIT. Go to step 7.
6.If you could not find a code which works, hold the UP button to step through all the codes in the table for that device. Release UP when your equipment turns on. If you go past, press DOWN. Press SAVE and then EXIT.
7.The display will change to show the devices again, still in the
8.Press MAIN to return to the main menu from any setup mode.
9.Test the remote to see which buttons will operate your equip- ment. For example, if you were trying to control your TV, check the power, channel up and down, and volume up and down. If some of these buttons are not working correctly, choose another code for that manufacturer, or you can learn over those not working by using the LEARN mode.
NOTE: If you accidently "learn over" one or more of the but-
tons which operate the TGR- 401, fear not. You can use ERASE (see next page) to reset either the individual buttons, or the whole
FAV
This mode allows you to enter your favorite TV and radio stations.
Note that the following procedure assumes you have already pro- grammed your remote to operate your TV, radio tuner and other equipment. The keypad must already be able to select channels on your TV or SAT, and any
Before using FAV mode, you can use the EDIT mode to change the labels in the FAV display to show your favorite station call signs or reminders.
You can also delete the labels from unused buttons, or move all your most favorite FAV labels to page 1.
1.In the SETUP mode, select FAV.
2.The FAV display will appear, and you can step through five pages using PAGE or FAV to locate the favorite station ID, such as HBO or CBS for example.
3.Select the device, such as
SAT, TV or
4.Use the keypad to enter the chan- nel number. For channels below
10, you should enter a 0 (zero) first. If your equipment needs it, you may have to enter the ENT button after the channel is entered. If you want to add a short delay, press PAUSE (II).
5.When you have finished with one channel, press the CH UP (molded button) to save it. Move on to the next favorite channel and program it in the same way. Repeat this for all the channels and devices. Press MAIN to return to the top menu.
6.Now, if you press the molded FAV button, the favorite channels ap- pear in the display, and the ones you programmed will take you to your favorite channel or radio sta- tion.
7.The commands are sent in se- quence, for example for channel
13, first the 1 and then the 3 are sent. Wait a few seconds before switching between favorites, or your TV may receive for example, the 1 of one button and the 2 of the next.
![]() User's Manual
User's Manual
27
