Chapter 6: Advanced Chassis Setup
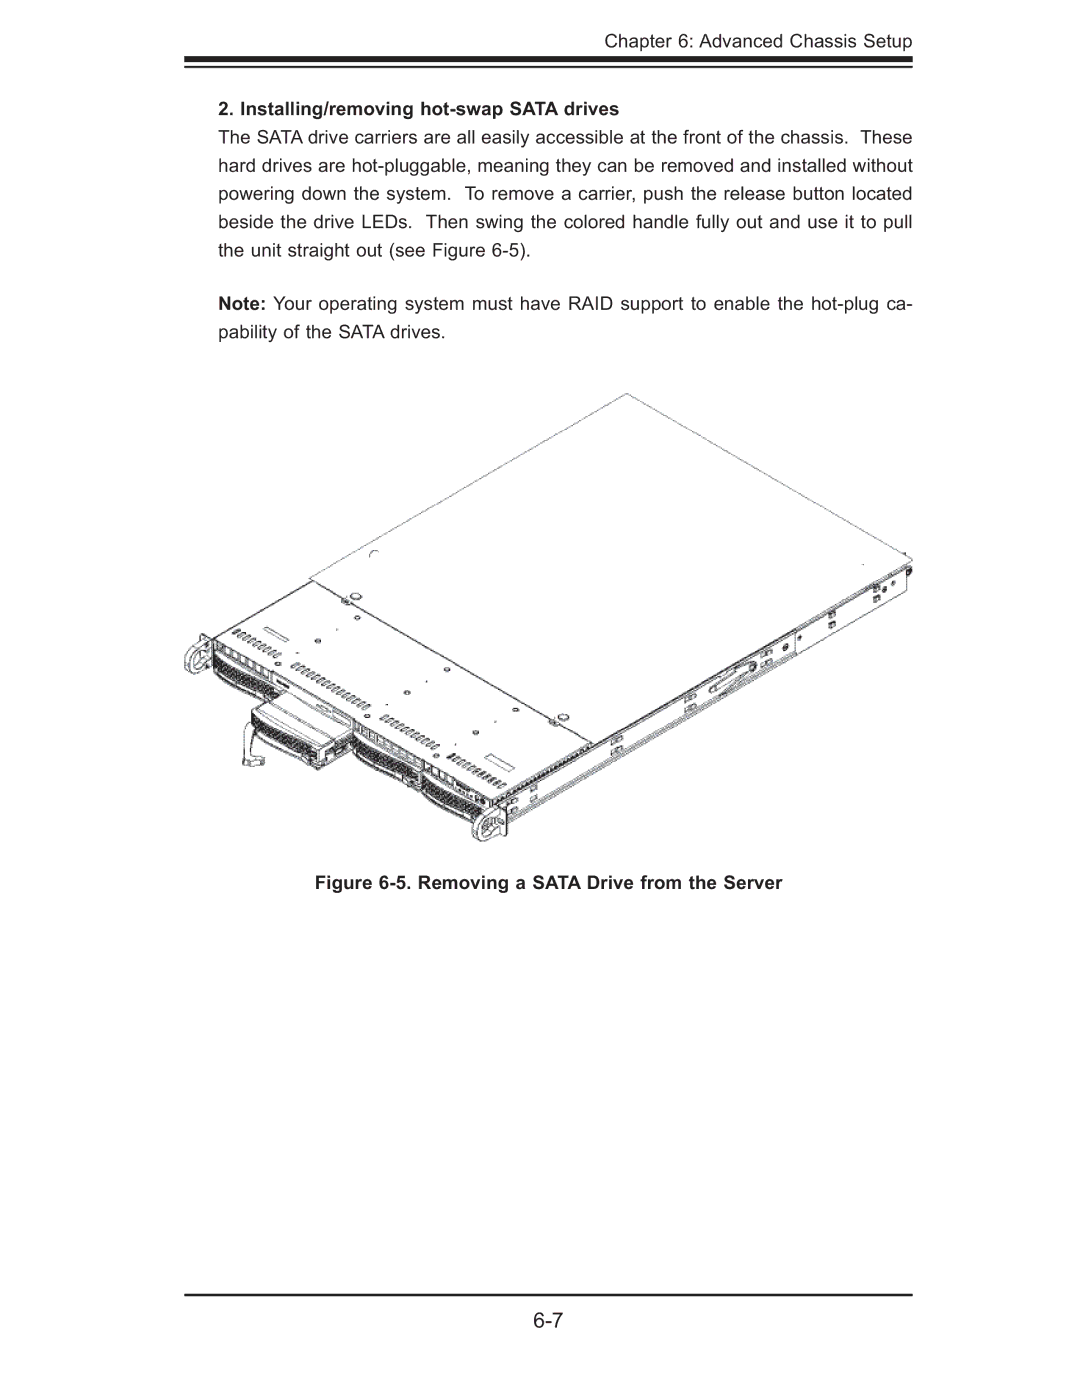
2. Installing/removing hot-swap SATA drives
The SATA drive carriers are all easily accessible at the front of the chassis. These hard drives are
Note: Your operating system must have RAID support to enable the