Discs
Discs which can be played on this unit:
•Conventional audio CDs bearing the
•Properly finalized
Note:
<Depending on the quality of the disc and/or the condition of the recording, some
<
<Always place the disc on the disc tray with the label side uppermost. (Compact discs can be played or recorded only on one side.)
<To remove a disc from its storage case, press down on the center of the case and lift the disc out, holding it carefully by the edges.
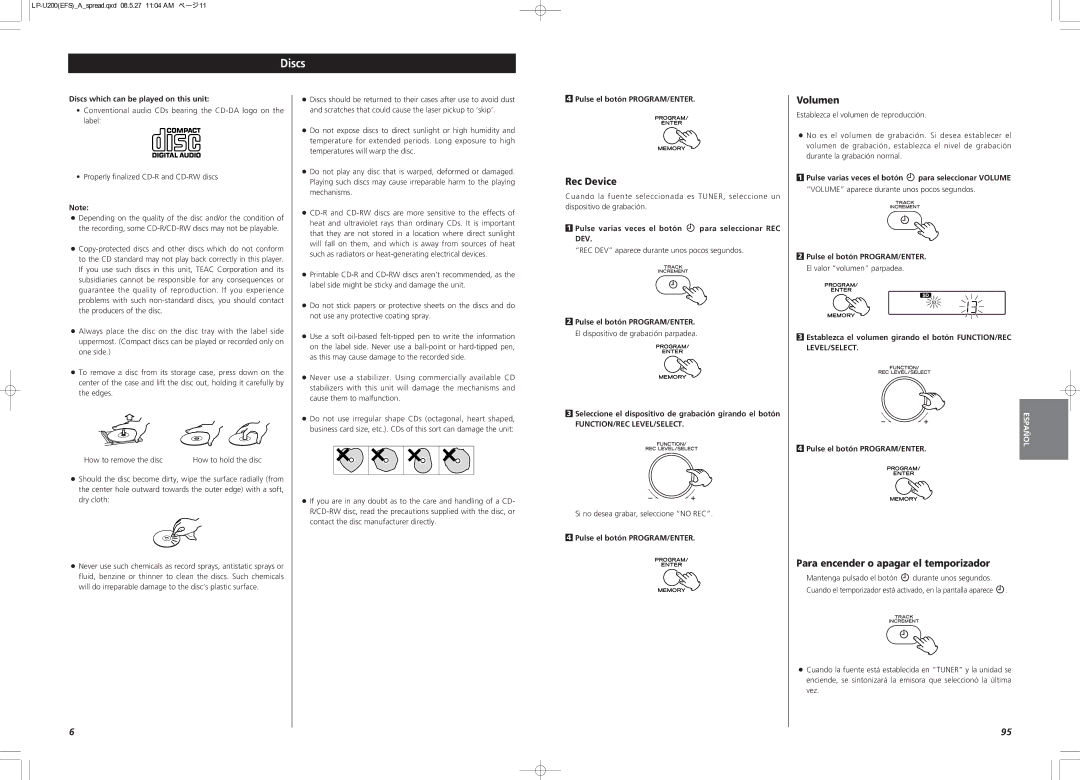
How to remove the disc | How to hold the disc |
<Should the disc become dirty, wipe the surface radially (from the center hole outward towards the outer edge) with a soft, dry cloth:
<Never use such chemicals as record sprays, antistatic sprays or fluid, benzine or thinner to clean the discs. Such chemicals will do irreparable damage to the disc’s plastic surface.
<Discs should be returned to their cases after use to avoid dust and scratches that could cause the laser pickup to ‘skip’.
<Do not expose discs to direct sunlight or high humidity and temperature for extended periods. Long exposure to high temperatures will warp the disc.
<Do not play any disc that is warped, deformed or damaged. Playing such discs may cause irreparable harm to the playing mechanisms.
<
<Printable
<Do not stick papers or protective sheets on the discs and do not use any protective coating spray.
<Use a soft
<Never use a stabilizer. Using commercially available CD stabilizers with this unit will damage the mechanisms and cause them to malfunction.
<Do not use irregular shape CDs (octagonal, heart shaped, business card size, etc.). CDs of this sort can damage the unit:
<If you are in any doubt as to the care and handling of a CD-
4Pulse el botón PROGRAM/ENTER.
Rec Device
Cuando la fuente seleccionada es TUNER, seleccione un dispositivo de grabación.
1Pulse varias veces el botón  para seleccionar REC DEV.
“REC DEV” aparece durante unos pocos segundos.
2Pulse el botón PROGRAM/ENTER. El dispositivo de grabación parpadea.
3Seleccione el dispositivo de grabación girando el botón
FUNCTION/REC LEVEL/SELECT.
Si no desea grabar, seleccione “NO REC”.
4Pulse el botón PROGRAM/ENTER.
Volumen
Establezca el volumen de reproducción.
<No es el volumen de grabación. Si desea establecer el volumen de grabación, establezca el nivel de grabación durante la grabación normal.
1Pulse varias veces el botón ![]() para seleccionar VOLUME “VOLUME” aparece durante unos pocos segundos.
para seleccionar VOLUME “VOLUME” aparece durante unos pocos segundos.
2Pulse el botón PROGRAM/ENTER. El valor “volumen” parpadea.
3Establezca el volumen girando el botón FUNCTION/REC LEVEL/SELECT.
|
|
|
| ESPAÑOL | |
|
|
|
| ||
4 | Pulse el botón PROGRAM/ENTER. | ||||
| |||||
|
|
|
|
| |
Para encender o apagar el temporizador
Mantenga pulsado el botón ![]() durante unos segundos.
durante unos segundos.
Cuando el temporizador está activado, en la pantalla aparece ![]() .
.
<Cuando la fuente está establecida en “TUNER” y la unidad se enciende, se sintonizará la emisora que seleccionó la última vez.
6 | 95 |
