Restoring and Updating the EVM Hard Disk Drive
3) Go to the /restore directory.
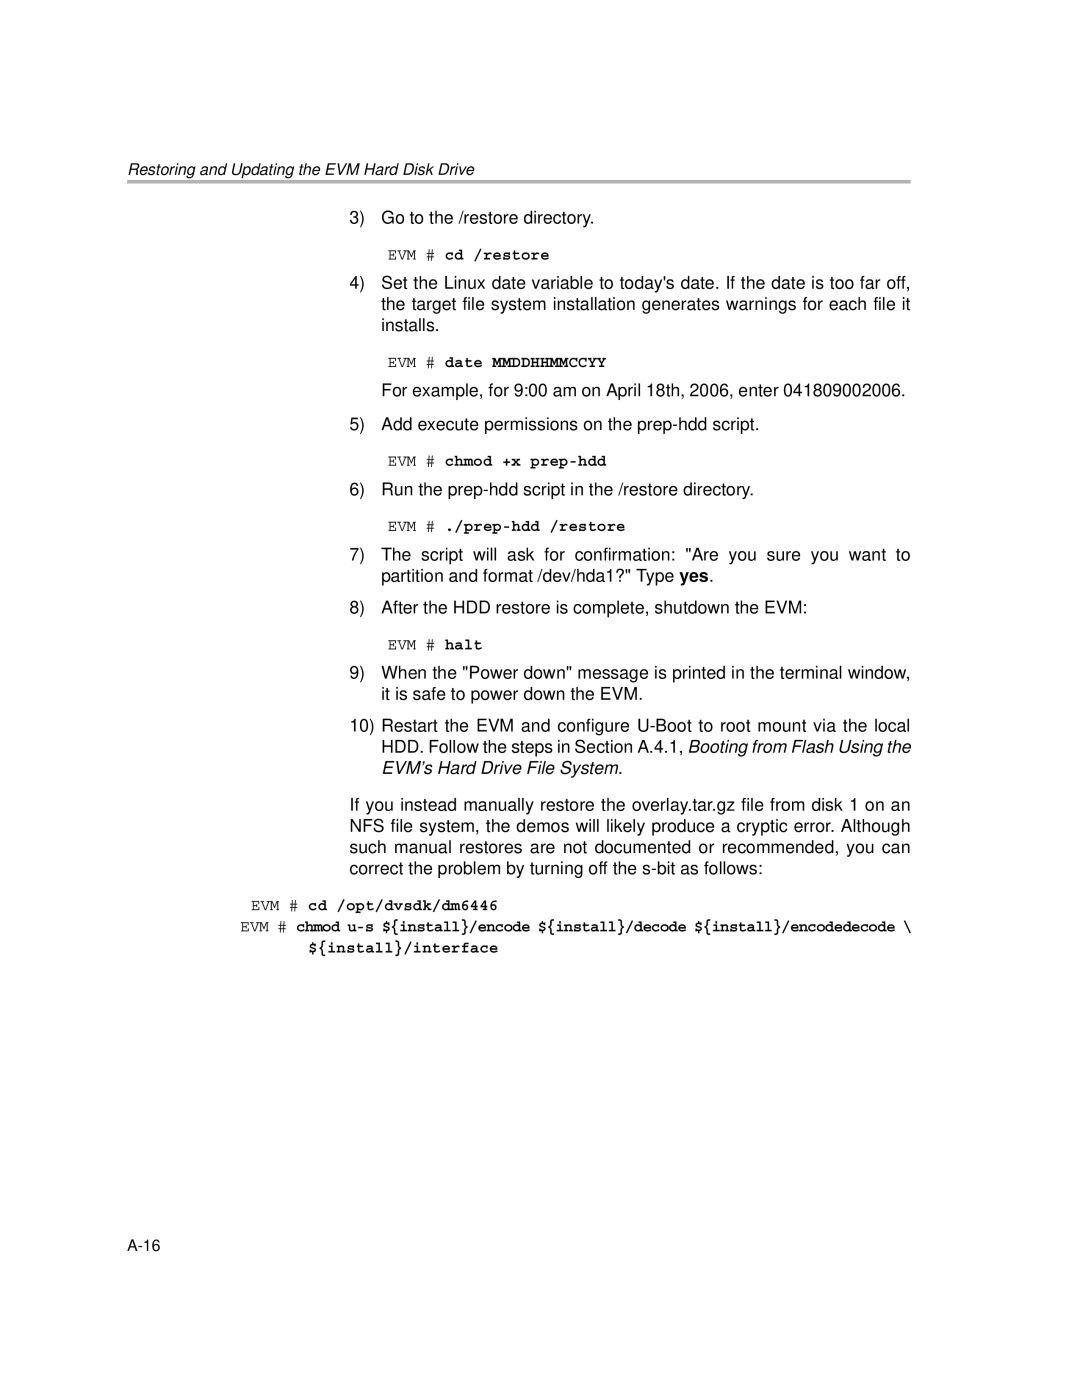
EVM # cd /restore
4)Set the Linux date variable to today's date. If the date is too far off, the target file system installation generates warnings for each file it installs.
EVM # date MMDDHHMMCCYY
For example, for 9:00 am on April 18th, 2006, enter 041809002006.
5) Add execute permissions on the
EVM # chmod +x
6) Run the
EVM
7)The script will ask for confirmation: "Are you sure you want to partition and format /dev/hda1?" Type yes.
8)After the HDD restore is complete, shutdown the EVM:
EVM # halt
9)When the "Power down" message is printed in the terminal window, it is safe to power down the EVM.
10)Restart the EVM and configure
If you instead manually restore the overlay.tar.gz file from disk 1 on an NFS file system, the demos will likely produce a cryptic error. Although such manual restores are not documented or recommended, you can correct the problem by turning off the
EVM # cd /opt/dvsdk/dm6446
EVM # chmod
${install}/interface
