INSTALLATION OF SA-S200 OPTIONAL CURRENT SHUNT
Installation of the current shunt requires the
1.The 200 Amp 75mV precision current shunt must be fitted between the negative (black) lead of the SA41 and battery negative, as shown on diagram 1. Please ensure that cables are kept as short as possible. At least 120 Amp continuously rated battery cable should be used.
2.Attach the shunt and insulated base securely to a solid structure.
3.Using the twin flex supplied, wire up the current sensing wires to the
4.Ensure that the SA41 Status is in "RESET" mode, which ensures that the SA41 is not drawing any DC current through the shunt. Also, disable all charging sources, such as Solar Panels and wind generators.
5.Via the SA41 front panel, access the “Settings” menu as described on Page 8 of the manual. Scroll slowly through the screens until the following display is seen:
Ext. Shunt: NO
Set Parameters]
Select YES using the ”UP” key.
6. Scroll to the next screen and the following display will be seen:
Zero DC Amps: OFF
[Set Parameters]
Select ON using the ”UP” key. Note: when this setting is set to ON, a zero DC amps is performed taking about 1 to 2 seconds, after which the display returns to OFF.
Scroll through the remainder of the “Settings” screens until the “Readings” screen is reached.
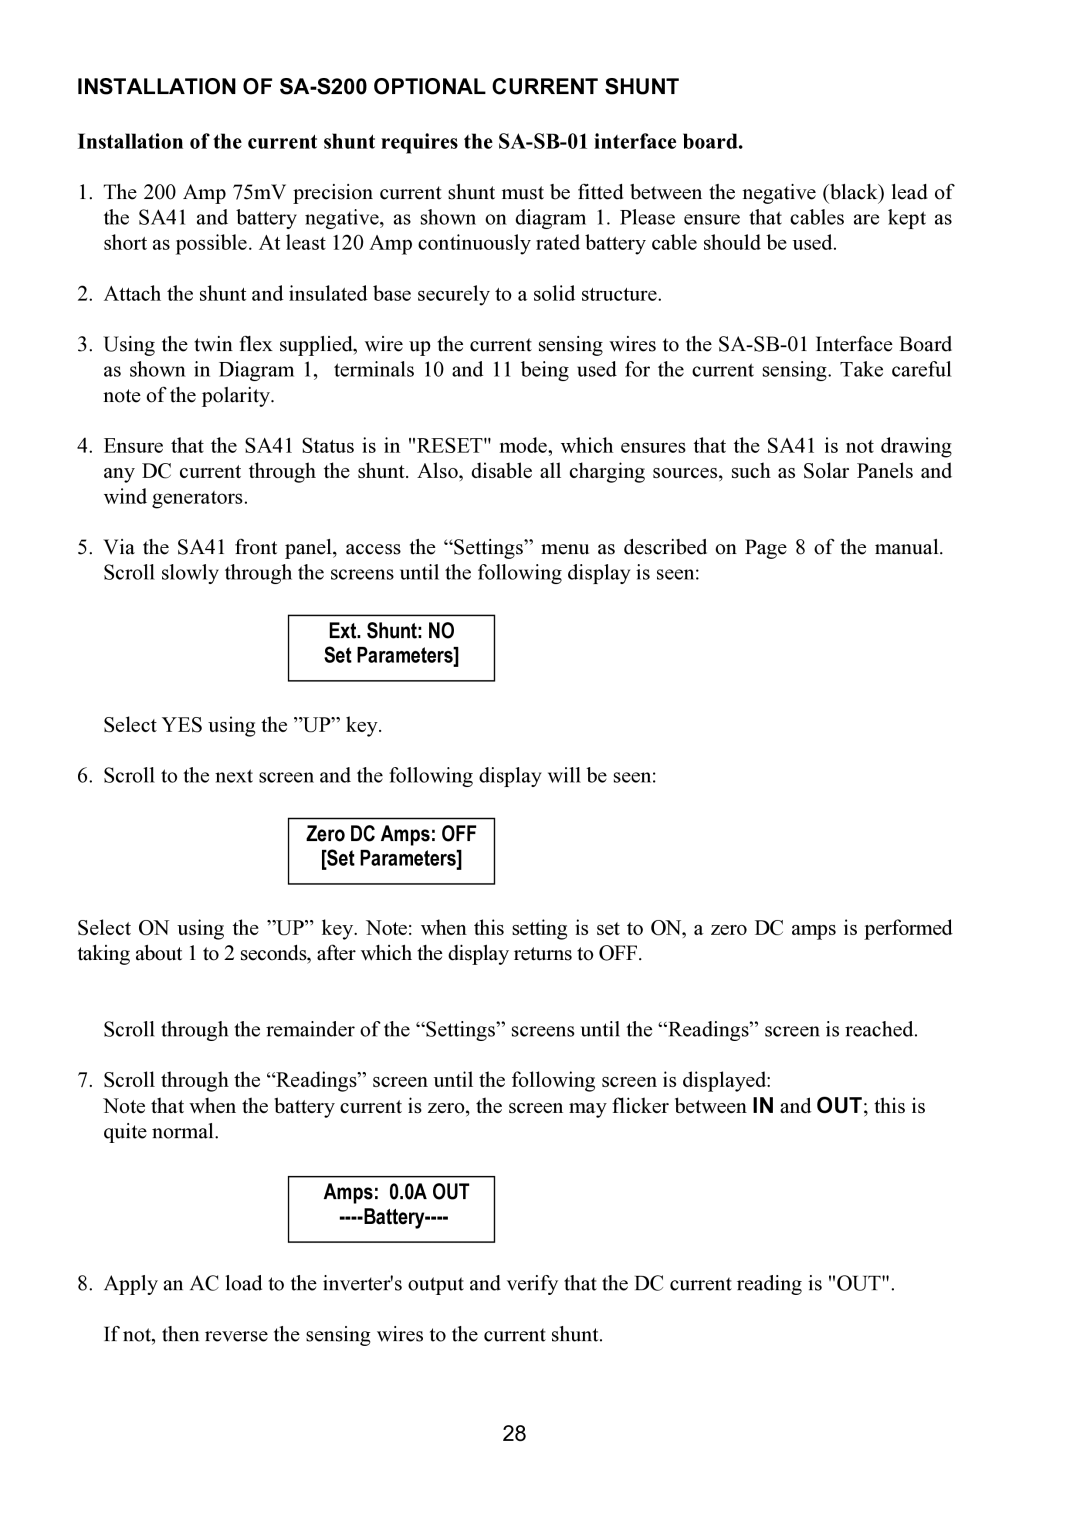
7.Scroll through the “Readings” screen until the following screen is displayed:
Note that when the battery current is zero, the screen may flicker between IN and OUT; this is quite normal.
Amps: 0.0A OUT
----Battery----
8.Apply an AC load to the inverter's output and verify that the DC current reading is "OUT". If not, then reverse the sensing wires to the current shunt.
28