Press OK.
5Your
OK.ZOOMING
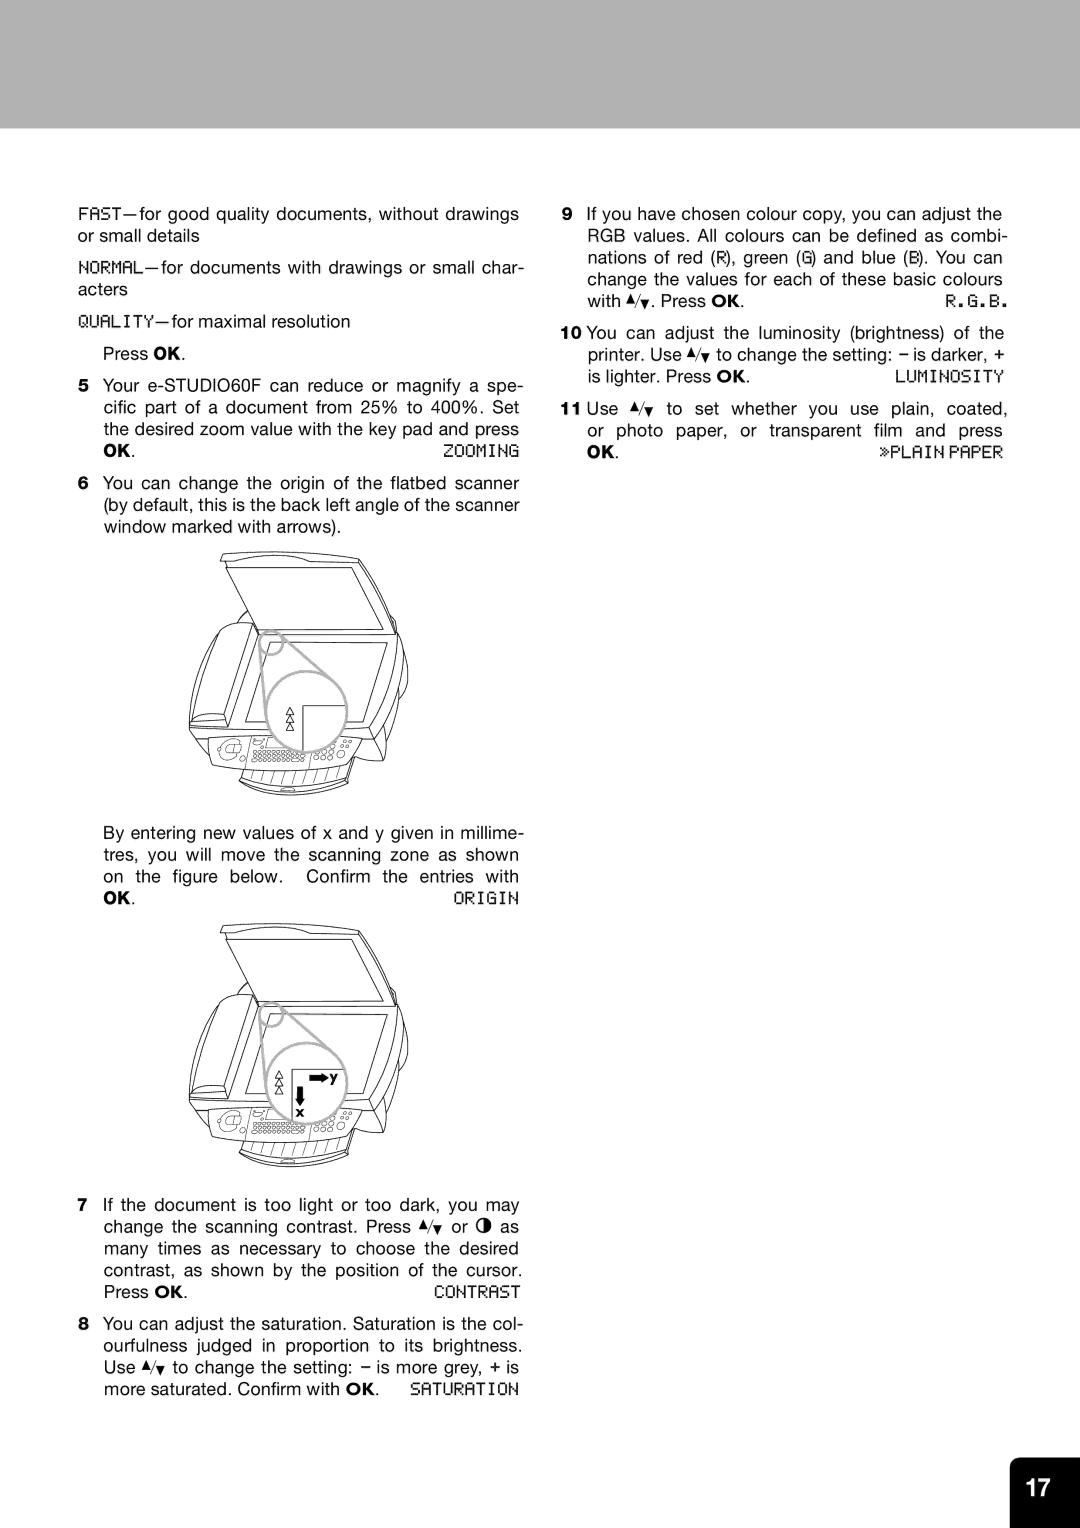
6You can change the origin of the flatbed scanner (by default, this is the back left angle of the scanner window marked with arrows).
By entering new values of x and y given in millime- tres, you will move the scanning zone as shown on the figure below. Confirm the entries with
OK.ORIGIN
7If the document is too light or too dark, you may change the scanning contrast. Press / or O as many times as necessary to choose the desired contrast, as shown by the position of the cursor.
Press OK. | CONTRAST |
8You can adjust the saturation. Saturation is the col- ourfulness judged in proportion to its brightness. Use / to change the setting: - is more grey, + is more saturated. Confirm with OK. SATURATION
9If you have chosen colour copy, you can adjust the RGB values. All colours can be defined as combi- nations of red (R), green (G) and blue (B). You can change the values for each of these basic colours
with /. Press OK.R.G.B.
10 You can adjust the luminosity (brightness) of the printer. Use / to change the setting: - is darker, +
is lighter. Press OK. | LUMINOSITY |
11 Use / to set whether you | use plain, coated, |
or photo paper, or transparent film and press | |
OK. | »PLAIN PAPER |
17