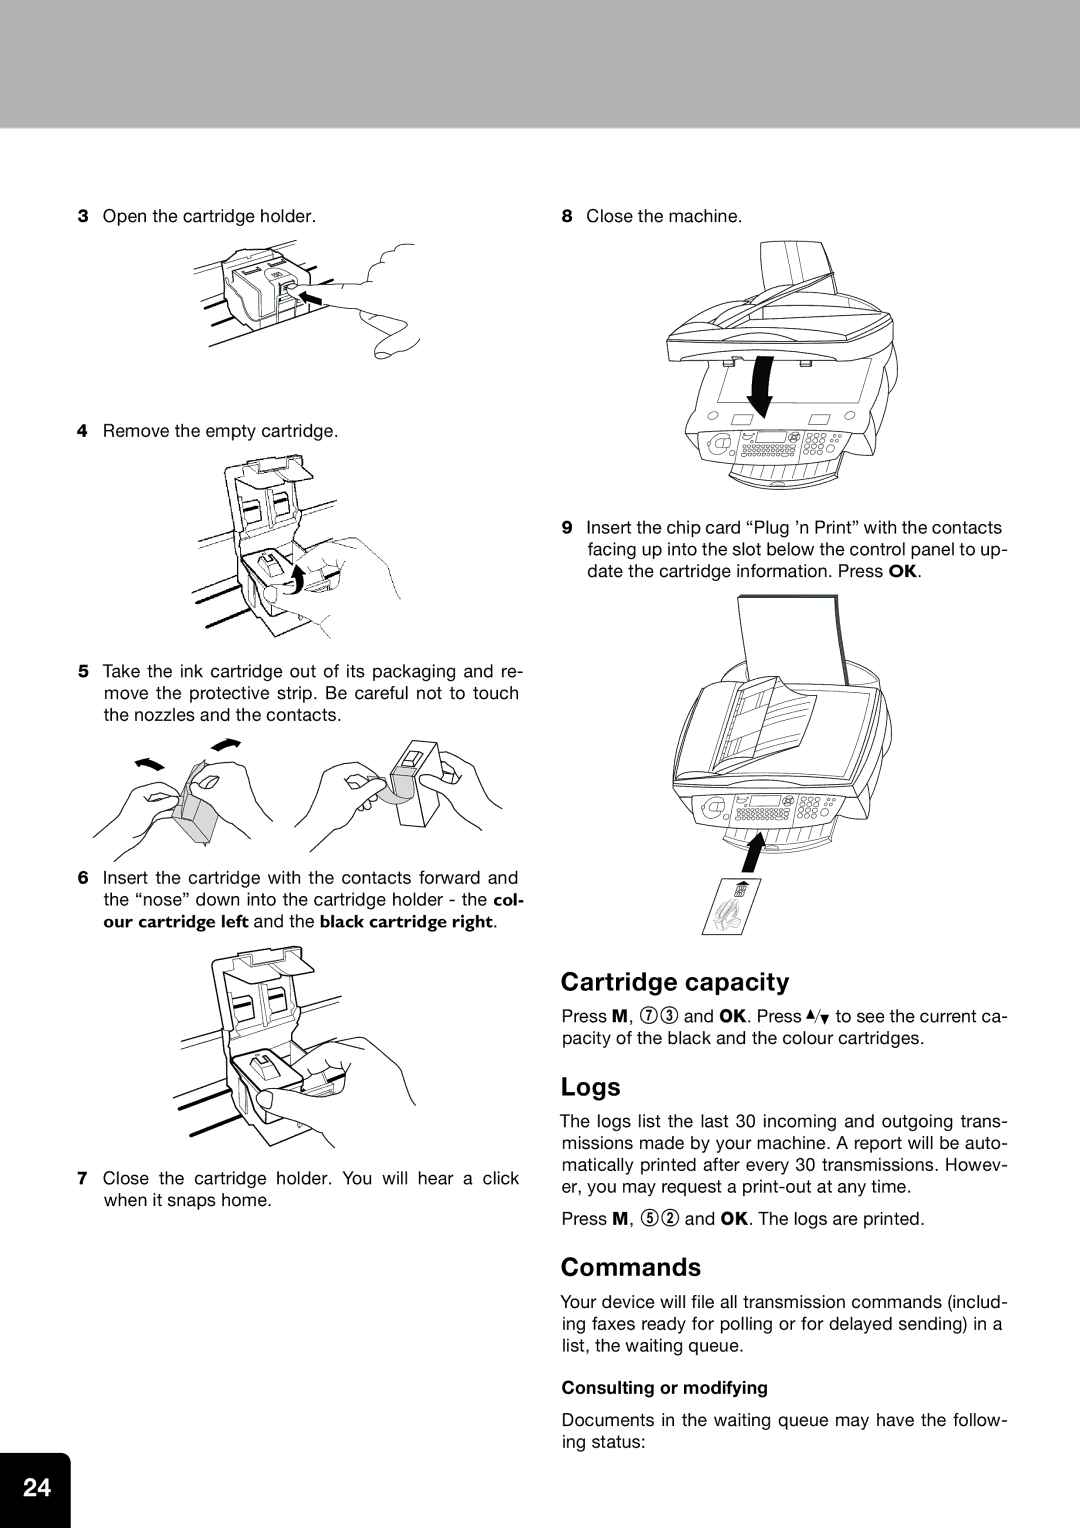
3Open the cartridge holder.
4Remove the empty cartridge.
5Take the ink cartridge out of its packaging and re- move the protective strip. Be careful not to touch the nozzles and the contacts.
6Insert the cartridge with the contacts forward and the “nose” down into the cartridge holder - the col- our cartridge left and the black cartridge right.
7Close the cartridge holder. You will hear a click when it snaps home.
8Close the machine.
9Insert the chip card “Plug ’n Print” with the contacts facing up into the slot below the control panel to up- date the cartridge information. Press OK.
Cartridge capacity
Press M, 73 and OK. Press / to see the current ca- pacity of the black and the colour cartridges.
Logs
The logs list the last 30 incoming and outgoing trans- missions made by your machine. A report will be auto- matically printed after every 30 transmissions. Howev- er, you may request a
Press M, 52 and OK. The logs are printed.
Commands
Your device will file all transmission commands (includ- ing faxes ready for polling or for delayed sending) in a list, the waiting queue.
Consulting or modifying
Documents in the waiting queue may have the follow- ing status:
24