Variable Search
System
Press the QUICK button to display the search screen in the stop mode. When a program is record- ed, the starting point is given an Index mark for easy location. However, the VHS Index Search System (VISS) cannot recognize index marks made by old VCRs. If the VCR has trouble finding a mark, it is proba- bly because the cassette was recorded on a VCR with- out VISS. If you want to index two programs in a row, set your VCR to stop, then start recording each program.
End search
Use this feature when you want to search for a blank position to record a program on a cassette.
While a cassette is stopped, press the QUICK
1 button.
2 Select “End Search”, and perss the OK button.
The VCR will fast forward, searching for a
Recording
This section shows various DVD recording meth- ods.
Before Recording
This unit can record on various types of discs. Before recording, read the following instructions and select the disc type according to your preference.
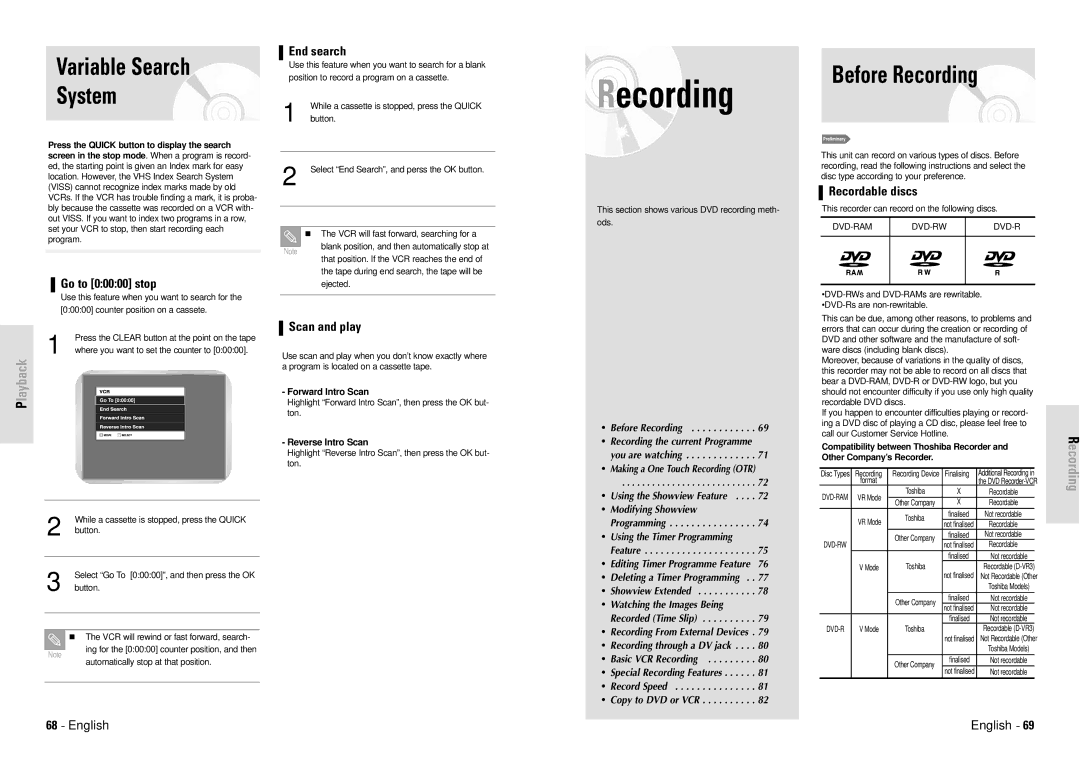
Recordable discs
This recorder can record on the following discs.
Go to [0:00:00] stop
Use this feature when you want to search for the [0:00:00] counter position on a cassete.
Note
blank position, and then automatically stop at that position. If the VCR reaches the end of the tape during end search, the tape will be ejected.
Playback
Press the CLEAR button at the point on the tape
1 where you want to set the counter to [0:00:00].
Go To [0:00:00]
While a cassette is stopped, press the QUICK
2 button.
Select “Go To [0:00:00]”, and then press the OK
3 button.
The VCR will rewind or fast forward, search-
Scan and play
Use scan and play when you don’t know exactly where a program is located on a cassette tape.
-Forward Intro Scan
Highlight “Forward Intro Scan”, then press the OK but- ton.
-Reverse Intro Scan
Highlight “Reverse Intro Scan”, then press the OK but- ton.
• Before Recording . . . . . . . . . . . . 69
•Recording the current Programme
you are watching . . . . . . . . . . . . . 71
•Making a One Touch Recording (OTR)
. . . . . . . . . . . . . . . . . . . . . . . . . . . 72
• Using the Showview Feature . . . . 72
•Modifying Showview
Programming . . . . . . . . . . . . . . . . 74
•Using the Timer Programming
Feature . . . . . . . . . . . . . . . . . . . . . 75
•Editing Timer Programme Feature 76
•Deleting a Timer Programming . . 77
• Showview Extended . . . . . . . . . . . 78
•Watching the Images Being
Recorded (Time Slip) . . . . . . . . . . 79
•Recording From External Devices . 79
This can be due, among other reasons, to problems and errors that can occur during the creation or recording of DVD and other software and the manufacture of soft- ware discs (including blank discs).
Moreover, because of variations in the quality of discs, this recorder may not be able to record on all discs that bear a
If you happen to encounter difficulties playing or record- ing a DVD disc of playing a CD disc, please feel free to call our Customer Service Hotline.
Compatibility between Thoshiba Recorder and | Recording | ||||||||
Other Company’s Recorder. |
|
|
| ||||||
|
|
|
|
|
|
| |||
Disc Types | Recording | Recording Device | Finalising | Additional Recording in |
| ||||
| format |
|
|
| the DVD | ||||
| VR Mode | Toshiba | X | Recordable |
| ||||
| |||||||||
Other Company | X | Recordable |
|
| |||||
|
|
|
| ||||||
| VR Mode | Toshiba | finalised | Not recordable |
|
| |||
| not finalised | Recordable |
| ||||||
|
|
|
| ||||||
|
|
| Other Company |
| finalised | Not recordable |
|
| |
|
|
|
| not finalised | Recordable |
|
| ||
|
|
|
|
| |||||
|
|
|
|
| finalised | Not recordable |
|
| |
| V Mode | Toshiba | not finalised | Recordable |
| ||||
|
|
|
|
| Not Recordable (Other |
| |||
|
|
|
|
|
| Toshiba Models) |
|
| |
|
|
| Other Company | finalised | Not recordable |
|
| ||
|
|
| not finalised | Not recordable |
| ||||
|
|
|
|
|
| ||||
|
|
|
|
| finalised | Not recordable |
|
| |
V Mode | Toshiba |
| Recordable |
|
| ||||
|
|
|
|
| not finalised | Not Recordable (Other |
| ||
Note
ing for the [0:00:00] counter position, and then automatically stop at that position.
• Recording through a DV jack . . . . 80
• Basic VCR Recording . . . . . . . . . 80
• Special Recording Features . . . . . . 81
• Record Speed . . . . . . . . . . . . . . . 81
• Copy to DVD or VCR . . . . . . . . . . 82
|
| Toshiba Models) | |
Other Company | finalised | Not recordable | |
not finalised | Not recordable | ||
|
68- English
English - 69