SYSTEM
System Configuration
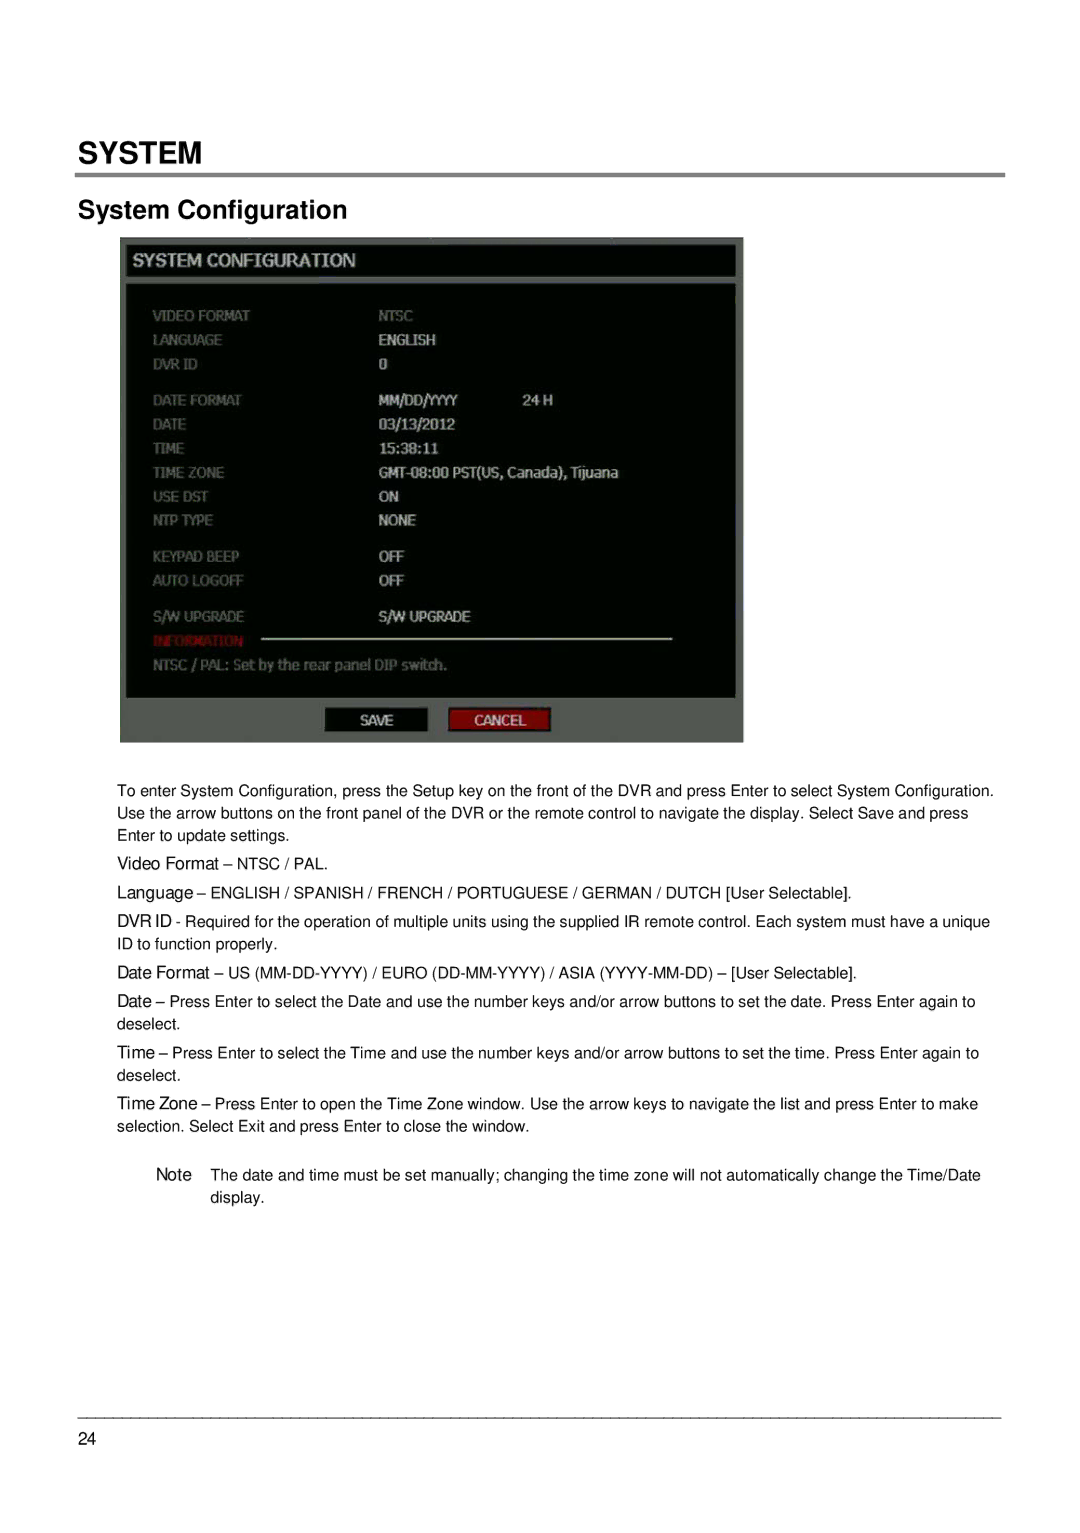
To enter System Configuration, press the Setup key on the front of the DVR and press Enter to select System Configuration. Use the arrow buttons on the front panel of the DVR or the remote control to navigate the display. Select Save and press Enter to update settings.
Video Format – NTSC / PAL.
Language – ENGLISH / SPANISH / FRENCH / PORTUGUESE / GERMAN / DUTCH [User Selectable].
DVR ID - Required for the operation of multiple units using the supplied IR remote control. Each system must have a unique ID to function properly.
Date Format – US
Date – Press Enter to select the Date and use the number keys and/or arrow buttons to set the date. Press Enter again to deselect.
Time – Press Enter to select the Time and use the number keys and/or arrow buttons to set the time. Press Enter again to deselect.
Time Zone – Press Enter to open the Time Zone window. Use the arrow keys to navigate the list and press Enter to make selection. Select Exit and press Enter to close the window.
Note The date and time must be set manually; changing the time zone will not automatically change the Time/Date display.
________________________________________________________________________________________________________
24