ESV4 User’s Manual 167
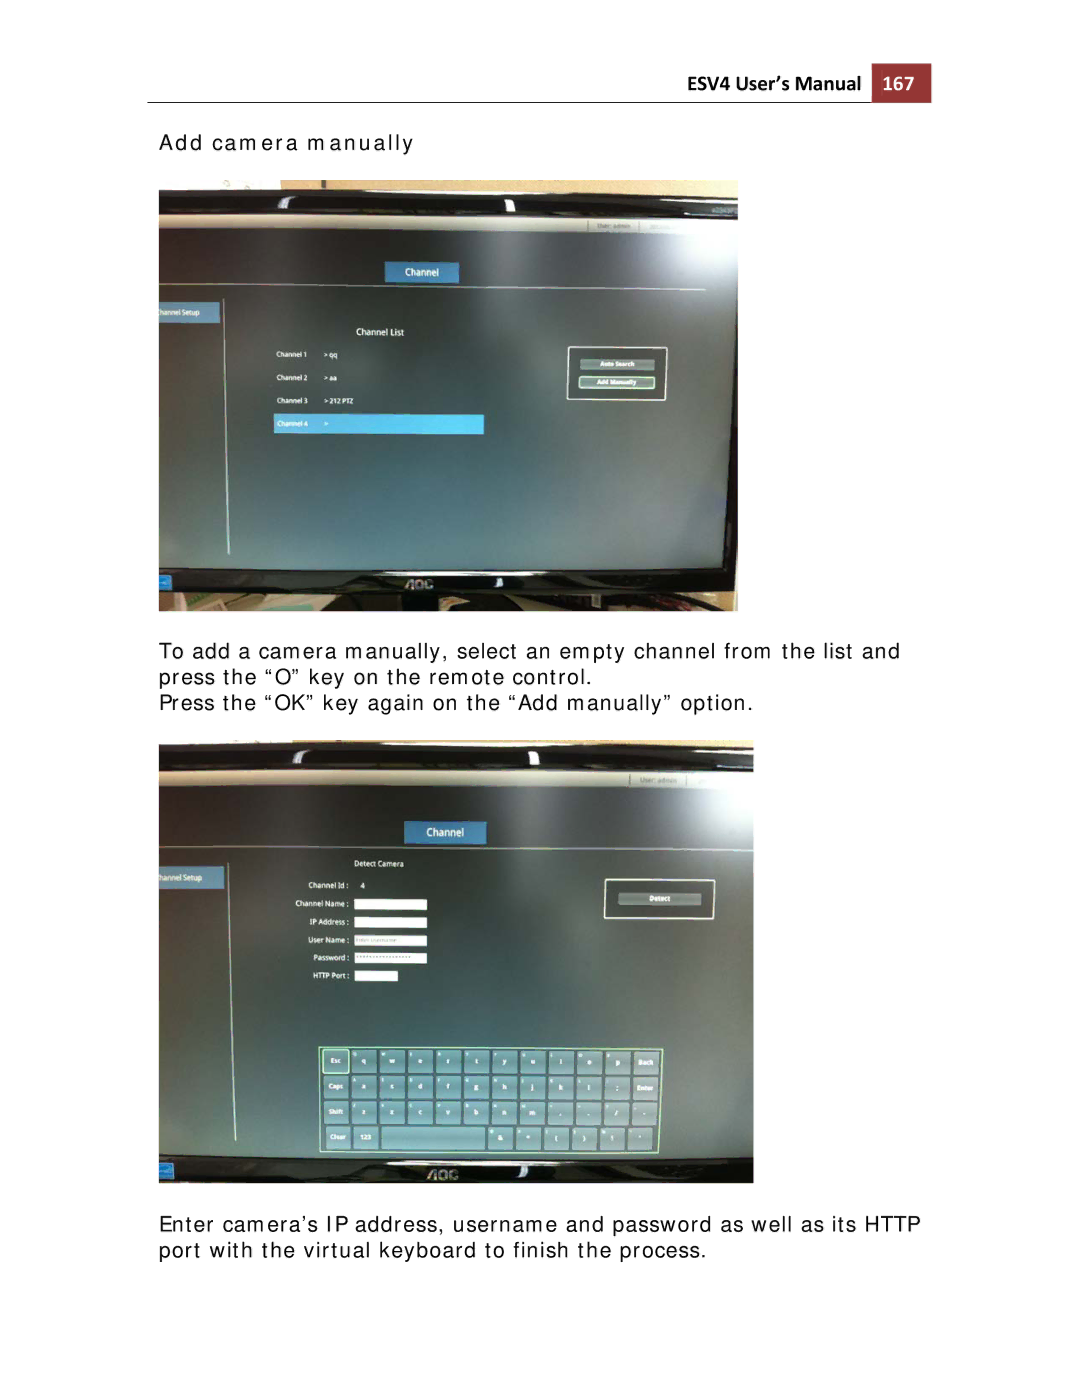
Add camera manually
To add a camera manually, select an empty channel from the list and press the “O” key on the remote control.
Press the “OK” key again on the “Add manually” option.
Enter camera’s IP address, username and password as well as its HTTP port with the virtual keyboard to finish the process.