62ESV4 User’s Manual
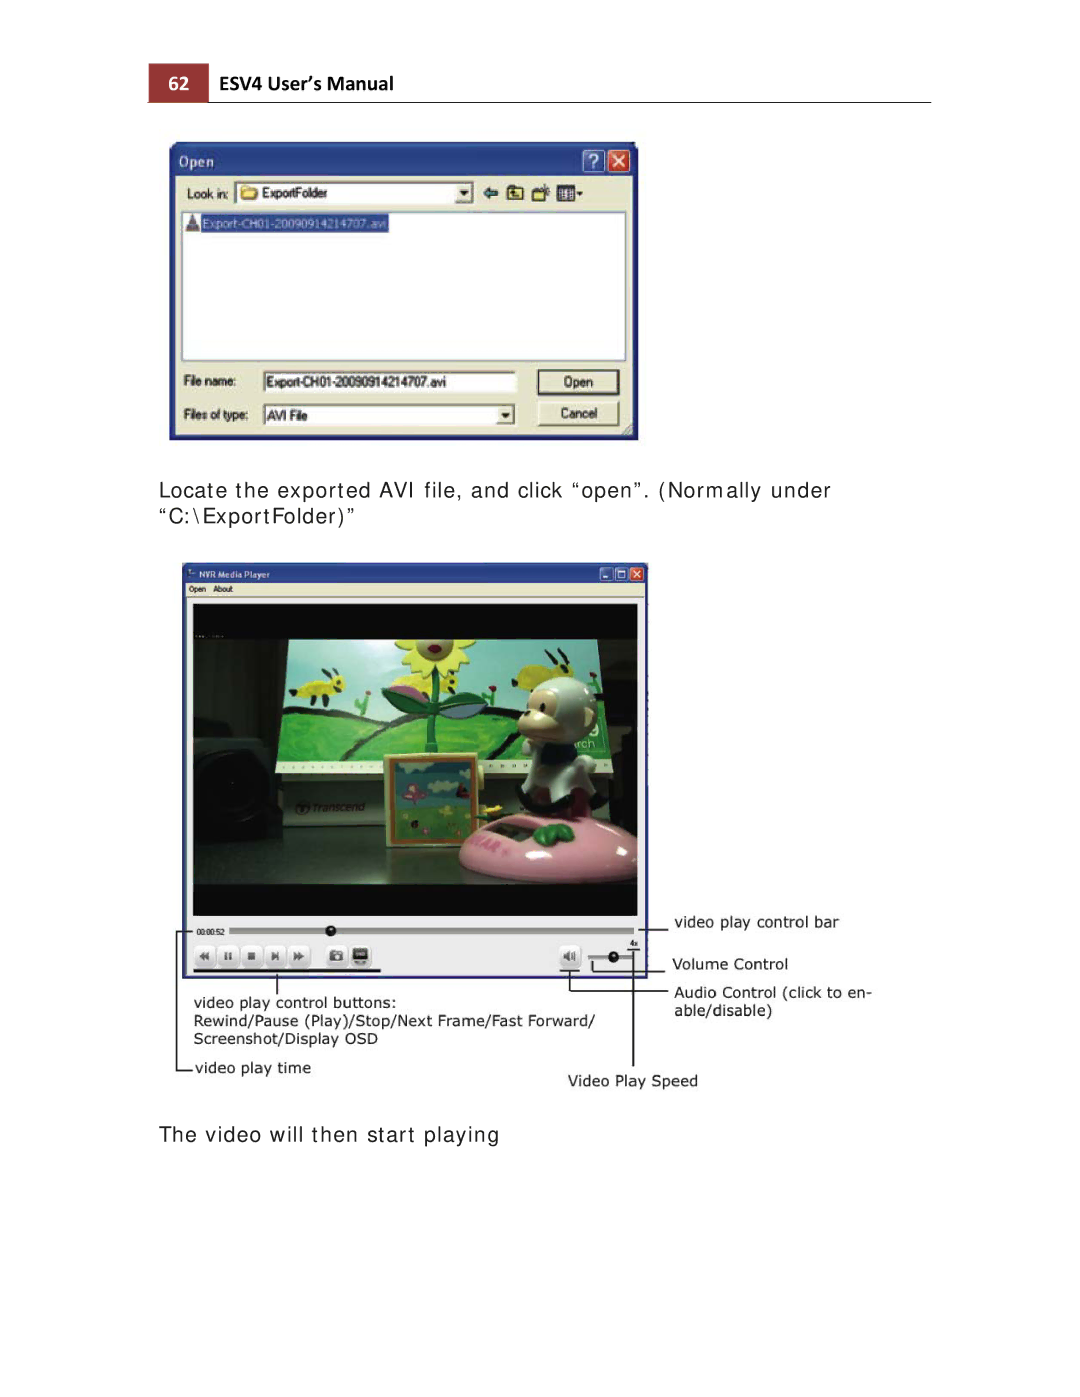
Locate the exported AVI file, and click “open”. (Normally under “C:\ExportFolder)”
The video will then start playing
Locate the exported AVI file, and click “open”. (Normally under “C:\ExportFolder)”
The video will then start playing