ESV4 User’s Manual 45
Playback (Web Interface)
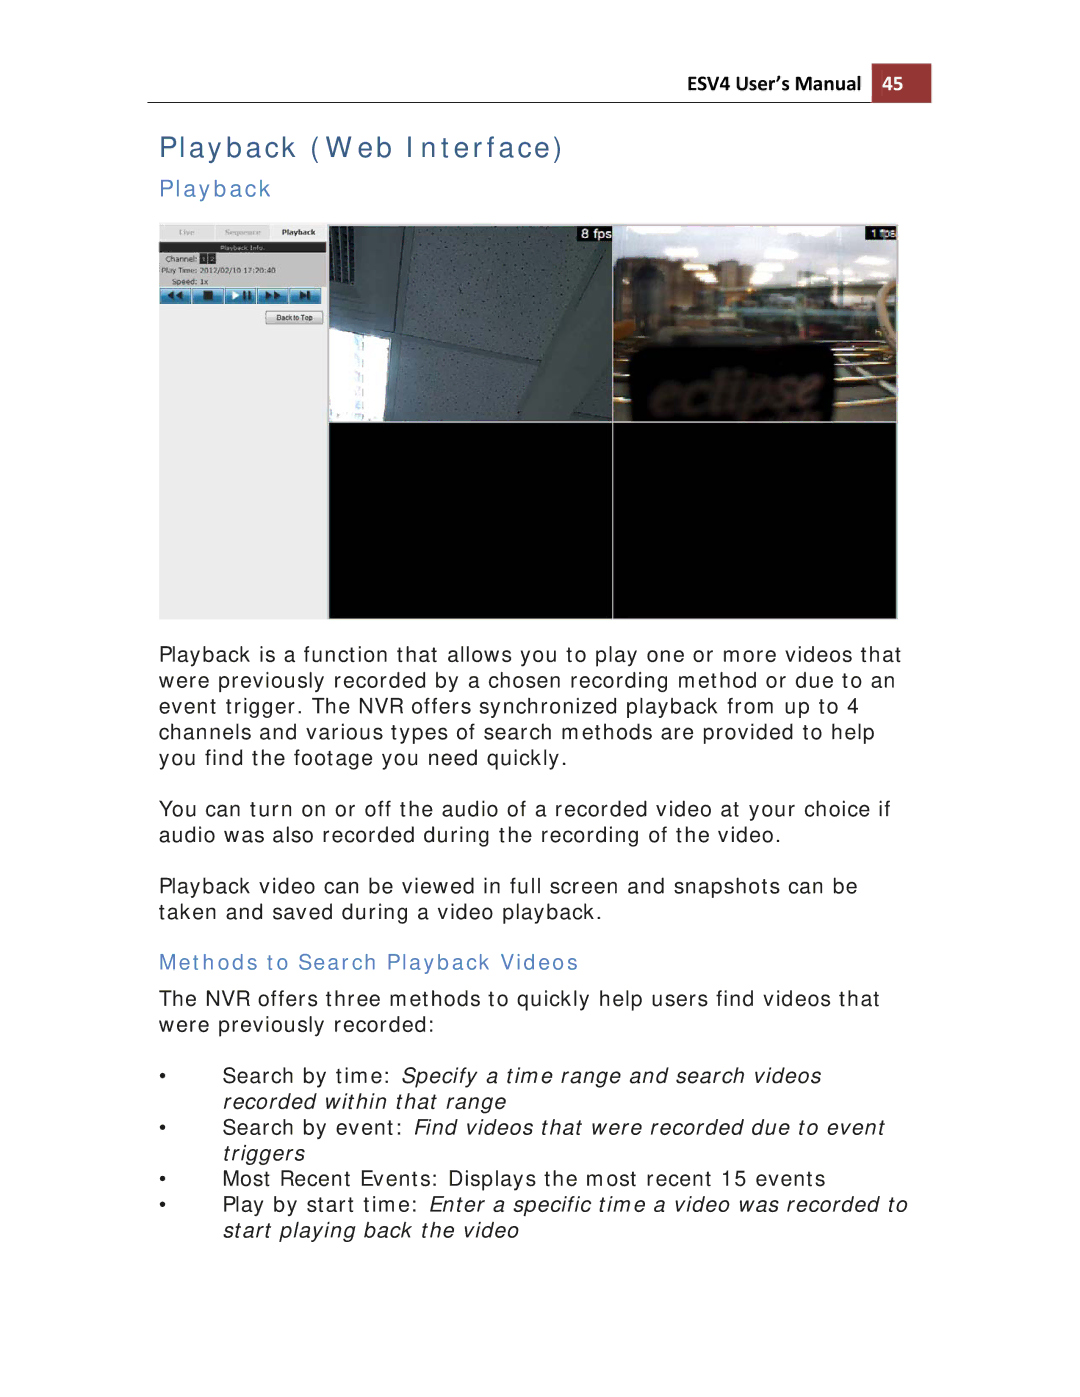
Playback
Playback is a function that allows you to play one or more videos that were previously recorded by a chosen recording method or due to an event trigger. The NVR offers synchronized playback from up to 4 channels and various types of search methods are provided to help you find the footage you need quickly.
You can turn on or off the audio of a recorded video at your choice if audio was also recorded during the recording of the video.
Playback video can be viewed in full screen and snapshots can be taken and saved during a video playback.
Methods to Search Playback Videos
The NVR offers three methods to quickly help users find videos that were previously recorded:
•Search by time: Specify a time range and search videos recorded within that range
•Search by event: Find videos that were recorded due to event triggers
•Most Recent Events: Displays the most recent 15 events
•Play by start time: Enter a specific time a video was recorded to start playing back the video