Manuals
/
Toshiba
/
Computer Equipment
/
Projector
Toshiba
owner manual
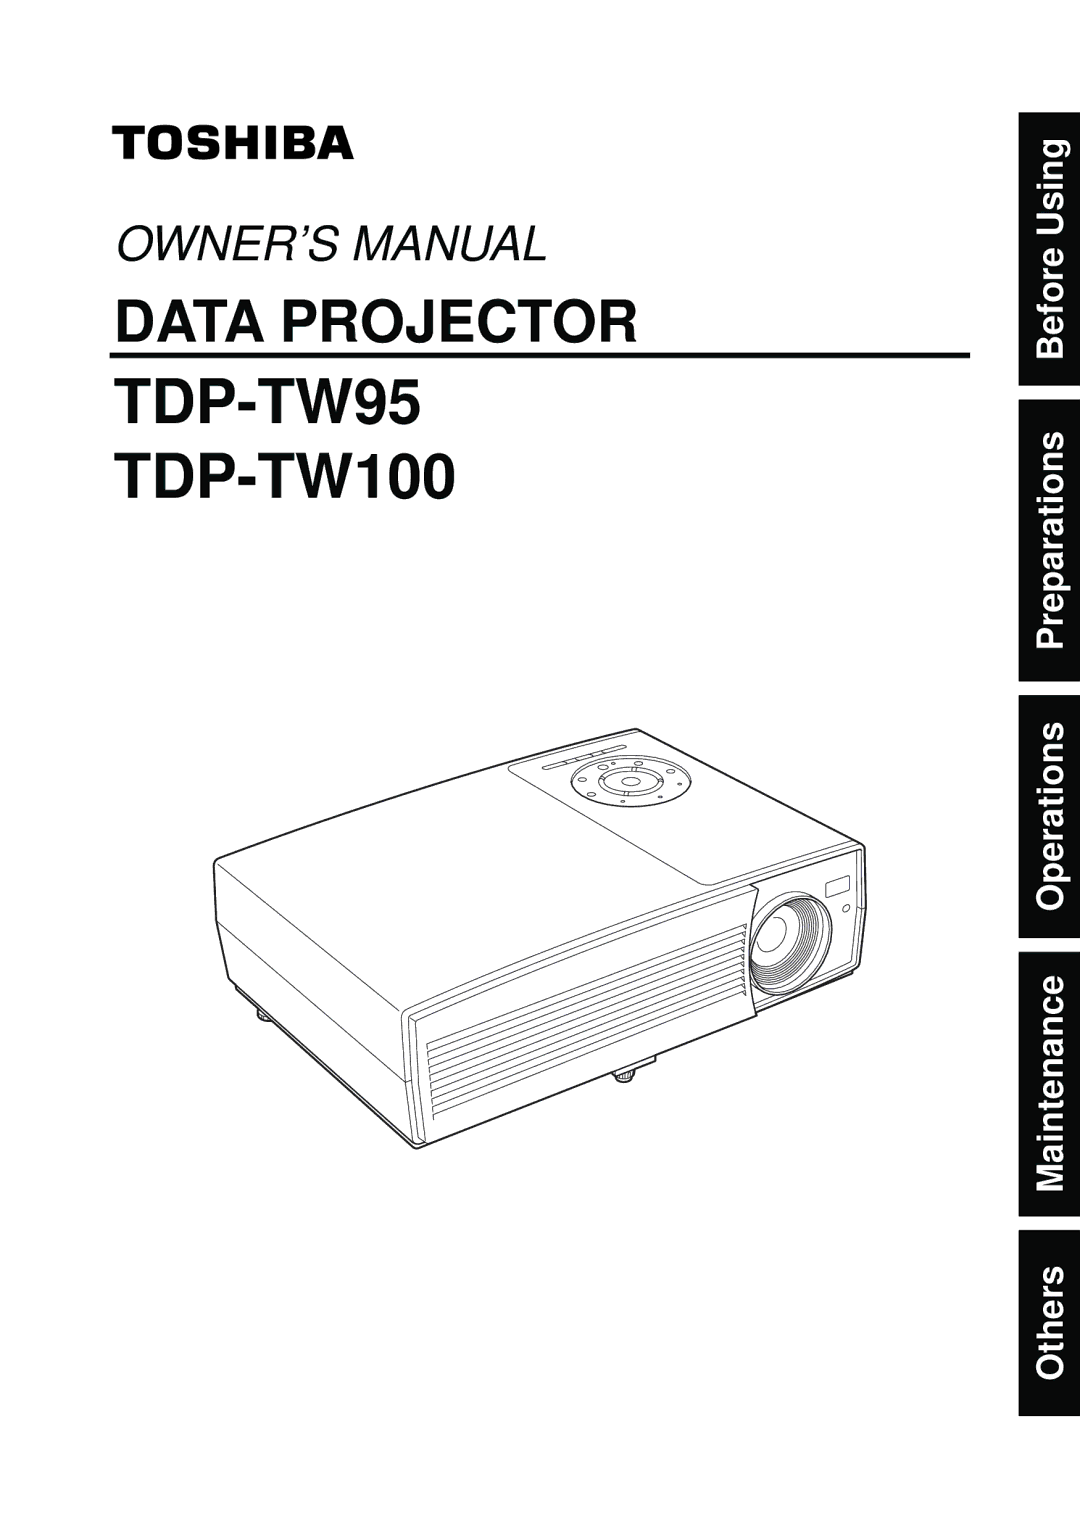
TDP-TW95 TDP-TW100
Models:
TDP-TW95
TDP-TW100
1
1
46
46
Download
46 pages
22.46 Kb
1
2
3
4
5
6
7
8
Specs
Install
Default setting menu
Symbols in the thumbnail list
Wireless LAN USB Adapter
Easy setup
Inside the battery cover
Image adjustment menu
Display setting menu
Cleaning
Page 1
Image 1
OWNER’S MANUAL
DATA PROJECTOR
TDP-TW95
TDP-TW100
Others Maintenance Operations Preparations Before Using
Page 1
Page 2
Page 1
Image 1
Page 1
Page 2
Contents
TDP-TW95 TDP-TW100
Safety Precautions
Overloading Power Sources
Power-Cord Protection
Cleaning
Heat
Important Safety Instructions
Save Original Packing Materials
Place and Manner of Installation
Moisture Condensation
Wireless LAN USB Adapter
Important Precautions Avoid Volatile Liquid
Copyrights
Disposal
Contents
Names of each part on the main unit
Checking the package contents
Inside the battery cover
Name Main Function Zoom button Adjusts the screen size
Label locations
Name Main Function
Operating the remote control
Loading dry-cell batteries into the remote control
Remove the battery cover Insert the dry-cell batteries
Replace the battery cover
Connecting a computer
Placement
Placement Styles
Operating a computer
Before connection
Connection
Turning the power on
Turning the power on and off
Press the ON/STANDBY button again
Basic operations
Easy setup
Using handy features
Correcting the keystone distortion
Changing picture mode
Using handy features
Resizing image
Cutting off the picture and sound temporarily Mute
Freezing the image Freeze
Changing screen size
How to use the menus
Using the menus
Password cancel confirmation screen is displayed. OK or
Cancel
Image adjustment menu
Using the menus
Display setting menu
Reset logo
Default setting menu
Display style
Logo confirmation
Remote control
Wireless standby
Power on Easy setup
Lamp power
Connecting USB device
How to use the USB terminal
Disconnecting USB device
Displaying Information Status display
Communication mode
Setting up the wireless LAN
Functions
Setup using the Setting display
Setting up the wireless LAN
Setting Wireless Utility
Projector settings Be sure to read this subsection
Details on individual items
Character entry
Computer settings
USB memories
Setting slideshow options
Backing up data
Jpeg files
Playing a slide show from a thumbnail list
Symbols in the thumbnail list
Searching for a target file
Plug a USB memory
Displaying slides
Changing slides
Control setting menu
Control setting
Checking the projector status
Status display
Using the Wireless Utility
Installing the applications
Using the Wireless Utility
Click on the icon
Wireless Utility’s Select file field
Click on the Browse button Select the file to send
Select the projector to transmit
Easy Connect utility
Play the video file via the Control window
Copying the computer settings to the projector
How to connect USB memory
Setting information is saved to the USB memory
Unplug the USB memory from the computer
To quit, click on the button on the Remote Control Window
Click on the Remote Control window’s buttons
Click on the Remote
Control button
Converting files created with Microsoft PowerPoint
How to use the Jpeg Conversion Tool
Launching the Jpeg Conversion Tool
Converting an image file
How to use the Projector Configuration Tool
How to use the Jpeg Conversion Tool
Making a presentation with converted Jpeg files
Conversion Method field, select Creating screen capture
Select items from the menu on the left
About lamp
Details on major items
Lamp replacement
Lens cleaning
Lens and main unit cleaning
Main unit cleaning
Trouble indications
Before calling service personnel
List of general specifications
Specifications
List of supported signals RGB signals
Specification
List of supported signals Y/PB/PR signals
Specifications
List of supported signals Video, S-Video signals
Top
Page
Image
Contents