Using the menus (Continued)
■The display setting menu
Use this menu to set screen
(The items in gray color cannot be set with the current input selection.)
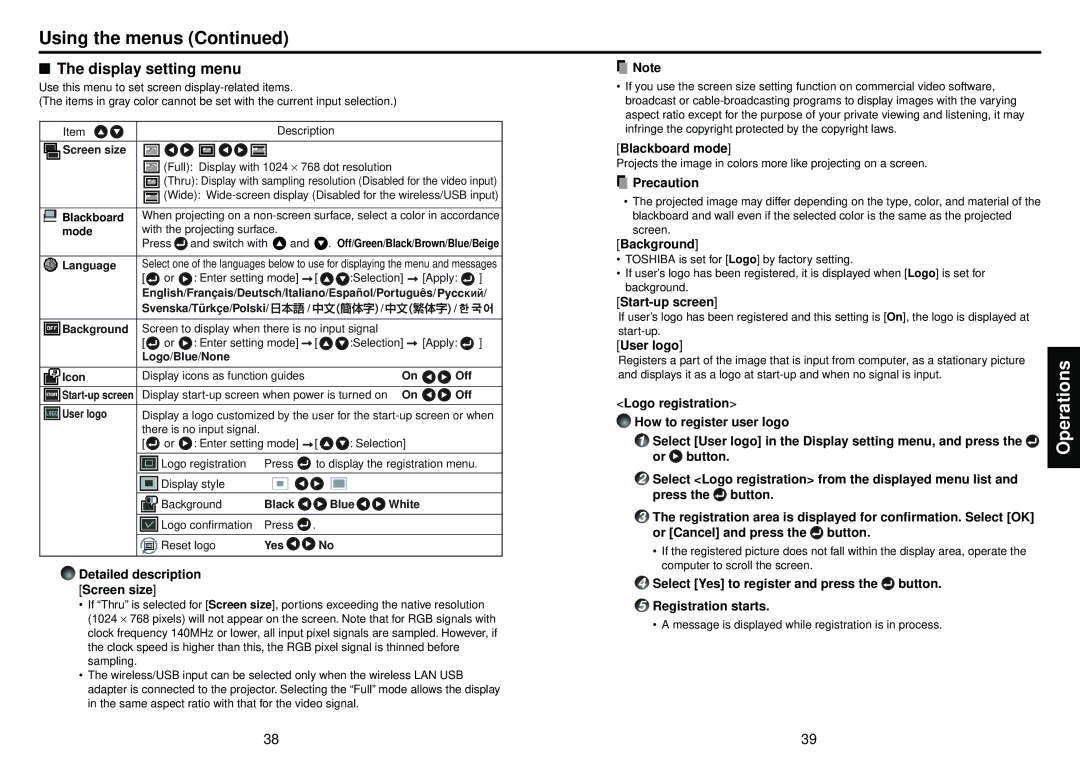
Item |
|
|
| Description |
|
|
|
|
| |||
|
|
|
|
|
|
|
|
|
|
|
|
|
Screen size |
|
|
|
|
|
|
|
|
|
|
|
|
|
| (Full): Display with 1024 ⋅ 768 dot resolution |
|
|
|
| ||||||
|
| (Thru): Display with sampling resolution (Disabled for the video input) | ||||||||||
|
| (Wide): | ||||||||||
|
| |||||||||||
Blackboard | When projecting on a | |||||||||||
mode | with the projecting surface. |
|
| . Off/Green/Black/Brown/Blue/Beige | ||||||||
| Press | and switch with | and |
| ||||||||
|
| |||||||||||
Language | Select one of the languages below to use for displaying the menu and messages | |||||||||||
| [ | or | : Enter setting mode] | [ | :Selection] | [Apply: | ] | |||||
| English/Français/Deutsch/Italiano/Español/Português/ | / | ||||||||||
| Svenska/Türkçe/Polski/ | / |
| / |
| / |
|
|
| |||
|
|
|
|
|
| |||||||
|
|
|
|
|
|
| ||||||
Background | Screen to display when there is no input signal |
|
|
|
|
| ||||||
| [ | or | : Enter setting mode] | [ | :Selection] | [Apply: | ] | |||||
| Logo/Blue/None |
|
|
|
|
|
|
|
|
| ||
|
|
|
|
|
|
| ||||||
Icon | Display icons as function guides |
|
| On | Off |
| ||||||
|
|
|
|
| ||||||||
Display | On | Off |
| |||||||||
|
| |||||||||||
User logo | Display a logo customized by the user for the | |||||||||||
| there is no input signal. |
|
|
|
|
|
|
|
|
| ||
| [ | or | : Enter setting mode] | [ | : Selection] |
|
|
|
| |||
|
|
|
|
|
| |||||||
|
| Logo registration | Press | to display the registration menu. |
| |||||||
|
|
|
|
|
|
|
|
|
|
|
| |
|
| Display style |
|
|
|
|
|
|
|
|
| |
|
|
|
|
|
|
|
|
|
|
| ||
|
| Background | Black |
| Blue | White |
|
|
|
| ||
|
|
|
|
|
|
|
|
|
|
| ||
|
| Logo confirmation | Press | . |
|
|
|
|
|
| ||
|
|
|
|
|
|
|
|
|
|
|
| |
|
| Reset logo | Yes |
|
| No |
|
|
|
|
| |
|
|
|
|
|
|
|
|
|
|
|
|
|
Detailed description [Screen size]
•If “Thru” is selected for [Screen size], portions exceeding the native resolution (1024 ⋅ 768 pixels) will not appear on the screen. Note that for RGB signals with clock frequency 140MHz or lower, all input pixel signals are sampled. However, if the clock speed is higher than this, the RGB pixel signal is thinned before sampling.
•The wireless/USB input can be selected only when the wireless LAN USB adapter is connected to the projector. Selecting the “Full” mode allows the display in the same aspect ratio with that for the video signal.
![]() Note
Note
•If you use the screen size setting function on commercial video software, broadcast or
[Blackboard mode]
Projects the image in colors more like projecting on a screen.
 Precaution
•The projected image may differ depending on the type, color, and material of the blackboard and wall even if the selected color is the same as the projected screen.
[Background]
•TOSHIBA is set for [Logo] by factory setting.
•If user’s logo has been registered, it is displayed when [Logo] is set for background.
[Start-up screen]
If user’s logo has been registered and this setting is [On], the logo is displayed at
[User logo]
Registers a part of the image that is input from computer, as a stationary picture and displays it as a logo at
<Logo registration>
How to register user logo
1Select [User logo] in the Display setting menu, and press the![]() or
or ![]() button.
button.
2Select <Logo registration> from the displayed menu list and press the ![]() button.
button.
3The registration area is displayed for confirmation. Select [OK] or [Cancel] and press the ![]() button.
button.
•If the registered picture does not fall within the display area, operate the computer to scroll the screen.
4Select [Yes] to register and press the ![]() button.
button.
5Registration starts.
•A message is displayed while registration is in process.
Operations
38 | 39 |