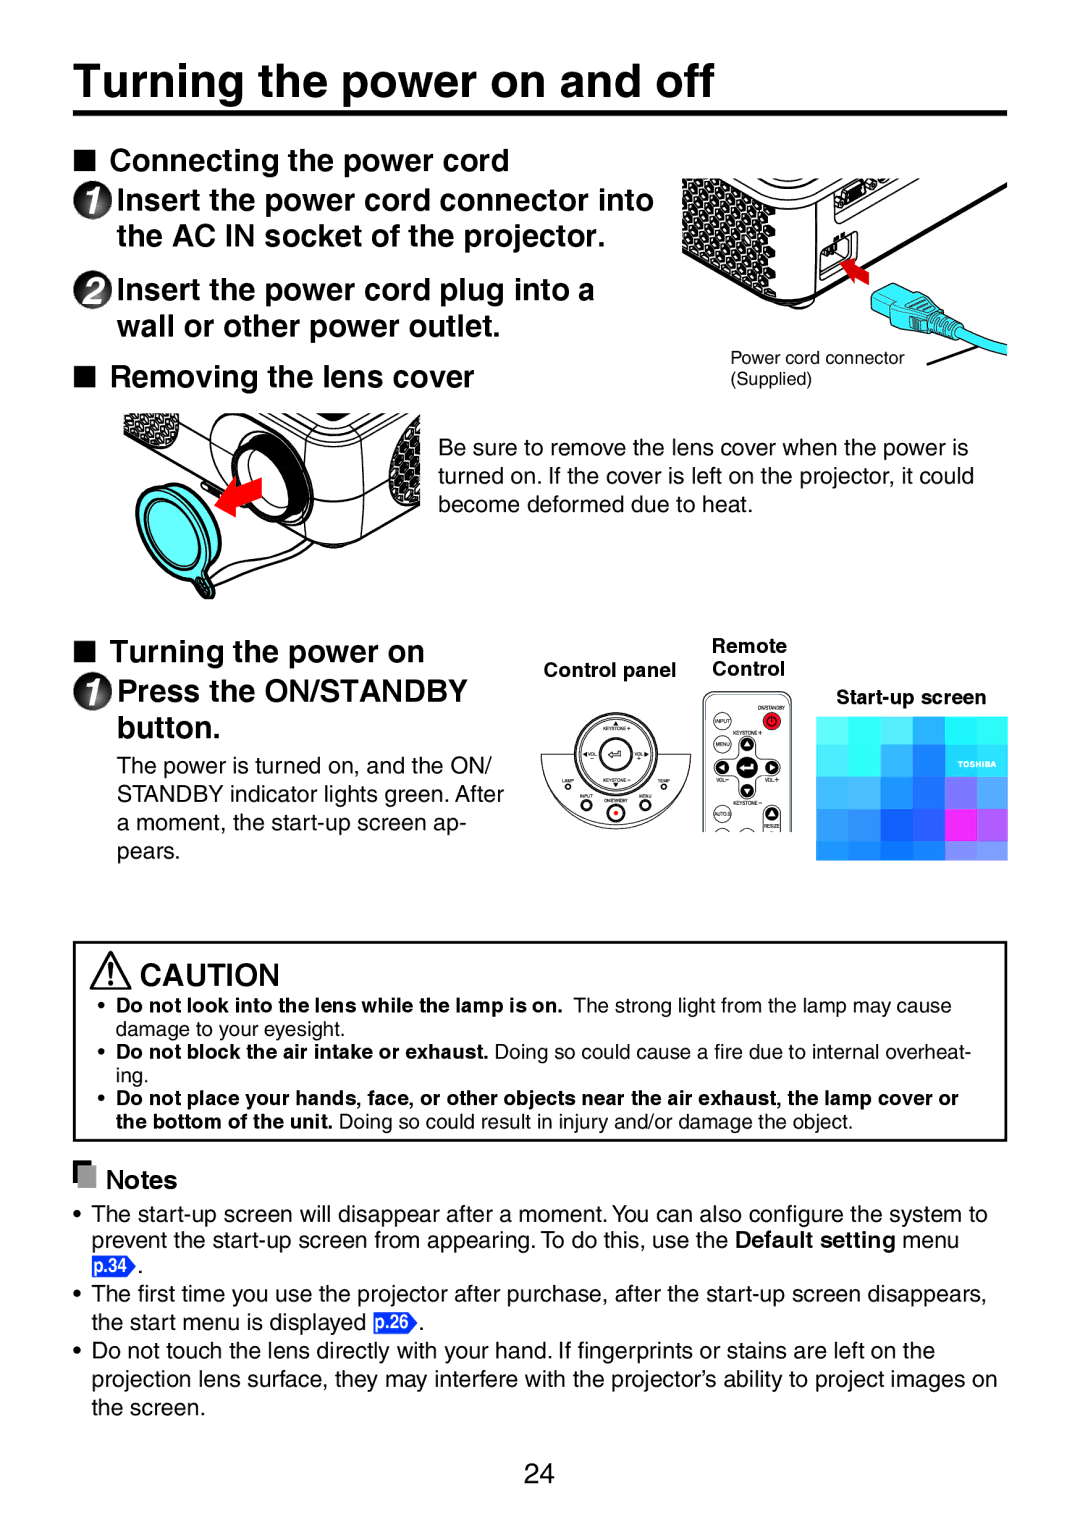
TDP-XP1 specifications
The Toshiba TDP-XP1 is a lightweight and portable projector that has gained attention for its array of features and capabilities tailored for both professional and educational settings. With a compact design, it is designed for those who need mobility without compromising performance, making it ideal for business presentations, classroom use, and personal applications.One of the standout characteristics of the TDP-XP1 is its impressive brightness level, rated at 1,200 ANSI lumens. This feature ensures that images appear sharp and clear even in environments with ambient lighting. The native resolution of the projector is SVGA (800x600), which provides good clarity for standard presentations and video content. However, it also supports various resolutions, making it versatile for different content types.
In terms of technology, the Toshiba TDP-XP1 employs a 3LCD technology. This system enhances color accuracy and provides vibrant images, which is crucial for maintaining audience engagement. The projector also incorporates a built-in speaker, delivering decent sound quality for small to medium-sized rooms, thus removing the need for additional audio equipment in casual settings.
Portability is a key selling point for the TDP-XP1. It weighs around 4.4 pounds, and its compact form factor makes it easy to carry in a bag or backpack. The projector features multiple input options, including VGA and composite video ports, allowing users to connect it to a variety of devices such as laptops, DVD players, and gaming consoles effortlessly.
The lamp life of the projector is another highlight, with an estimated lifespan of up to 2,000 hours in normal mode, and longer in eco-mode. This feature not only helps reduce operational costs but also minimizes the frequency of maintenance, making it an economical choice for users.
Additionally, the TDP-XP1 is equipped with various setup features, including digital keystone correction, allowing users to adjust the image for optimal viewing without physical repositioning. Overall, the Toshiba TDP-XP1 projector offers a splendid blend of portability, performance, and convenience, making it a suitable option for a wide range of applications from corporate meetings to classroom lectures.

