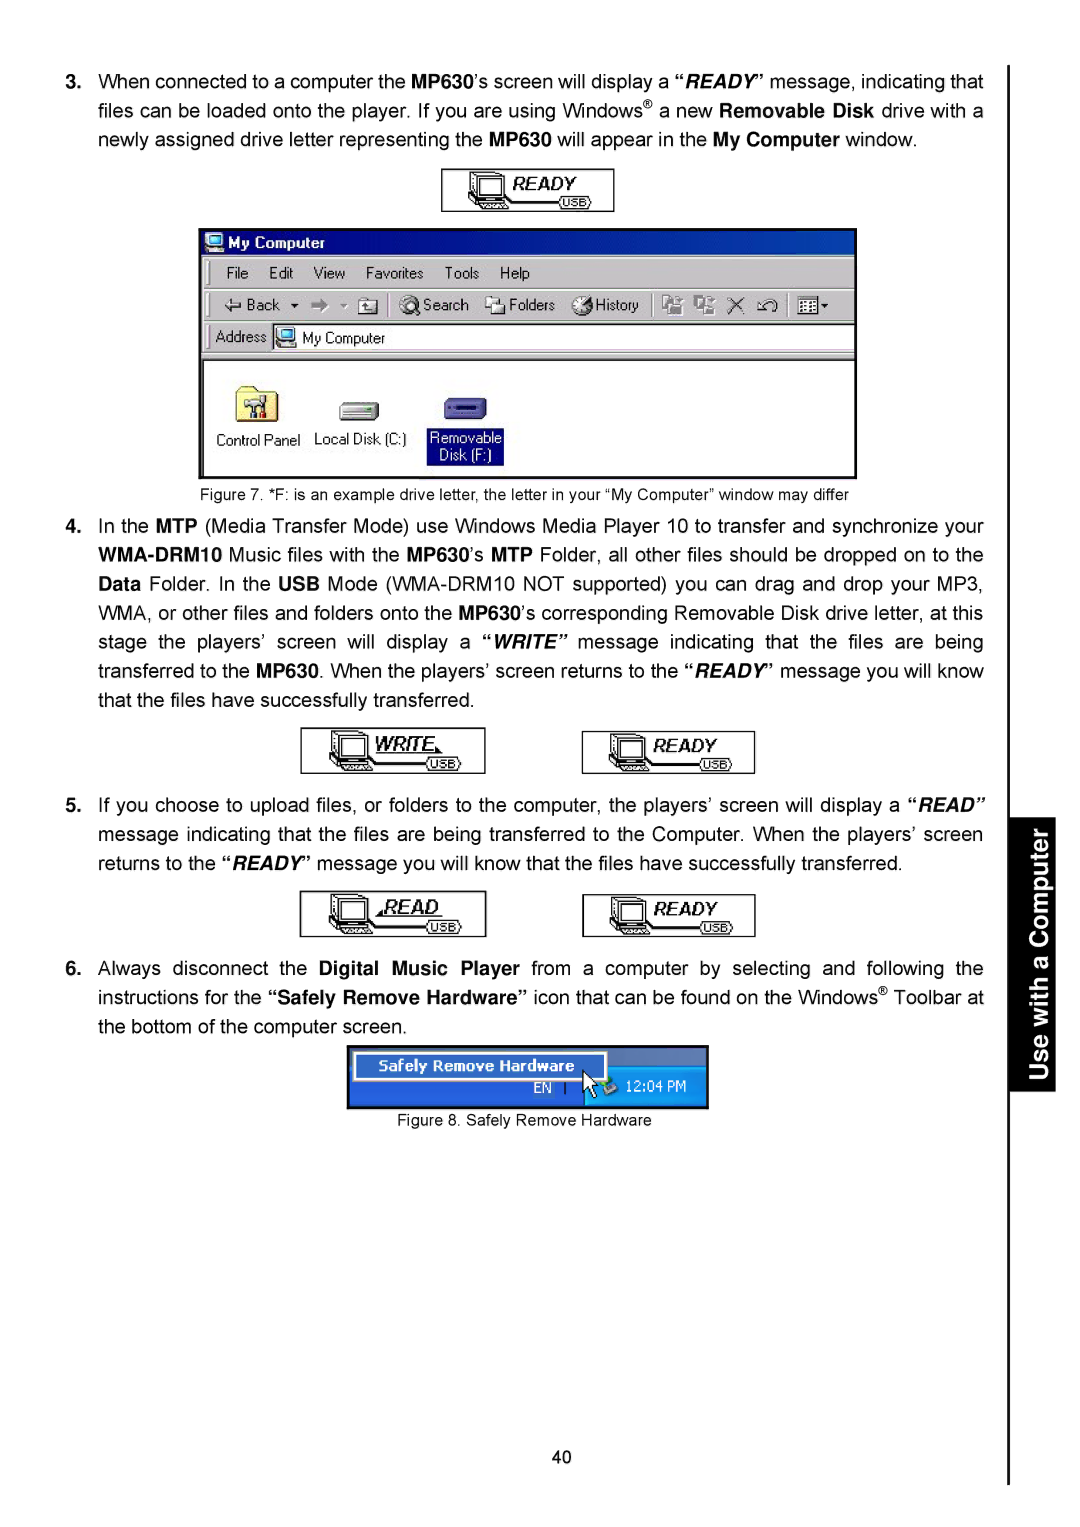
3.When connected to a computer the MP630’s screen will display a “READY” message, indicating that files can be loaded onto the player. If you are using Windows® a new Removable Disk drive with a newly assigned drive letter representing the MP630 will appear in the My Computer window.
Figure 7. *F: is an example drive letter, the letter in your “My Computer” window may differ
4.In the MTP (Media Transfer Mode) use Windows Media Player 10 to transfer and synchronize your
5.If you choose to upload files, or folders to the computer, the players’ screen will display a “READ” message indicating that the files are being transferred to the Computer. When the players’ screen returns to the “READY” message you will know that the files have successfully transferred.
6.Always disconnect the Digital Music Player from a computer by selecting and following the instructions for the “Safely Remove Hardware” icon that can be found on the Windows® Toolbar at the bottom of the computer screen.
Figure 8. Safely Remove Hardware
40