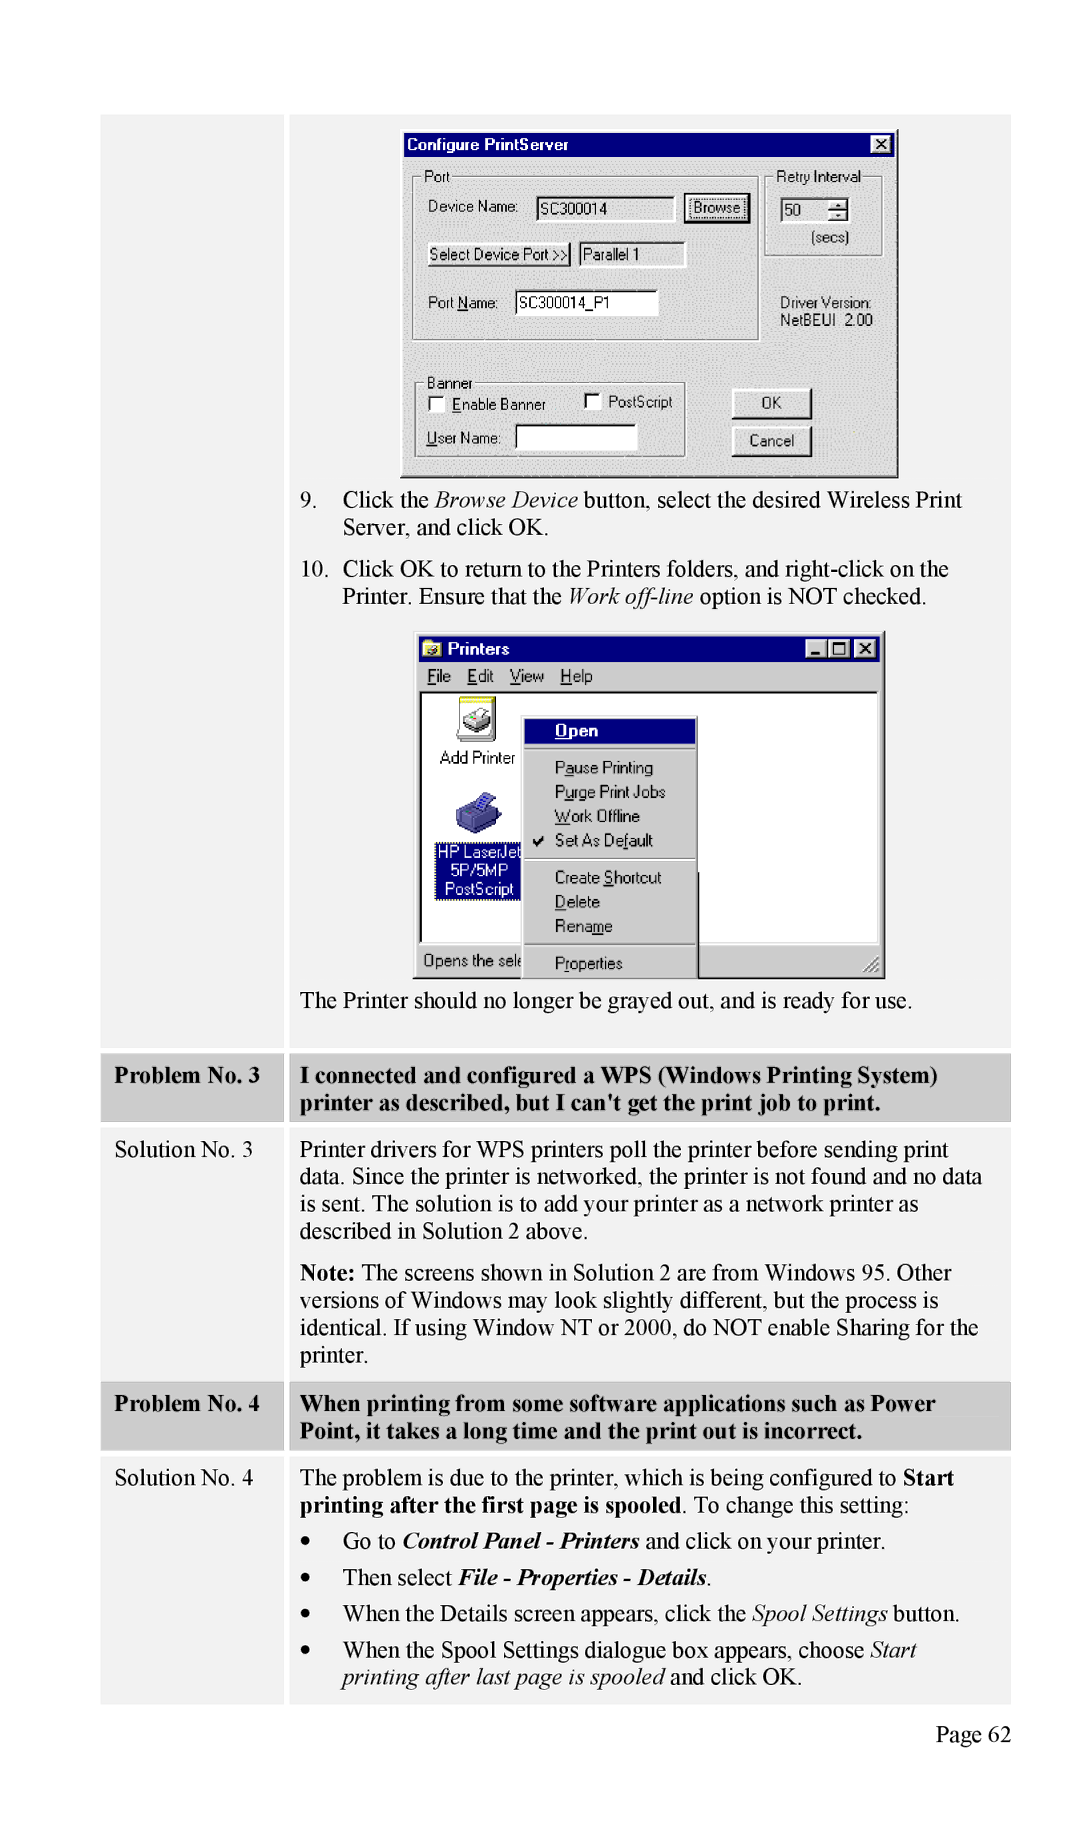
9.Click the Browse Device button, select the desired Wireless Print Server, and click OK.
10.Click OK to return to the Printers folders, and
The Printer should no longer be grayed out, and is ready for use.
Problem No. 3 I connected and configured a WPS (Windows Printing System) printer as described, but I can't get the print job to print.
Solution No. 3 Printer drivers for WPS printers poll the printer before sending print data. Since the printer is networked, the printer is not found and no data is sent. The solution is to add your printer as a network printer as described in Solution 2 above.
Note: The screens shown in Solution 2 are from Windows 95. Other versions of Windows may look slightly different, but the process is identical. If using Window NT or 2000, do NOT enable Sharing for the printer.
Problem No. 4 When printing from some software applications such as Power Point, it takes a long time and the print out is incorrect.
Solution No. 4 The problem is due to the printer, which is being configured to Start printing after the first page is spooled. To change this setting:
•Go to Control Panel - Printers and click on your printer.
•Then select File - Properties - Details.
•When the Details screen appears, click the Spool Settings button.
•When the Spool Settings dialogue box appears, choose Start printing after last page is spooled and click OK.
Page 62
